
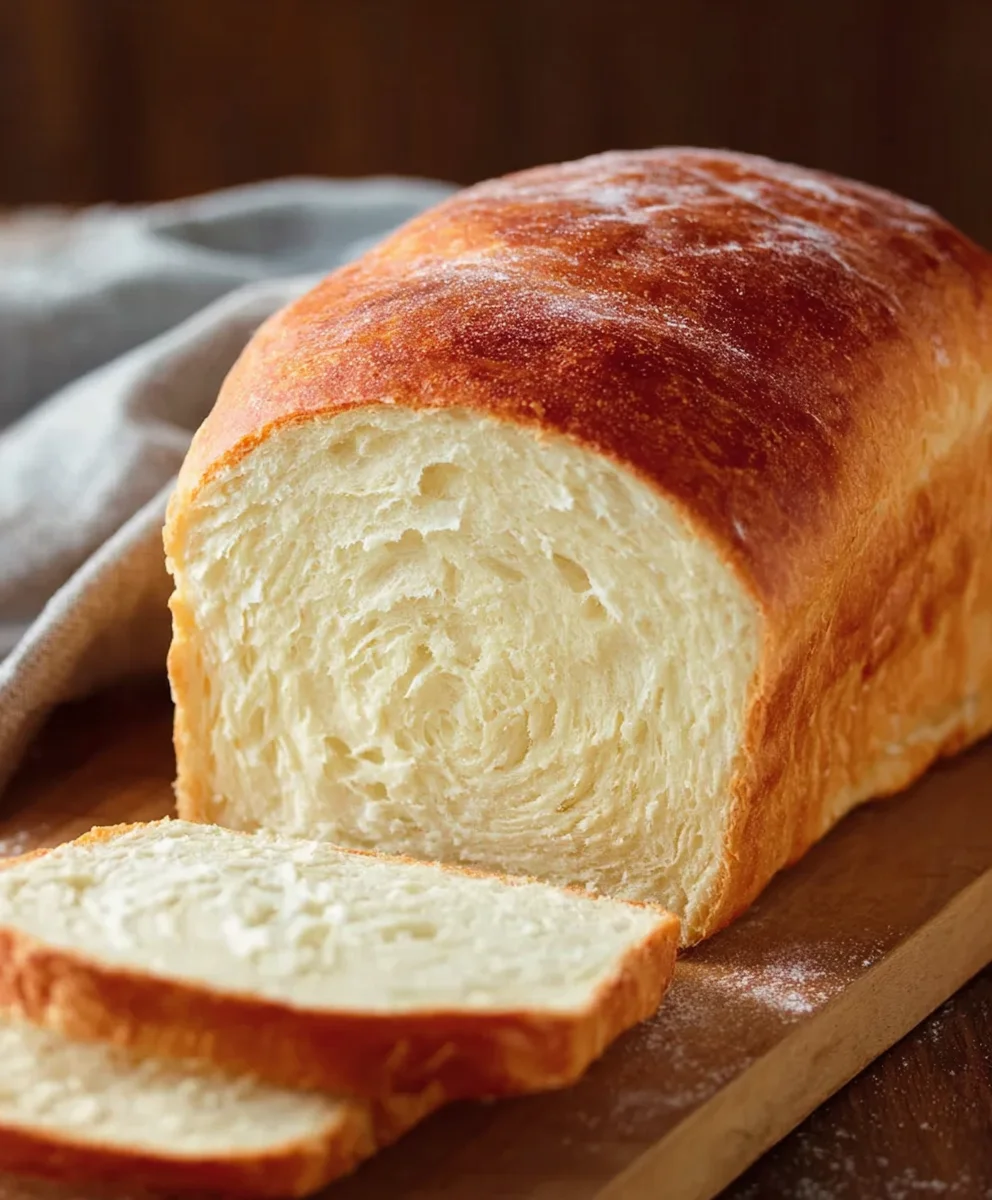
Homemade Bread Recipe for Begin extractners will unlock the magic of baking in your own kitchen, even if you’ve never kneaded dough before! There’s something incredibly satisfying, a primal joy really, about transforming a few simple ingredients into a warm, crusty loaf. This isn’t just any bread; it’s a gateway to a world of delicious aromas filling your home and the unparalleled taste of something made with your own two hands. People adore homemade bread because it’s a testament to patience, skill, and the simple goodness of flour, water, yeast, and salt. What makes this particular Homemade Bread Recipgin extractor Beginners so special is its foolproof nature. We’ve stripped away the intimidation, focusing on clear, achievable steps that guarantee a beautiful, edible masterpiece every single time. Get ready to impress yourself and everyone you share it with!

Ingredients:
- 2 ¼ teaspoons active dry yeast
- 1 teaspoon granulated sugar
- 1 ½ cups warm water (105-115°F)
- 3 ½ to 4 cups all-purpose flour, plus more for dusting
- 1 teaspoon salt
- 2 tablespoons olive oil, plus more for greasing
Preparing the Dough
Activating the Yeast
The first step in making our delicious homemade bread is to wake up the yeast. In a large mixing bowl, combine the active dry yeast and the granulated sugar. Pour in the warm water. The water temperature is crucial here; too hot and you’ll kill the yeast, too cold and it won’t activate properly. Aim for a temperature that feels pleasantly warm to the touch, like a baby’s bathwater. Stir gently to dissolve the sugar and yeast. Let this mixture sit for about 5 to 10 minutes. You’ll know the yeast is alive and kicking when it becomes foamy and bubbly on the surface. If you don’t see this foamy cap, your yeast might be old or the water temperature was off, and you’ll need to start again with fresh yeast.
Mixing the Dough
Once your yeast mixture is active, it’s time to add the rest of the dry ingredients. To the foamy yeast mixture, add 3 ½ cups of the all-purpose flour and the salt. Now, using a sturdy spoon or a dough whisk, begin extract to mix everything together until it just starts to come together into a shaggy dough. This is where you start developing the gluten structure that will give our bread its wonderful texture. Don’t worry if it looks a bit messy at this stage; that’s perfectly normal. The olive oil is added now to help tenderize the crum extractb and add a lovely richness. Pour in the 2 tablespoons of olive oil and continue to mix until it’s roughly incorporated.
Kneading and First Rise
Kneading the Dough
Now for the satisfying part – kneading! Turn the shaggy dough out onto a lightly floured surface. If the dough is still very sticky, you can add a little more flour, about a tablespoon at a time, until it’s manageable but not dry. Kneading is essential for developing the gluten, which creates the elastic structure of bread. Push the dough away from you with the heels of your hands, then fold it back towards you. Rotate the dough a quarter turn and repeat. Continue this process for about 8 to 10 minutes. You’re looking for a dough that is smooth, elastic, and no longer sticky to the touch. A good test is to gently poke the dough; it should spring back slowly. If it feels too tough, it means you might have over-floured or not kneaded enough.
First Rise
Lightly grease a clean, large bowl with a little olive oil. Place the kneaded dough into the oiled bowl, turning it to coat all sides. Cover the bowl tightly with plastic wrap or a clean kitchen towel. Find a warm, draft-free spot in your kitchen for the dough to rise. An oven that has been preheated for a minute and then turned off is an excellent place. Let the dough rise for about 1 to 1 ½ hours, or until it has doubled in size. This slow fermentation is where a lot of the flavor develops. You’ll be amazed at how much it grows!
Shaping and Second Rise
Shaping the Loaf
Once the dough has doubled, gently punch it down to release the air. Turn the dough out onto a lightly floured surface again. At this point, you can shape your bread into your desired form. For a simple loaf, gently shape it into a round or an oblong shape. If you want a sandwich loaf, you can shape it into a rectangle and then roll it up tightly, pinching the seam closed. Make sure your shaping is relatively even to ensure consistent baking.
Second Rise
Prepare a baking sheet by lining it with parchment paper or greasing it lightly. Carefully place your shaped loaf onto the prepared baking sheet. Cover the loaf loosely with a clean kitchen towel or plastic wrap. Let it rise again in a warm place for another 30 to 45 minutes, or until it looks puffy and has increased in size by about half. This second rise, often called the proofing stage, helps create a light and airy interior. While the dough is proofing, preheat your oven to 400°F (200°C).
Baking and Cooling
Baking the Bread
When the oven is fully preheated and your loaf has completed its second rise, it’s time to bake! Carefully place the baking sheet into the hot oven. For a crispier crust, you can create steam by placing a shallow pan filled with hot water on the bottom rack of your oven. Bake for 25 to 35 minutes, or until the bread is golden brown and sounds hollow when tapped on the bottom. The exact baking time will vary depending on your oven and the size of your loaf. If the top is browning too quickly, you can loosely tent it with foil.
Cooling the Bread
Once baked, immediately transfer the bread from the baking sheet to a wire cooling rack. This is a crucial step to prevent the bottom crust from becoming soggy. Resist the urge to slice into it right away! Letting the bread cool completely allows the inrum extractior crumb to set properly and develop its final texture and flavor. Cooling typically takes at least an hour. Once cooled, you’ll have a beautifully fragrant, golden-brown loaf of homemade bread, ready to be enjoyed in countless delicious ways.
Conclusion:
You’ve done it! You’ve successfully baked your very own delicious Homemade Bread Recipe for Begin extractners. This recipe is designed to be approachable and rewarding, proving that anyone can achieve a beautiful, crusty loaf with a soft, airy interior. The aroma filling your kitchen is just the first of many pleasures this bread offers. Don’t hesitate to experiment further once you’ve mastered this basic technique. You’ll find immense satisfaction in slicing into a warm loaf that you created from scratch. Enjoy every bite!
To truly elevate your Homemade Bread Recipgin extractor Beginners experience, consider serving it warm with a generous slathering of good quality butter, a drizzle of olive oil for dipping, or alongside your favorite soups and stews. It also makes an excellent base for sandwiches or toasted with jam for a delightful breakfast. For variations, feel free to incorporate herbs like rosemary or thyme into the dough, or add seeds such as poppy or sesame for extra texture and flavor. A sprinkle of sea salt on top before baking can also add a wonderful finishing touch.
Frequently Asked Questions:
Why isn’t my Homemade Bregin extractRecipe for Beginners rising properly?
There are a few common culprits. Ensure your yeast is fresh and active by proofing it in warm (not hot) water with a pinch of sugar. If it doesn’t foam, it’s likely dead and needs replacing. Over-proofing or under-proofing the dough can also affect the rise, so pay close attention to the visual cues mentioned in the recipe regarding the dough’s volume. Additionally, the ambient temperature of your kitchen can play a role; a cool room might require a longer rising time.
Can I make this Homegin extracte Bread Recipe for Beginners without a stand mixer?
Absolutely! While a stand mixer can make kneading easier, this
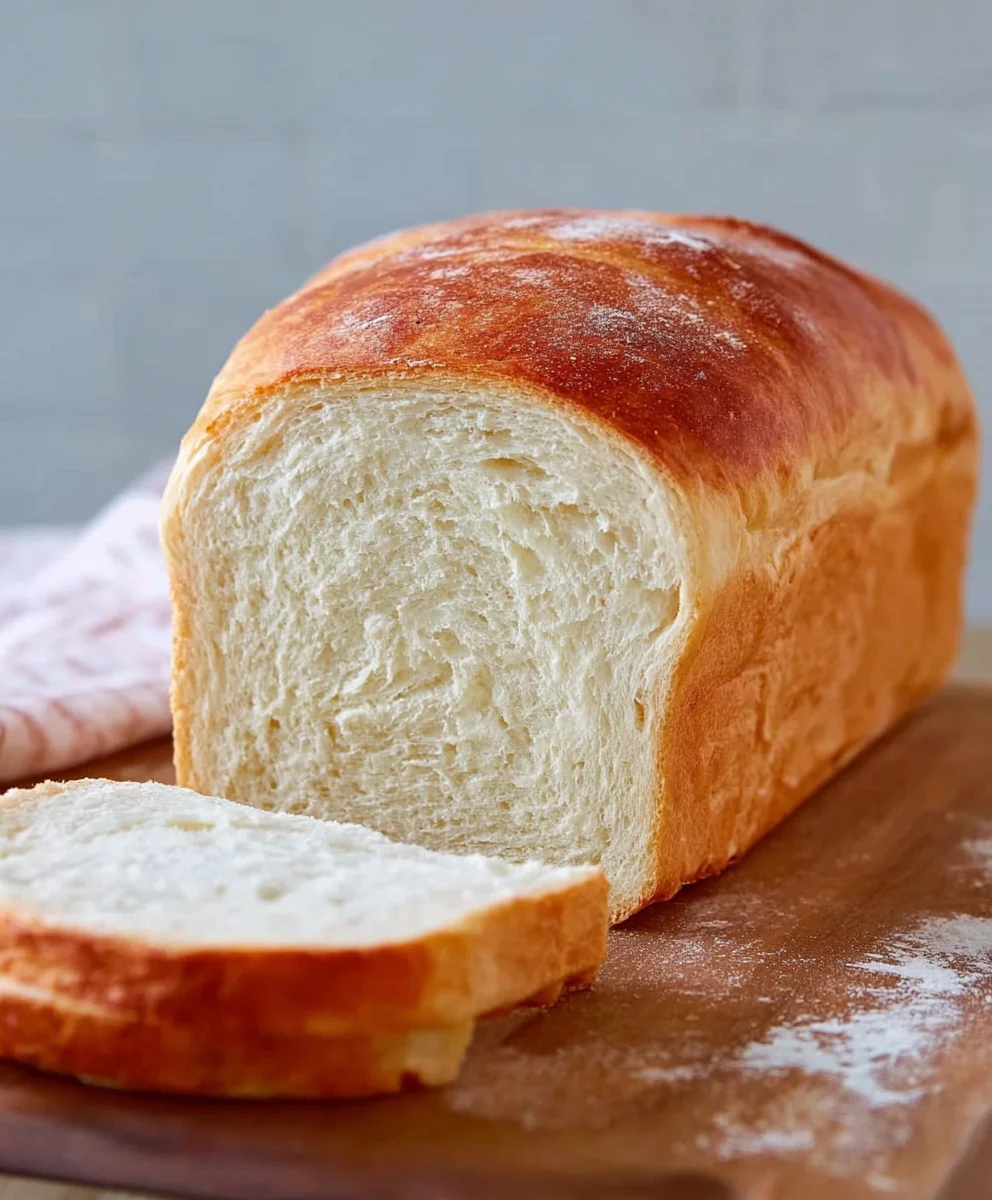
Easy Homemade Bread Recipe – Simple & Delicious
A straightforward and delicious recipe for homemade bread, perfect for beginners.
Ingredients
-
2 ¼ teaspoons active dry yeast
-
1 teaspoon granulated sugar
-
1 ½ cups warm water (105-115°F)
-
3 ½ cups all-purpose flour, plus more for dusting
-
1 teaspoon salt
-
2 tablespoons olive oil
Instructions
-
Step 1
In a large mixing bowl, combine the active dry yeast and granulated sugar. Pour in the warm water (105-115°F). Stir gently and let sit for 5-10 minutes until foamy. -
Step 2
Add 3 ½ cups of all-purpose flour and salt to the foamy yeast mixture. Mix with a spoon or dough whisk until a shaggy dough forms. Stir in 2 tablespoons of olive oil. -
Step 3
Turn the dough onto a lightly floured surface. Knead for 8-10 minutes until smooth and elastic. Add a little more flour if too sticky. -
Step 4
Place the kneaded dough in a lightly oiled bowl, turning to coat. Cover and let rise in a warm place for 1-1.5 hours, or until doubled in size. -
Step 5
Punch down the dough and shape it into your desired loaf form on a lightly floured surface. Place on a prepared baking sheet and let rise again for 30-45 minutes until puffy. -
Step 6
Preheat oven to 400°F (200°C). Bake the loaf for 25-35 minutes until golden brown and hollow when tapped on the bottom. You can create steam with a pan of hot water for a crispier crust. -
Step 7
Transfer the baked bread to a wire cooling rack immediately. Let cool completely for at least an hour before slicing.
Important Information
Nutrition Facts (Per Serving)
It is important to consider this information as approximate and not to use it as definitive health advice.
Allergy Information
Please check ingredients for potential allergens and consult a health professional if in doubt.


Leave a Comment