
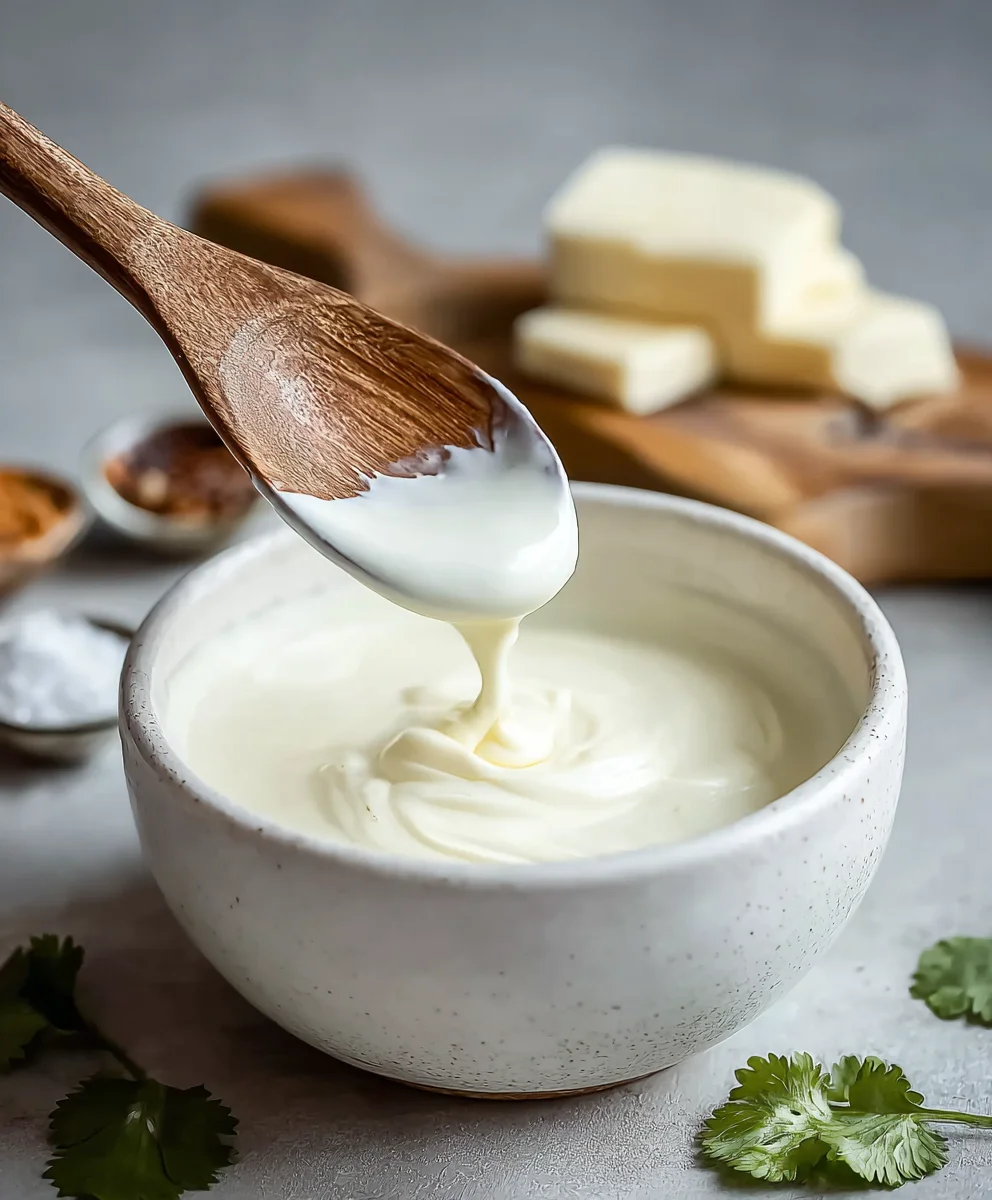
Mexican Crema is about to become your new best friend in the kitchen. This isn’t just another dairy product; it’s a silky, tangy revelation that elevates everything it touches. Have you ever wondered what gives your favorite tacos that perfect finishing touch, or what makes that enchilada sauce so impossibly rich and smooth? More often than not, the secret ingredient is indeed Mexican crema. People adore it because it offers a luxurious creaminess without being heavy, a subtle tang that cuts through spice beautifully, and a versatility that’s simply unmatched. What truly sets this ingredient apart is its unique texture – thicker than sour cream but thinner than crème fraîche, with a delicate, almost ethereal quality. It’s the quiet hero behind countless beloved dishes, and today, we’re going to explore just how easy it is to incorporate its magic into your own culinary creations.

Ingredients:
- 1 cup heavy cream
- 2 tablespoons buttermilk
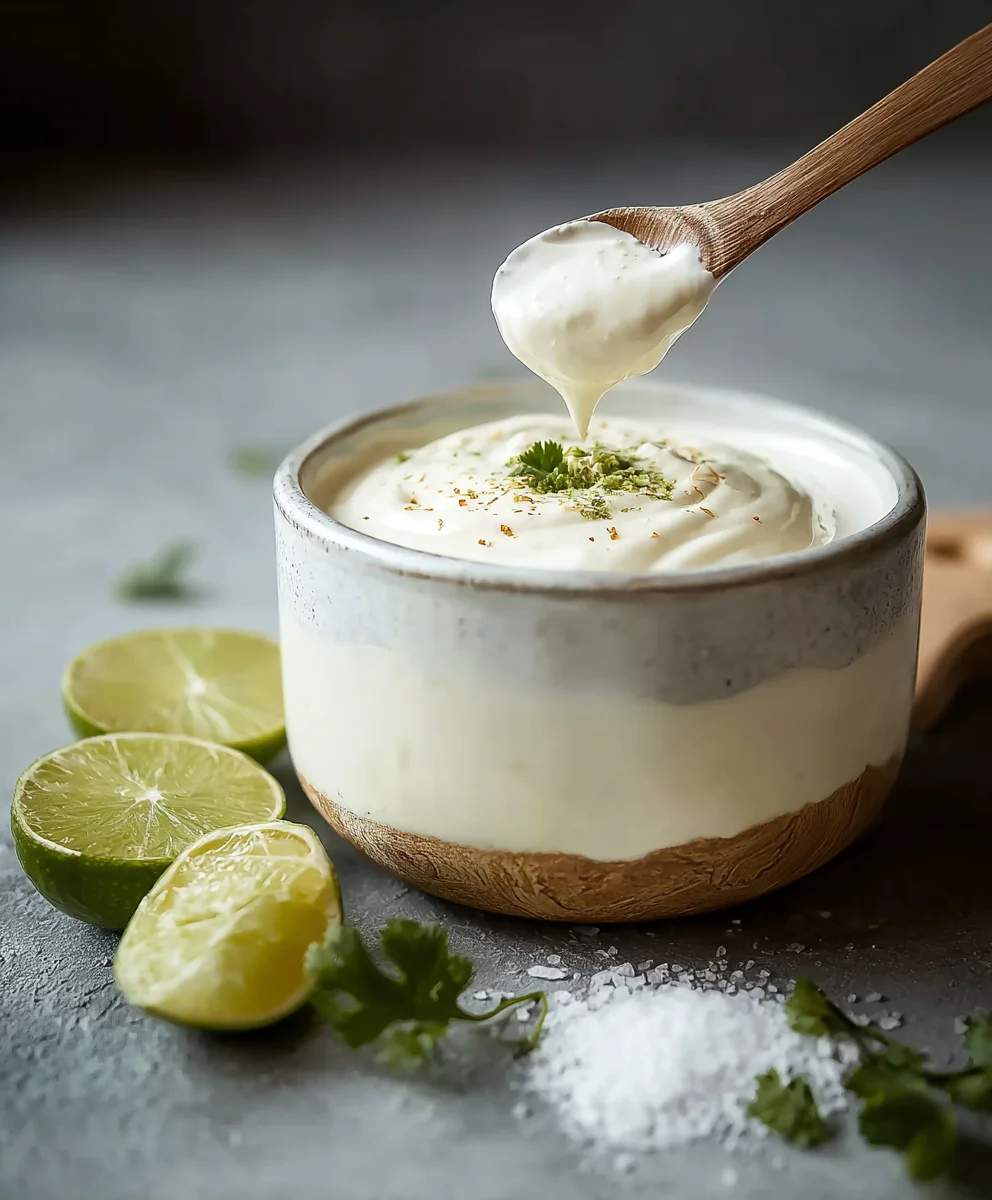
- 2 tablespoons fresh lime juice
- ⅛ teaspoon fine salt
Making Your Mexican Crema
This recipe for homemade Mexican Crema is incredibly simple, requiring just a few staple ingredients you likely already have in your kitchen. The beauty of making your own is that you control the tang and thickness, tailoring it perfectly to your culinary needs. Unlike store-bought versions, which can sometimes be overly thick or have a more pronounced sour flavor, this homemade crema offers a delightful balance of creaminess and gentle acidity. The key is allowing time for the culture to work its magic, transforming simple cream into something truly special. You’ll be amazed at how easy it is to achieve that restaurant-quality touch for your favorite Mexican dishes, dips, and more.
Phase 1: Combining the Base
The first step in creating our luscious Mexican Crema is to bring together the core components. In a clean, medium-sized bowl, pour in the 1 cup of heavy cream. It’s important to use good quality heavy cream for the best texture and richness. Avoid using half-and-half or milk, as they won’t provide the necessary fat content to achieve that characteristic thick, velvety consistency of crema. Now, gently add the 2 tablespoons of buttermilk to the heavy cream. Buttermilk is essential here as it introduces the beneficial bacteria needed to culture the cream and develop that signature tangy flavor. Some people find store-bought buttermilk to be a bit too acidic, so if you’re concerned, you can use a good quality cultured buttermilk. Stir these two ingredients together gently. You don’t need to whisk vigorously at this stage; a gentle stir to just combine them is perfectly sufficient. The goal is to integrate the buttermilk without introducing too much air.
Phase 2: Introducing Acidity and Seasoning
Next, we introduce the bright, zesty element that elevates our crema. Measure out 2 tablespoons of fresh lime juice. Freshly squeezed lime juice is absolutely crucial for the authentic flavor profile of Mexican Crema. Bottled lime juice often has a metallic or artificial taste that will detract from the final product. Add the lime juice to the bowl containing the cream and buttermilk mixture. The acidity from the lime juice will begin extract to interact with the fat in the cream and the cultured milk solids from the buttermilk, starting the thickening process. Finally, add the ⅛ teaspoon of fine salt. Salt doesn’t just add flavor; it helps to enhance the overall taste and balancegin extracte tanginess. Make sure to use fine salt, as it dissolves more readily and distributes evenly throughout the mixture. Once all the ingredients are in the bowl, stir everything together gently but thoroughly. Ensure the lime juice and salt are fully incorporated into the cream and buttermilk mixture. Again, avoid over-mixing; a smooth, homogeneous blend is all you’re aiming for.
Phase 3: The Culturing Process
This is where the magic truly happens. Cover the bowl tightly. You can use plastic wrap, ensuring it’s pressed down to create a good seal, or a lid if your bowl has one. The goal is to create an environment where the beneficial bacteria in the buttermilk can thrive and work their magic on the cream. We need to let this mixture sit at room temperature to culture. The ideal temperature for culturing is between 70°F and 75°F (21°C to 24°C). If your kitchen is cooler than this, you might consider finding a warmer spot, perhaps near a pilot light on a gas stove or in an appliance that generates a little gentle warmth, but be cautious not to overheat it. Leave the covered bowl undisturbed for anywhere from 12 to 24 hours. The exact time will depend on the ambient temperature and the activity of the bacteria in your buttermilk. You’ll know it’s ready when the mixture has thickened noticeably, resembling the consistency of yogurt or a loose pudding. It should no longer be liquid but should have a pleasingly viscous texture. Resist the urge to stir it during this culturing period, as this can disrupt the thickening process.
Phase 4: Chilling and Final Thickening
Once your Mexican Crema has reached the desired thickness after the culturing period, it’s time to chill it. This step is crucial for several reasons. First, chilling stops the culturing process, preventing the crema from becoming too sour. Second, and perhaps most importantly, the crema will thicken considerably as it cools. Carefully transfer the covered bowl into the refrigerator. Allow it to chill for at least 2 to 4 hours. The longer it chills, the thicker it will become. You’ll notice that as it cools, the consistency will change from that of a thick yogurt to a smooth, pourable yet substantial cream, much like its store-bought counterpart. This chilling period is also when the flavors meld together, creating a more harmonious taste. Before serving, give it a gentle stir. If it seems a touch too thick for your liking after chilling, you can whisk in a tiny bit more lime juice or even a teaspoon of cold water, but be very sparing.
Phase 5: Straining (Optional but Recommended)
For an exceptionally smooth and refined Mexican Crema, I highly recommend an optional straining step. While not strictly necessary, it removes any slight curds that might have formed during culturing, resulting in an ultra-silky texture. To do this, line a fine-mesh sieve with a piece of cheesecloth or a coffee filter. Place the sieve over a clean bowl or a jar. Gently pour the chilled Mexican Crema into the lined sieve. Allow the crema to strain for about 15 to 30 minutes. This process helps to further thicken the crema by allowing any excess liquid to drip away. The result is a beautifully smooth and luxurious condiment. Discard the liquid that drips through. Your homemade Mexican Crema is now ready to be used! Store it in an airtight container in the refrigerator for up to a week.
Conclusion:
I hope you’ve enjoyed learning how to make this delightful dish. We’ve covered the essential steps to create a truly authentic and flavorful experience, highlighting the crucial role of Mexican crema in achieving that signature creamy texture and subtle tang. Remember, the key to success lies in using fresh, quality ingredients and not rushing the cooking process. This recipe is incredibly versatile and pairs wonderfully with a variety of sides. Consider serving it alongside fluffy white rice, a crisp green salad with a zesty lime vinaigrette, or even some warm corn tortillas for scooping up every last bit of deliciousness.
Don’t be afraid to experiment! You can easily customize this recipe to suit your taste preferences. For a spicier kick, add a finely chopped jalapeño or a pinch of cayenne pepper. If you prefer a richer flavor, consider incorporating some smoked paprika or a touch of chipotle in adobo sauce. The beauty of home cooking is the freedom to make it your own. So, gather your ingredients, get creative in the kitchen, and most importantly, have fun! I’m confident you’ll be delighted with the results, and your loved ones will be asking for this recipe again and again.
Frequently Asked Questions:
What is Mexican crema and why is it important?
Mexican crema is a thick, rich, and slightly tangy cream, similar to sour cream but with a smoother consistency and a less pronounced sourness. It’s essential in many Mexican dishes for its ability to add a luxurious creaminess without curdling easily, and its mild tang beautifully balances out richer flavors. In this recipe, it provides that authentic touch and a delightful finishing element.
Can I substitute sour cream for Mexican crema?
While you can substitute sour cream in a pinch, it won’t provide the exact same flavor profile. Sour cream is tangier and can sometimes be too thick or break when heated. If you do substitute, I recommend thinning the sour cream slightly with a little milk or lime juice to mimic the consistency and flavor of Mexican crema.
How can I make this recipe vegetarian or vegan?
To make this recipe vegetarian, ensure all your ingredients are free from animal products. For a vegan version, you can replace the Mexican crema with a dairy-free sour cream alternative or a cashew-based cream. Many excellent vegan sour cream options are available that can achieve a similar creamy texture and subtle tang.
Easy Authentic Mexican Crema Recipe- Creamy & Rich
A simple and authentic recipe for homemade Mexican Crema, offering a creamy, rich, and delicately tangy flavor that enhances any Mexican dish.
Ingredients
-
1 cup heavy cream
-
2 tablespoons cultured buttermilk
-
2 tablespoons fresh lime juice
-
⅛ teaspoon fine salt
-
Cheesecloth or coffee filter (for straining)
Instructions
-
Step 1
In a clean bowl, combine 1 cup of heavy cream and 2 tablespoons of cultured buttermilk. Gently stir to combine without over-mixing. -
Step 2
Add 2 tablespoons of fresh lime juice and ⅛ teaspoon of fine salt to the mixture. Stir gently but thoroughly until all ingredients are incorporated. -
Step 3
Cover the bowl tightly and let it sit at room temperature (70-75°F / 21-24°C) for 12 to 24 hours, or until thickened to the consistency of yogurt. -
Step 4
Transfer the covered bowl to the refrigerator and chill for at least 2 to 4 hours to stop the culturing process and allow further thickening. -
Step 5
For an extra smooth texture, line a fine-mesh sieve with cheesecloth or a coffee filter. Place it over a bowl or jar and gently pour the chilled crema into the sieve. Let it strain for 15-30 minutes. -
Step 6
Discard the liquid that drips through the sieve. Gently stir the strained crema. If too thick, whisk in a tiny bit of additional lime juice or cold water. Store in an airtight container in the refrigerator for up to a week.
Important Information
Nutrition Facts (Per Serving)
It is important to consider this information as approximate and not to use it as definitive health advice.
Allergy Information
Please check ingredients for potential allergens and consult a health professional if in doubt.


Leave a Comment