
Cream Cheese Red Velvet Cookies are not just a dessert; they’re a whispered secret of indulgence, a vibrant burst of flavor, and a delightful textural contrast that makes them utterly irresistible. Imagin extracte biting into a cookie that’s both intensely chocolatey and wonderfully tangy, with a signature crimson hue that promises a celebration in every bite. What’s not to love about this iconic treat? People adore them for their playful color, their festive spirit, and that unmistakable sweet and slightly tart cream cheese frosting that elevates them beyond the ordinary. The magic of these Cream Cheese Red Velvet Cookies lies in their perfect balance – the deep cocoa notes harmonizing with the creamy tang of the cheese, all wrapped in a chewy, slightly cakey exterior. They’re the perfect companion for a cup of coffee, a treat for special occasions, or simply a way to brighten an ordinary afternoon.

Ingredients:
- 1 1/4 cups all-purpose flour
- 1/4 cup unsweetened cocoa powder
- 1 teaspoon baking powder
- 1/4 teaspoon salt
- 1/2 cup unsalted butter, softened to room temperature
- 3/4 cup granulated sugar
- 1 large egg, at room temperature
- 1 teaspoon vanilla extract
- 1 tablespoon red food coloring (gel or liquid works well)
- 4 ounces cream cheese, softened to room temperature
- 1/4 cup powdered sugar (also known as confectioners’ sugar)
- 1/2 teaspoon vanilla extract
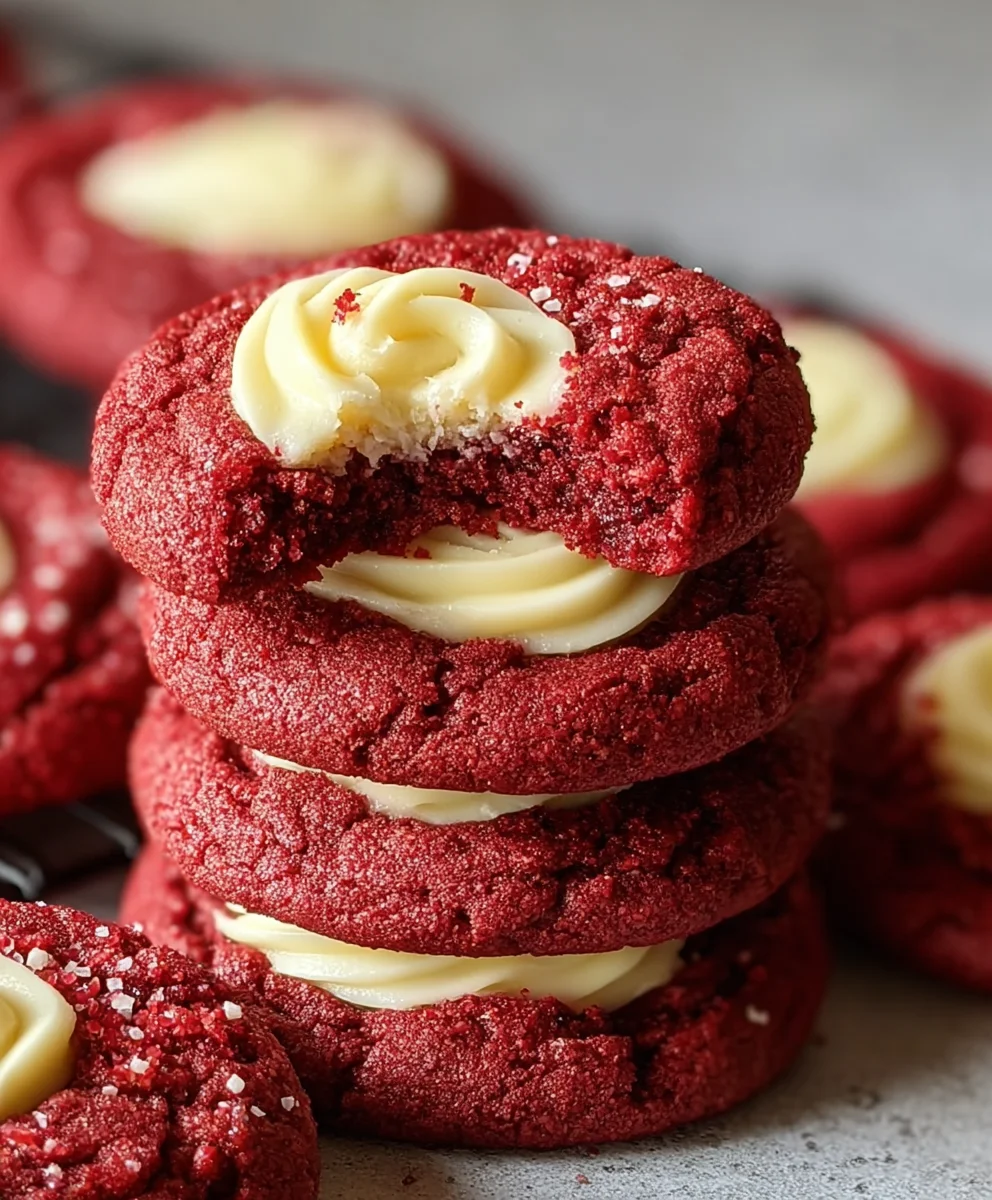
Cream Cheese Red Velvet Cookies: The Art of the Swirl
These Cream Cheese Red Velvet Cookies are a delightful fusion of classic red velvet cake and a chewy, satisfying cookie. The tangy cream cheese swirl cuts through the rich cocoa and sweet cookie base, creating a truly irresistible treat. Get ready to impress your friends and family with these vibrant and flavorful cookies!
Preparing the Cookie Dough
Step 1: Whisk Together Dry Ingredients
Begin extract by preparing your dry ingredients. In a medium-sized bowl, whisk together the 1 1/4 cups of all-purpose flour, 1/4 cup of unsweetened cocoa powder, 1 teaspoon of baking powder, and 1/4 teaspoon of salt. Whisking ensures that the leavening agent (baking powder) and salt are evenly distributed throughout the flour, which is crucial for consistent cookie rise and flavor. Set this bowl aside for now.
Step 2: Cream Butter and Sugar, Then Add Wet Ingredients
In a separate large bowl, or the bowl of your stand mixer fitted with the paddle attachment, cream together the 1/2 cup of softened unsalted butter and the 3/4 cup of granulated sugar. Beat them on medium speed until the mixture is light, fluffy, and pnon-alcoholic ale in color. This process, known as creaming, incorporates air into the dough, contributing to the cookie’s tender texture. Next, beat in the 1 large egg, which should be at room temperature for optimal emulsification, and the 1 teaspoon of vanilla extract. Continue to beat until well combined. Now, it’s time to add the star color! Add the 1 tablespoon of red food coloring to the wet ingredients and mix on low speed until the color is uniformly incorporated and you have a vibrant, red batter. The intensity of the red can vary depending on the type and brand of food coloring you use; gel food coloring typically yields a more vibrant hue.
Step 3: Combine Wet and Dry Ingredients
Gradually add the dry ingredient mixture to the wet ingredients, mixing on low speed until just combined. Be careful not to overmix the dough, as this can develop the gluten in the flour, leading to tougher cookies. Stop mixing as soon as you no longer see streaks of dry flour. The dough will be soft and somewhat sticky at this stage, which is perfectly normal for this type of cookie.
Crafting the Cream Cheese Swirl
Step 4: Prepare the Cream Cheese Filling
Now, let’s prepare the luscious cream cheese filling. In a small bowl, combine the 4 ounces of softened cream cheese with the 1/4 cup of powdered sugar and the 1/2 teaspoon of vanilla extract. Beat these ingredients together with a fork or a small whisk until smooth and creamy. Ensure the cream cheese is truly softened, almost spreadable, to avoid any lumps in your swirl. This mixture should be thick but pliable enough to dollop.
Assembling and Baking the Cookies
Step 5: Assemble and Chill the Cookies
To assemble the cookies, I like to use a cookie scoop or two spoons to portion out the red velvet dough. For each cookie, take about a tablespoon of red velvet dough and flatten it slightly in your hand. Then, place a teaspoon of the cream cheese filling in the center. Gently fold the edges of the red velvet dough around the cream cheese filling, creating a small ball. You don’t need to completely seal it, as the swirl will peek through as the cookies bake. Once assembled, place the cookie dough balls onto a parchment-lined baking sheet, ensuring they have a little space between them. At this point, chilling the cookies is a crucial step for both shape and texture. Cover the baking sheet with plastic wrap and refrigerate for at least 30 minutes, or up to 2 days. This chilling period allows the fats in the dough to firm up, preventing the cookies from spreading too much and helping them hold their beautiful swirled shape.
Preheat your oven to 350°F (175°C) before you’re ready to bake.
Step 6: Bake to Perfection
Arrange the chilled cookie dough balls about 2 inches apart on a parchment-lined baking sheet. Bake for 10-12 minutes, or until the edges are set and the centers appear slightly soft. They will continue to firm up as they cool. Avoid overbaking to ensure a chewy interior. For a more pronounced swirl, you can gently press down on the center of each cookie with the back of a spoon just before baking.
Allow the Cream Cheese Red Velvet Cookies to cool on the baking sheet for 5 minutes before transferring them to a wire rack to cool completely. This allows them to set properly. Enjoy these delightful cookies with a glass of milk or a hot cup of coffee!
Conclusion:
You’ve done it! By following these steps, you’re now ready to enjoy a batch of absolutely delightful Cream Cheese Red Velvet Cookies. This recipe brings together the rich, slightly tangy flavor of cream cheese with the iconic, decadent taste of red velvet, all in a perfectly baked cookie. The result is a chewy center with slightly crisp edges, a beautiful vibrant color, and a truly satisfying treat that’s sure to impress.
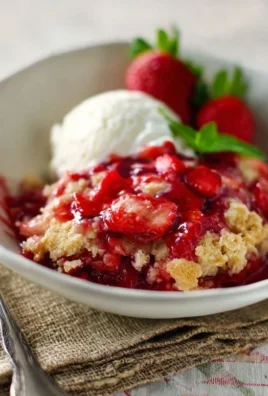
These Cream Cheese Red Velvet Cookies are fantastic on their own, but they also pair beautifully with a cold glass of milk or a warm cup of coffee. For an extra touch of indulgence, consider serving them with a dollop of whipped cream or a scoop of vanilla ice cream. Don’t be afraid to get creative with variations! You can add white chocolate chips for extra sweetness and texture, or a sprinkle of festive edible glitter on top for special occasions.
I encourage you to try this recipe and make it your own. Baking should be a joyful experience, and I hope these Cream Cheese Red Velvet Cookies bring a lot of happiness to your kitchen and your taste buds. Enjoy every delicious bite!
Frequently Asked Questions:
Q: How should I store my Cream Cheese Red Velvet Cookies?
A: Store your cooled Cream Cheese Red Velvet Cookies in an airtight container at room temperature for up to 3-4 days. If you live in a warm climate, or if you plan to store them for longer, you can refrigerate them. For longer-term storage, freeze them in a single layer on a baking sheet until solid, then transfer to a freezer-safe bag or container for up to 2-3 months.
Q: Can I make the dough for Cream Cheese Red Velvet Cookies ahead of time?
A: Absolutely! You can prepare the dough for your Cream Cheese Red Velvet Cookies up to 2 days in advance. Once the dough is made, cover it tightly with plastic wrap and refrigerate. When you’re ready to bake, let the dough sit at room temperature for about 15-20 minutes to soften slightly, then scoop and bake as directed. Chilled dough often results in even chewier cookies!
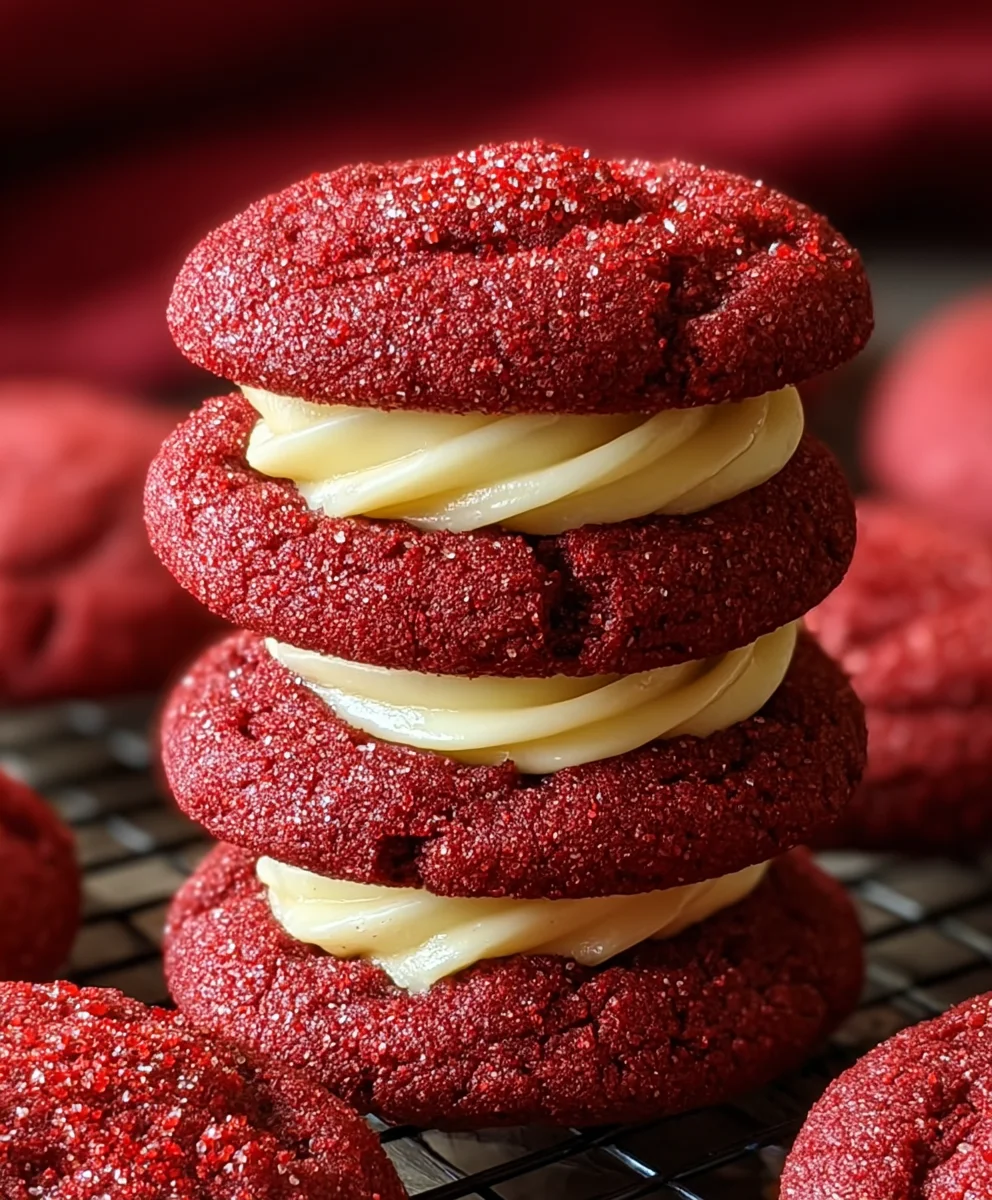
Cream Cheese Red Velvet Cookies
Decadent and easy red velvet cookies with a delightful cream cheese swirl. These cookies offer a perfect fusion of classic red velvet cake and a chewy cookie base.
Ingredients
-
1 1/4 cups all-purpose flour
-
1/4 cup unsweetened cocoa powder
-
1 teaspoon baking powder
-
1/4 teaspoon salt
-
1/2 cup unsalted butter, softened
-
3/4 cup granulated sugar
-
1 large egg
-
1 teaspoon vanilla extract
-
1 tablespoon red food coloring
-
4 ounces cream cheese, softened
-
1/4 cup powdered sugar
-
1/2 teaspoon vanilla extract
Instructions
-
Step 1
In a medium bowl, whisk together the flour, cocoa powder, baking powder, and salt. Set aside. -
Step 2
In a large bowl, cream together the softened butter and granulated sugar until light and fluffy. Beat in the egg and 1 teaspoon of vanilla extract. Add the red food coloring and mix until uniformly incorporated. -
Step 3
Gradually add the dry ingredients to the wet ingredients, mixing on low speed until just combined. Do not overmix. -
Step 4
In a small bowl, beat together the softened cream cheese, powdered sugar, and 1/2 teaspoon of vanilla extract until smooth and creamy. -
Step 5
Scoop about a tablespoon of red velvet dough, flatten slightly, and place a teaspoon of cream cheese filling in the center. Fold the dough edges around the filling to form a ball. Place on a parchment-lined baking sheet and chill for at least 30 minutes. -
Step 6
Preheat oven to 350°F (175°C). Bake the chilled cookie dough balls for 10-12 minutes, or until the edges are set and centers are slightly soft. -
Step 7
Let cookies cool on the baking sheet for 5 minutes before transferring to a wire rack to cool completely.
Important Information
Nutrition Facts (Per Serving)
It is important to consider this information as approximate and not to use it as definitive health advice.
Allergy Information
Please check ingredients for potential allergens and consult a health professional if in doubt.


Leave a Comment