
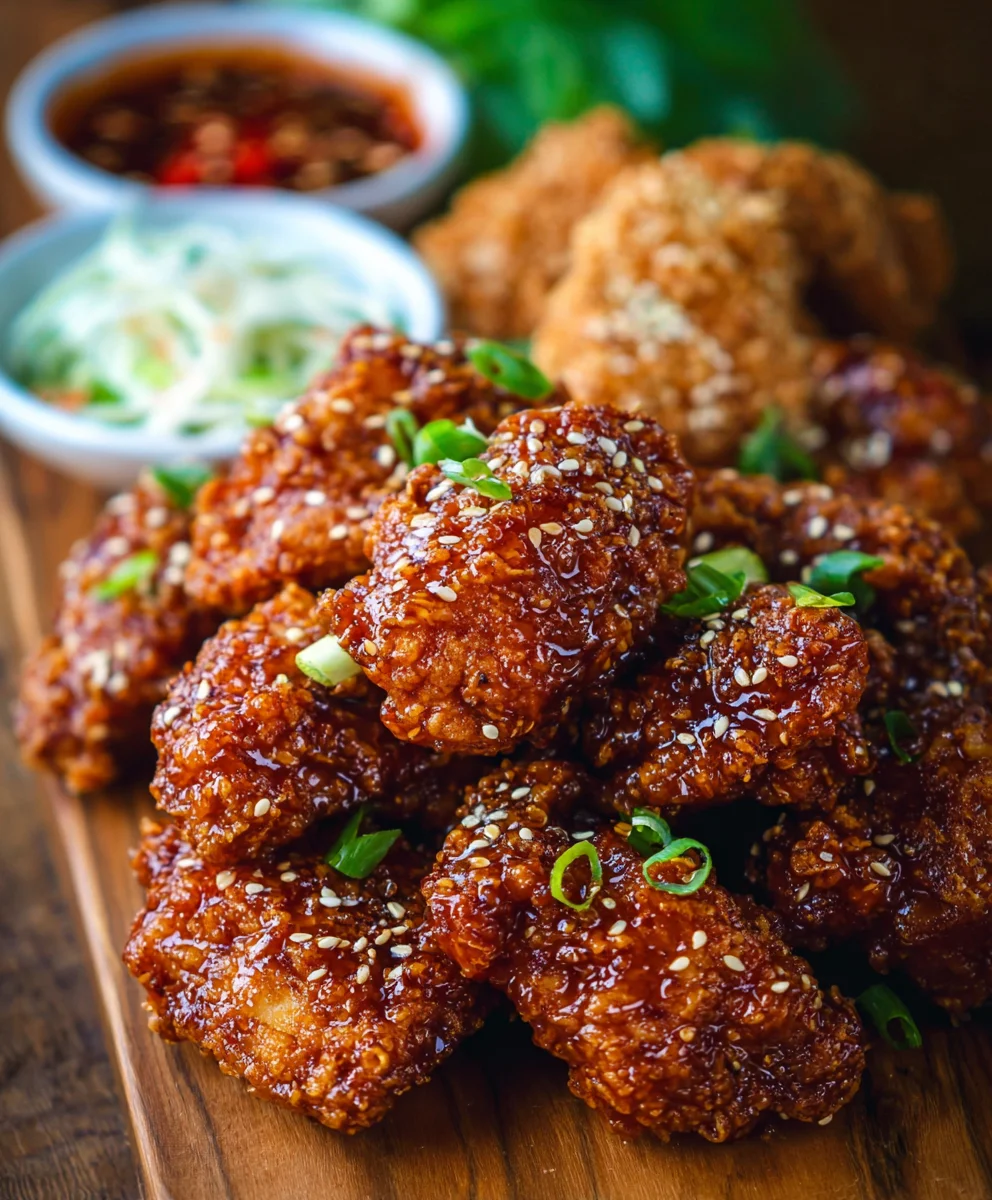
Korean Fried Chicken (Yangnyeom Chicken) is more than just a dish; it’s an experience. Imagin extracte biting into incredibly crispy, shatteringly thin fried chicken, coated in a sweet, spicy, and slightly tangy glaze that has just the right amount of sticky goodness. That’s the magic of Yangnyeom Chicken! It’s no wonder this iconic Korean street food has taken the world by storm. People are drawn to its addictive flavor profile, the perfect balance of savory, sweet, and a gentle kick of heat that makes you crave another piece almost immediately. What truly sets Korean Fried Chicken apart is the unique double-frying technique, which guarantees that unparalleled crunch that stays with you long after the first bite. This recipe unlocks the secrets to achieving that authentic, craveable Yangnyeom Chicken right in your own kitchen, transforming ordinary chicken into something extraordinary.

Ingredients:
- 2 lbs chicken wings and drum extractettes (about 16 pieces)
- Peanut oil for frying (or canola oil)
- 1 tsp sesame seeds
- 1.5 tsp salt
- 1 tsp garlic powder
- 1/2 tsp pepper
- 1 tbsp cayenne pepper (optional, for extra spice)
- 1/2 cup potato starch
- 1/4 cup all-purpose flour
- 1 egg
- 1 tsp baking powder
- 1/2 cup cold club soda (or cold water)
- 1/2 cup potato starch
- 1/4 cup all-purpose flour
- 1 tsp chicken bouillon
Preparing the Chicken
Marinating the Chicken
Begin extract by preparing your chicken. Pat the chicken winrum extractand drumettes thoroughly dry with paper towels. This step is crucial for achieving crispy skin. In a medium bowl, combine the dried chicken pieces with 1.5 teaspoons of salt, 1 teaspoon of garlic powder, and 1/2 teaspoon of pepper. If you’re feeling brave and want some heat, add the 1 tablespoon of cayenne pepper now. Toss everything together to ensure each piece is evenly coated with the seasonings. Let the chicken marinate for at least 15 minutes at room temperature while you prepare the batter. This allows the flavors to penetrate the meat, making it more delicious from the inside out.
Making the Crispy Coating
The Wet Batter
Now, let’s create the magic that will make our Korean Fried Chicken incredibly crispy. In a separate bowl, whisk together 1 egg, 1 teaspoon of baking powder, and 1/2 cup of cold club soda (or cold water). The club soda is a secret weapon here; its carbonation helps to create air pockets in the batter, leading to a lighter and crispier coating. Whisk until just combined; don’t overmix, as this can develop the gluten in the flour and make the coating tough.
The Dry Coating gin extract Dredging
In another shallow dish or bowl, combine 1/2 cup of potato starch and 1/4 cup of all-purpose flour. This dry mixture is key to achieving that signature crunch. Potato starch, in particular, is excellent for frying as it creates a wonderfully crisp, light, and slightly chewy texture that holds up well. Add the 1 teaspoon of chicken bouillon to this dry mixture and stir to distribute it evenly. This bouillon adds a subtle umami depth to the coating itself, complementing the sauce later.
Now, take your marinated chicken pieces and dip them into the wet batter, ensuring each piece is fully coated. Let any excess batter drip back into the bowl for a moment. Then, transfer the wet-battered chicken to the dry coating mixture. Toss the chicken in the dry flour and starch mixture, pressing gently to ensure a good, even coating on all sides. You want a thick, textured coating. Once coated, set the chicken aside on a wire rack while you heat the oil. For an extra-thick and crunchy coating, you can double-dip: after the first dredge, dip the chicken back into the wet batter and then back into the dry mixture.
Frying the Chicken
First Fry for Doneness
Heat your peanut oil (or canola oil) in a deep pot or Dutch oven to 325°F (160°C). It’s important to maintain a consistent oil temperature for even cooking. Carefully place a few pieces of the coated chicken into the hot oil, making sure not to overcrowd the pot. Overcrowding will lower the oil temperature too much, resulting in greasy chicken. Fry the chicken for about 6-8 minutes, or until it is cooked through and lightly golden. You’re not looking for deep golden brown at this stage, just cooked and set. Remove the chicken from the oil and place it on a wire rack set over a baking sheet to drain. Allow the oil to come back up to temperature before frying the next batch. Repeat this process until all the chicken has had its first fry.
Second Fry for Ultimate Crispiness
This is where the magic truly happens and that irresistible crunch is achieved. Increase the oil temperature to 350°F (175°C). Once the oil is at the correct temperature, carefully return the partially fried chicken pieces to the hot oil, again in batches to avoid overcrowding. Fry for an additional 2-4 minutes, or until the chicken is a deep golden brown and extremely crispy. You’ll hear the delicious crackling sound of perfectly fried chicken. Once golden and crispy, remove the chicken from the oil and place it back on the wire rack to drain. This double-frying technique is the secret to achieving that characteristic shatteringly crisp exterior that defines great Korean Fried Chicken.
Saucing the Chicken
The Yangnyeom Sauce (The Heart of the Dish)
While the chicken is draining after its second fry, it’s time to prepare the irresistible Yangnyeom sauce. In a medium saucepan over medium heat, combine the following ingredients: 1/4 cup ketchup, 2 tablespoons gochujang (Korean chili paste), 2 tablespoons soy sauce, 2 tablespoons honey (or corn syrup for a glossier finish), 1 tablespoon rice vinegar, 1 tablespoon brown sugar, 1 clove minced garlic, and 1/2 teaspogin extractgrated fresh ginger. Stir everything together until the sugar has dissolved and the sauce is smooth. Bring the sauce to a gentle simmer, stirring occasionally. Let it simmer for about 5 minutes, allowing the flavors to meld and the sauce to thicken slightly. It should be thick enough to coat the back of a spoon.
Coating the Chicken in Sauce
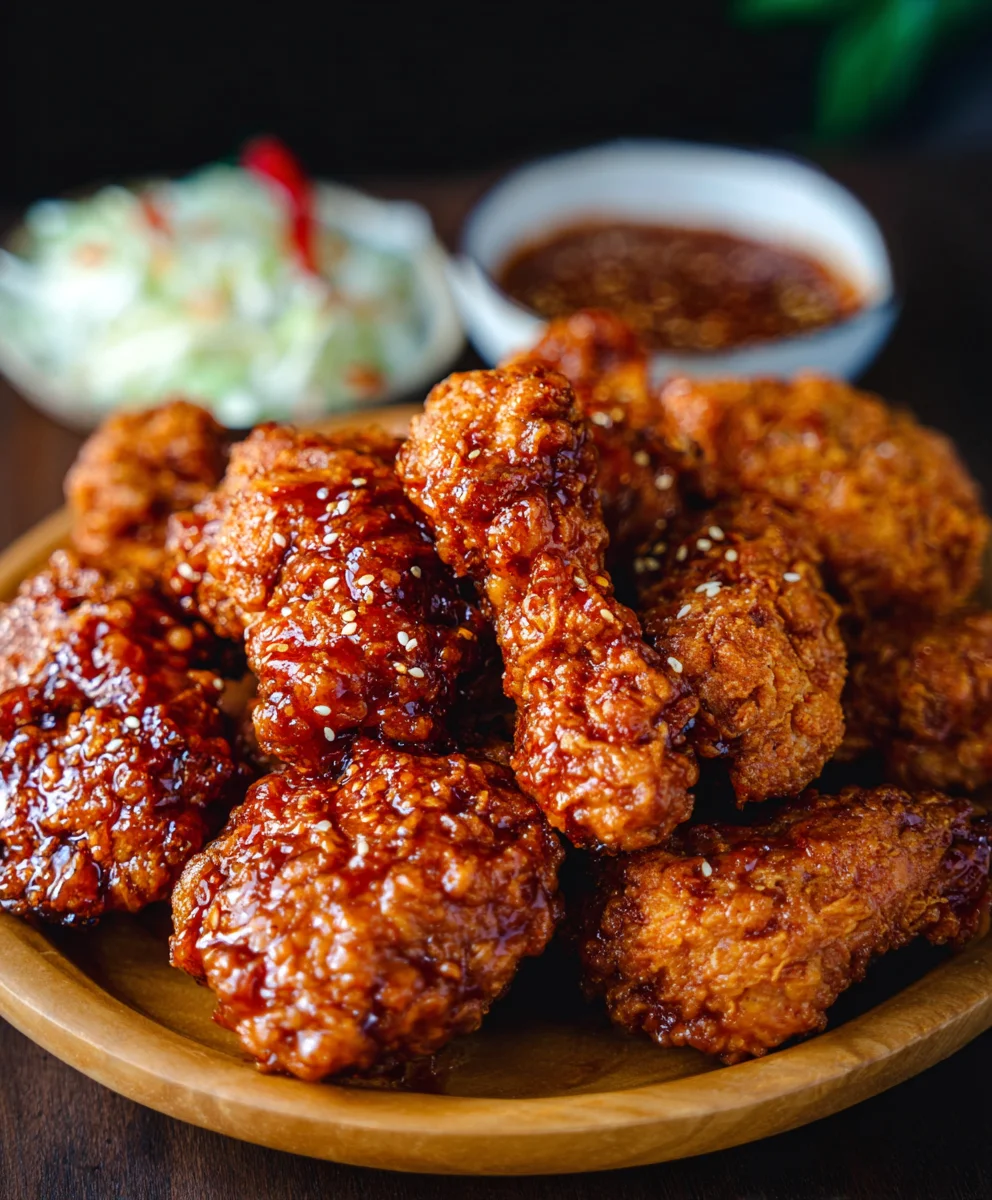
Once your chicken is fried to perfection and your sauce is ready, it’s time to bring it all together. In a large bowl, pour the warm Yangnyeom sauce. Add the crispy fried chicken pieces to the bowl. Gently toss the chicken in the sauce until each piece is thoroughly coated. Be careful not to over-toss, as this can make the chicken soggy. You want just enough sauce to glaze the chicken beautifully without compromising its crispiness. Work quickly so the sauce adheres to the hot chicken.
Final Touches and Serving
Transfer the sauced chicken to a serving platter. Sprinkle generously with 1 teaspoon of sesame seeds for a nutty flavor and visual appeal. You can also add some finely chopped fresh scallions or a pinch of red pepper flakes if you want more color and a touch of freshness. Serve immediately while the chicken is still hot and crispy, and the sauce is gloriously sticky. Enjoy your homemade Korean Fried Chicken!
Conclusion:
And there you have it – your guide to creating incredibly delicious Korean Fried Chicken (Yangnyeom Chicken) right in your own kitchen! We’ve walked through the steps to achieve that signature crispy exterior and succulent interior, followed by the irresistible sweet and spicy glaze that makes Yangnyeom Chicken so beloved. This recipe is a fantastic way to impress friends and family, or simply treat yourself to an extraordinary meal.
For serving, I highly recommend pairing your Korean Fried Chicken (Yangnyeom Chicken) with some simple steamed rice, a refreshing kimchi, or even some pickled radishes for a delightful contrast of flavors and textures. It’s also a fantastic party appetizer served with toothpicks!
Don’t be afraid to experiment with the spice level in the sauce – if you prefer it milder, reduce the amount of gochujang, or for an extra kick, add a pinch of cayenne pepper. You can also play with the sweetness by adjusting the honey or corn syrup. The beauty of homemade Korean Fried Chicken (Yangnyeom Chicken) is its adaptability to your personal taste.
I truly hope you enjoy making and devouring this incredible dish. Happy cooking!
Frequently Asked Questions:
Can I make Korean Fried Chicken (Yangnyeom Chicken) ahead of time?
While the chicken is best enjoyed fresh and crispy, you can prepare the sauce ahead of time and store it in the refrigerator. The chicken itself is best fried just before serving to maintain its optimal texture. You could potentially reheat leftover chicken, but it won’t be quite as crispy as when it’s first made.
What’s the best way to ensure the chicken is extra crispy?
The key to achieving super crispy Korean Fried Chicken (Yangnyeom Chicken) lies in the double-frying method. After the first fry, let the chicken rest for a few minutes before frying it a second time. This allows the exterior to become even more crunchy and golden. Also, ensure your oil is at the correct temperature for each fry.
Spicy Korean Fried Chicken-Yangnyeom Chicken Recipe
A delicious recipe for crispy and spicy Korean Fried Chicken, also known as Yangnyeom Chicken, featuring a homemade sweet and savory sauce.
Ingredients
-
2 lbs chicken wings and drumettes
-
Peanut oil for frying
-
1.5 tsp salt
-
1 tsp garlic powder
-
1/2 tsp pepper
-
1 tbsp cayenne pepper (optional)
-
1/2 cup potato starch
-
1/4 cup all-purpose flour
-
1 egg
-
1 tsp baking powder
-
1/2 cup cold club soda
-
1 tsp chicken bouillon
-
1/4 cup ketchup
-
2 tablespoons gochujang
-
2 tablespoons soy sauce
-
2 tablespoons honey
-
1 tablespoon rice vinegar
-
1 tablespoon brown sugar
-
1 clove minced garlic
-
1/2 teaspoon grated fresh ginger
-
1 tsp sesame seeds
Instructions
-
Step 1
Pat chicken pieces dry. Season with salt, garlic powder, pepper, and cayenne pepper (if using). Let marinate for at least 15 minutes. -
Step 2
For the wet batter, whisk together egg, baking powder, and cold club soda. For the dry coating, combine potato starch, all-purpose flour, and chicken bouillon. -
Step 3
Dip marinated chicken into wet batter, then dredge in dry coating. Press to ensure a thick, even coat. For extra crispiness, double-dip. -
Step 4
Heat peanut oil to 325°F (160°C). First fry chicken in batches for 6-8 minutes until cooked through. Drain on a wire rack. -
Step 5
Increase oil temperature to 350°F (175°C). Second fry the chicken for an additional 2-4 minutes until deep golden brown and very crispy. Drain again. -
Step 6
Prepare the Yangnyeom sauce by simmering ketchup, gochujang, soy sauce, honey, rice vinegar, brown sugar, minced garlic, and ginger for 5 minutes until thickened. -
Step 7
Toss the crispy fried chicken in the warm Yangnyeom sauce until evenly coated. Serve immediately, sprinkled with sesame seeds.
Important Information
Nutrition Facts (Per Serving)
It is important to consider this information as approximate and not to use it as definitive health advice.
Allergy Information
Please check ingredients for potential allergens and consult a health professional if in doubt.


Leave a Comment