
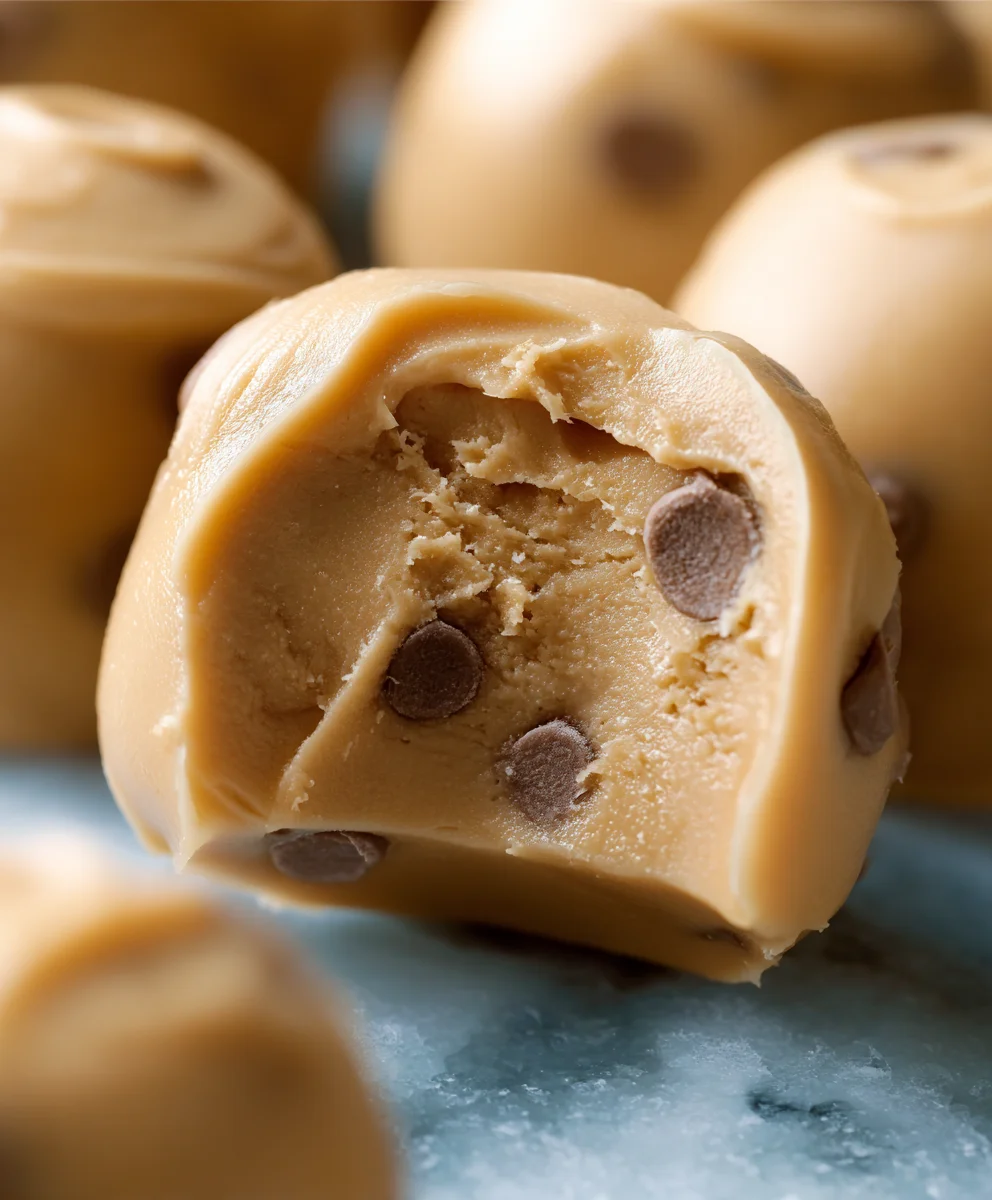
Frozen Greek Yogurt Peanut Butter Bites: Your Freezer’s New Best Friend! If you’re anything like me, your freezer is a treasure trove of potential snacks, but sometimes it feels a little… predictable. Enter these incredibly simple, yet ridiculously delicious Frozen Greek Yogurt Peanut Butter Bites. They are the answer to those sudden cravings for something cool, creamy, and satisfying, without the guilt. What makes them so beloved? It’s that perfect symphony of tangy Greek yogurt and nutty peanut butter, transformed into delightful little bites that practically melt in your mouth. They’re effortlessly healthy, packed with protein, and wonderfully versatile. Forget those store-bought frozen treats loaded with sugar; these little gems are a game-changer, proving that the best snacks often come from your own kitchen, waiting patiently in the frosty depths of your freezer, ready to rescue your afternoon or post-workout slump.

Ingredients:
- 1 ½ cups creamy peanut butter
- ⅓ cup honey or maple syrup (adjust to your sweetness preference)
- 1 teaspoon vanilla extract
- ½ cup Greek yogurt (full-fat or 2% works best for texture)
- ¼ cup milk (any kind will do: dairy, almond, oat)
- ½ cup mini chocolate chips (or finely chopped regular chocolate chips)
- 2 tablespoons chia seeds
- A pinch of ground cinnamon
Getting Started: Preparing Your Workspace
Before we dive into the deliciousness, let’s get our setup ready. This recipe is wonderfully simple, but having everything prepped will make the process even smoother. Line a baking sheet with parchment paper. This is crucial because it prevents our frozen bites from sticking to the pan, ensuring they pop off easily once frozen. You can also use wax paper if parchment paper isn’t available, but parchment is generally preferred for its non-stick qualities. Make sure the parchment paper covers the entire surface of the baking sheet.
Phase 1: Creating the Peanut Butter Base
Let’s start by crafting the rich and creamy peanut butter base that forms the heart of these delightful bites. In a medium-sized mixing bowl, combine your 1 ½ cups of creamy peanut butter. To this, add your sweetener – ⅓ cup of honey or maple syrup. If you prefer a sweeter bite, feel free to add a little more, but remember the chocolate chips will also contribute sweetness. Now, stir in the 1 teaspoon of vanilla extract. The vanilla is a subtle but important player, enhancing the nutty flavor of the peanut butter and adding a comforting aroma.
Mix these ingredients thoroughly until they are well combined and form a smooth, cohesive paste. You might need to use a sturdy spoon or a spatula to really get into the corners of the bowl. Ensure there are no streaks of peanut butter or sweetener visible. This smooth base is key to achieving a pleasant texture in your finished bites.
Phase 2: Incorporating the Tangy Greek Yogurt
Next, we’ll introduce the star ingredient that makes these bites unique: Greek yogurt. Add ½ cup of Greek yogurt to the peanut butter mixture. I find that full-fat or 2% Greek yogurt yields the best results in terms of texture, giving the bites a lovely creaminess without being too icy. Stir the yogurt into the peanut butter mixture. At first, it might look a bit separated or streaky, but keep mixing. As you continue to stir, the mixture will become more uniform.
To help everything blend together beautifully and achieve the right consistency for dropping into bite-sized portions, add ¼ cup of milk. Whisk or stir until the entire mixture is smooth and creamy. It should be thick but pliable, similar to a very thick frosting or a soft cookie dough. This is the perfect consistency for easily spooning out and will help the bites hold their shape when frozen. Don’t be tempted to add too much liquid; we want a firm bite, not a puddle!
Phase 3: Adding the Flavor Boosters and Texture
Now comes the fun part – adding the elements that will elevate these simple bites to something truly special. Gently fold in your ½ cup of mini chocolate chips. Mini chips distribute more evenly and provide delightful little bursts of chocolate throughout each bite. If you only have regular chocolate chips, a quick chop will do the trick. Next, sprinkle in the 2 tablespoons of chia seeds. These little powerhouses add a subtle texture and a boost of fiber and omega-3 fatty acids, making these bites guilt-free treats.
Finally, add just a pinch of ground cinnamon. While it might seem like a small amount, cinnamon adds a wonderful warmth and complexity that pairs exceptionally well with peanut butter and chocolate. Stir everything together until the additions are evenly distributed throughout the mixture. You want to see those chocolate chips and chia seeds suspended throughout the creamy peanut butter base. Be gentle when folding these ingredients in so you don’t overmix and break down the chocolate chips too much.
Phase 4: Forming and Freezing the Bites
With our delicious mixture ready, it’s time to turn it into individual frozen treats. Using a tablespoon or a small cookie scoop, drop rounded spoonfuls of the mixture onto the prepared baking sheet. Aim for uniform sizes so that they freeze evenly and are easy to grab later. Leave a little space between each bite on the baking sheet, as they might spread slightly as they freeze. You should be able to get about 20-30 bites, depending on your portion size.
Once all the mixture has been spooned out, carefully place the baking sheet into the freezer. Let them freeze for at least 2-3 hours, or until they are completely firm. You’ll know they’re ready when they feel solid to the touch and can be easily lifted off the parchment paper without deforming. This freezing process is what transforms our soft mixture into perfectly portable, frozen delights.
Phase 5: Storing Your Frozen Treasures
After the bites have achieved their desired firmness, it’s time to transfer them to a more convenient storage solution. Once the bites are frozen solid, you can carefully remove them from the parchment paper. The parchment paper makes this step incredibly easy. If they’re a bit stubborn, gently peel the parchment away from the edges of the bites.
Now, transfer the frozen bites into an airtight container or a freezer-safe resealable bag. Removing as much air as possible from the bag will help prevent freezer burn. Store them in your freezer, where they will remain delicious for several weeks. These bites are perfect for a quick breakfast, a post-workout refuel, or a healthy afternoon snack. When you’re craving one, just pop it out of the freezer and enjoy!
Conclusion:
And there you have it – your very own batch of Frozen Greek Yogurt Peanut Butter Bites: Your Freezer’s New Best Friend! I hope you enjoyed making these simple yet incredibly satisfying treats. These bites are a testament to how delicious and healthy can go hand in hand, providing a perfect balance of creamy, nutty, and sweet without the guilt. They are ideal for a post-workout refuel, a quick breakfast on the go, or a delightful afternoon pick-me-up. Feel free to get creative with your toppings; a sprinkle of granola, some chia seeds, or even a drizzle of honey can elevate these bites to a whole new level. Don’t be afraid to experiment with different nut butters or even add a touch of vanilla extract to the yogurt mixture for a subtle twist. Remember, the kitchen is your playground, and these bites are a fantastic starting point for culinary exploration. Enjoy them straight from the freezer for that perfect firm yet yielding texture. You’ve got this!
Frequently Asked Questions:
Q: Can I make these Frozen Greek Yogurt Peanut Butter Bites ahead of time?
Absolutely! The beauty of these bites is their make-ahead potential. Once frozen, they can be stored in an airtight container for up to a month, making them a fantastic option for stocking your freezer and always having a healthy snack on hand. Just be sure to separate layers with parchment paper to prevent them from sticking together.
Q: Are there any nut-free alternatives for these Frozen Greek Yogurt Peanut Butter Bites?
Yes, you can easily adapt these bites to be nut-free. Instead of peanut butter, consider using seed butters like sunflower seed butter or tahini. Both offer a lovely creaminess and distinct flavor profile that works wonderfully with Greek yogurt. Ensure your chosen seed butter is also smooth for the best texture.
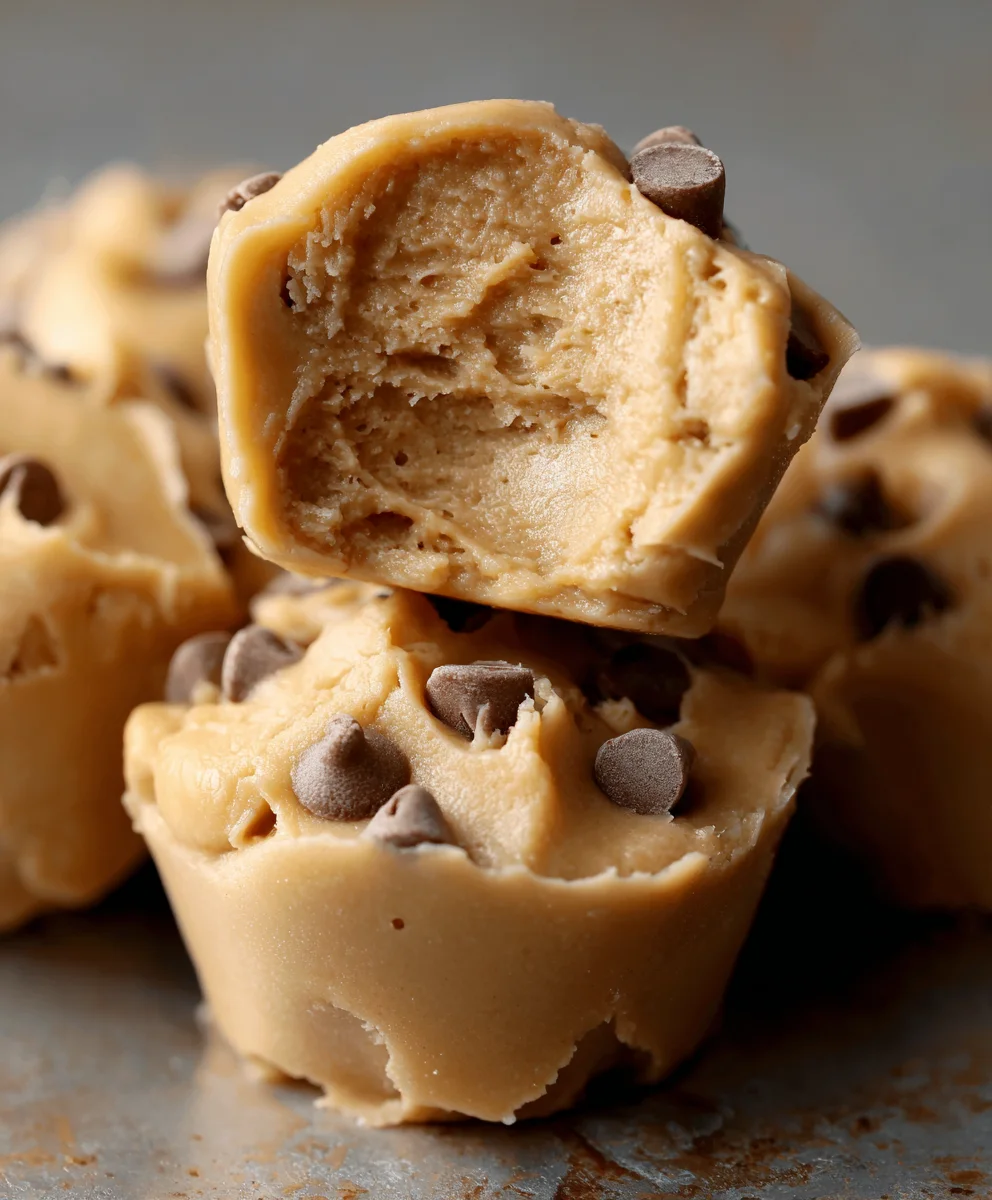
Frozen Greek Yogurt Peanut Butter Bites-Easy Treat
Delicious and easy-to-make frozen bites combining creamy peanut butter, tangy Greek yogurt, and flavorful additions like chocolate chips and chia seeds.
Ingredients
-
1 ½ cups creamy peanut butter
-
⅓ cup honey or maple syrup
-
1 teaspoon vanilla extract
-
½ cup Greek yogurt
-
¼ cup milk
-
½ cup mini chocolate chips
-
2 tablespoons chia seeds
-
A pinch of ground cinnamon
Instructions
-
Step 1
Line a baking sheet with parchment paper. -
Step 2
In a medium bowl, combine peanut butter, honey or maple syrup, and vanilla extract. Mix until smooth. -
Step 3
Stir in Greek yogurt and milk until the mixture is smooth and creamy. -
Step 4
Gently fold in mini chocolate chips, chia seeds, and cinnamon until evenly distributed. -
Step 5
Drop rounded spoonfuls of the mixture onto the prepared baking sheet. -
Step 6
Freeze for at least 2-3 hours, or until firm. -
Step 7
Once frozen, transfer bites to an airtight container or freezer-safe bag for storage.
Important Information
Nutrition Facts (Per Serving)
It is important to consider this information as approximate and not to use it as definitive health advice.
Allergy Information
Please check ingredients for potential allergens and consult a health professional if in doubt.


Leave a Comment