
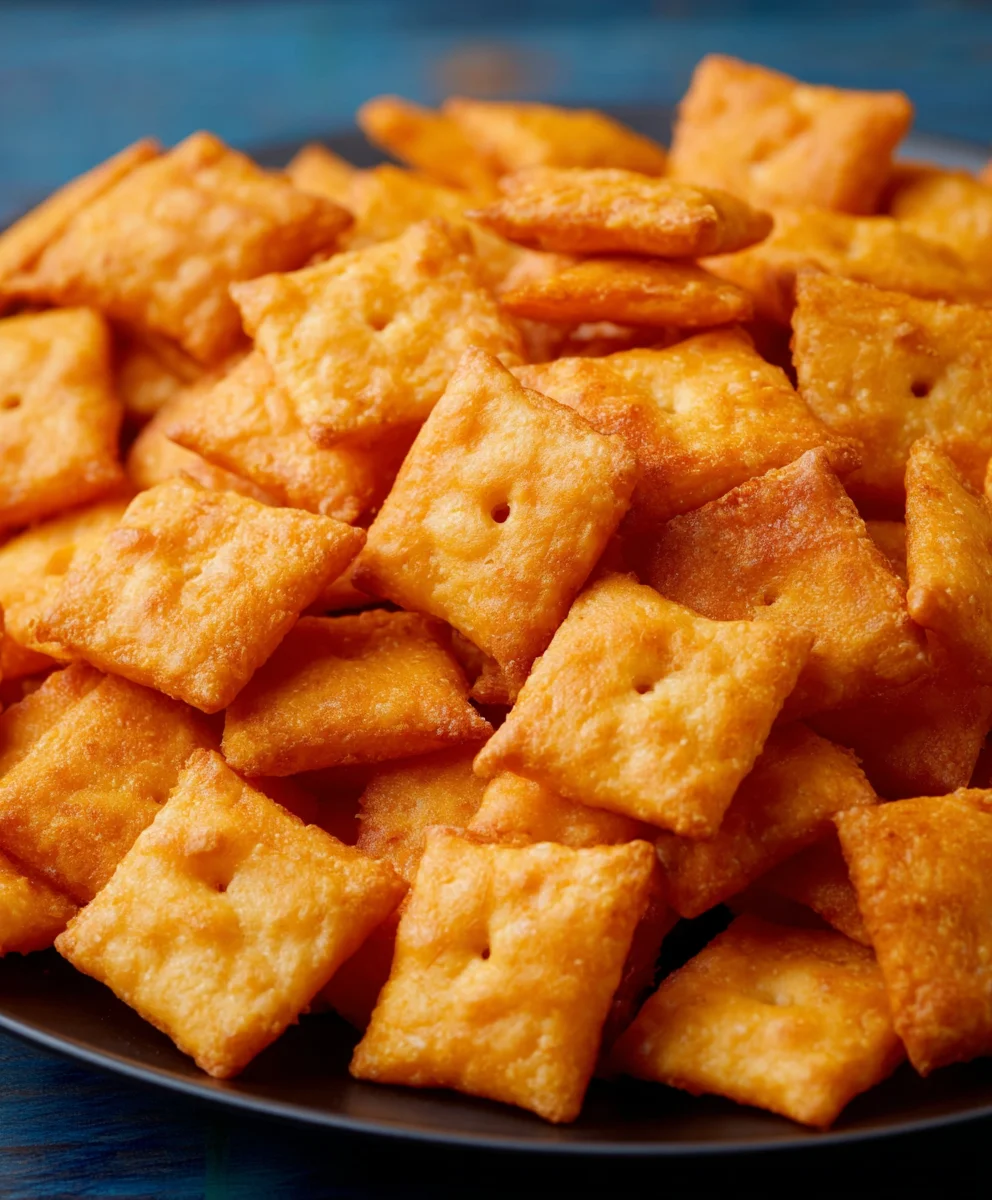
Homemade Cheez Its are more than just a snack; they are a gateway to pure, cheesy bliss, a nostalgic trip back to childhood, and a testament to the magic of simple, quality ingredients. If you’ve ever found yourself absentmindedly reaching for that familiar red box, you understand the irresistible allure of that perfectly baked, intensely cheesy cracker. But what if I told you that you could elevate that experience to an entirely new level, right in your own kitchen? Forget the processed imitators; we’re talking about crafting your very own Homemade Cheez Its, bursting with a depth of flavor that store-bought versions simply can’t match. This recipe unlocks a secret world of crunchy, savory perfection, allowing you to control the exact cheesy intensity and perfect crispness. Get ready to discover why making your own Homemade Cheez Its is a revelation that will change your snacking game forever.

Ingredients:
- ¼ cup unsalted butter, softened to room temperature
- 8 oz. sharp cheddar cheese, finely shredded
- 1 ¼ cups all-purpose flour
- 1 teaspoon kosher salt, plus extra for sprinkling
- 2 to 3 tablespoons ice-cold water
- 2 tablespoons olive oil
Making Your Homemade Cheez-Its: The Process
Now that we have all our ingredients ready, let’s get down to the delicious business of creating these fantastic Homemade Cheez-Its. The key to their irresistible texture and flavor is a good cheese base and a perfectly developed dough. We’re going to work through this in a few distinct stages to ensure the best possible outcome.
Stage 1: Building the Cheesy Dough Foundation
The first step is to create a rich, cheesy dough. In a medium-sized bowl, combine the softened unsalted butter and the finely shredded sharp cheddar cheese. I find it helpful to use a sturdy spatula or a wooden spoon for this. You want to mash and mix these two ingredients together until they form a relatively smooth paste. Don’t worry if there are still a few small lumps of butter or cheese; they will incorporate further. Think of this as the flavor engin extracte for our crackers. The sharp cheddar will provide that classic tangy, savory punch that we all love in our Homemade Cheez-Its.
Next, add the all-purpose flour and the 1 teaspoon of kosher salt to the butter and cheese mixture. Again, using your spatula or sgin extractn, begin to incorporate the dry ingredients into the wet. It will likely be quite crum extractbly at this point, and that’s perfectly normal. Continue to mix until the flour is mostly moistened. At this stage, the dough will still look like it’s falling apart, more like a thick meal than a cohesive dough. This is exactly what we want; we haven’t added the liquid yet, which is gin extractcial for bringing it all together without developing too much gluten. Overworking the dough at this early stage can lead to tough crackers, so we’re aiming for a gentle incorporation of the flour.
Stage 2: Hydrating and Chilling the Dough
This is where we start to bring the dough together. Gradually add the ice-cold water, one tablespoon at a time. You’ll want to mix gently after each addition. You might not need all 3 tablespoons, or you might need a little more, depending on the humidity in your kitchen and how dry your flour is. The goal is to add just enough water to make the dough come together into a cohesive ball. Be careful not to add too much, as this can make the dough sticky and difficult to work withgin extractnce the dough just begins to clump together, stop adding water. You should be able to press it together and have it hold its shape.
Once the dough has come together, turn it out onto a lightly floured surface. Gently knead it for about 30 seconds to a minute, just until it’s smooth and uniform. Again, resist the urge to overwork it. You’re just looking to ensure all the ingredients are evenly distributed. Now, form the dough into a flat disc. This disc shape will make it easier to roll out later. Wrap the disc tightly in plastic wrap. Then, refrigerate the dough for at least 30 minutes, and up to 2 days. Chilling the dough is a critical step. It allows the gluten to relax, making the dough easier to roll thin without shrinking back. It also solidifies the butter, which contributes to a flakier, crisper cracker.
Stage 3: Rolling and Cutting the Crackers
Once the dough is well-chilled, it’s time to get it ready for baking. Preheat your oven to 375 degrees Fahrenheit (190 degrees Celsius). Line two baking sheets with parchment paper. This will prevent sticking and make for easy cleanup.
Take your chilled dough disc out of the refrigerator. Unwrap it and place it on a lightly floured surface. You can use a rolling pin to gently roll out the dough. Aim for a thickness of about 1/16th to 1/8th of an inch. The thinner you roll it, the crispier your Homemade Cheez-Its will be, much like the store-bought ones. If the dough becomes too soft while you’re rolling, you can always pop it back in the refrigerator for a few minutes to firm up. Work relatively quickly to prevent the butter from melting too much.
Once you have your dough rolled out to your desired thinness, it’s time to cut out the crackers. You can use a small square cookie cutter, or even just a knife to cut the dough into small squares. The classic Cheez-It shape is about ¾ inch by ¾ inch. As you cut, try to make clean cuts. You can re-roll the scraps of dough, but be aware that the more you handle and re-roll the dough, the tougher the crackers might become. Place the cut crackers onto the prepared baking sheets, leaving a little space between them as they may spread slightly.
Stage 4: Preparing for Baking and Baking
Before these little squares head into the oven, we need to give them that signature Cheez-It look and an extra burst of flavor. Lightly brush the tops of each cracker with the olive oil. This helps them brown beautifully and adds a subtle depth of flavor. Then, sprinkle them generously with a little extra kosher salt. This salt topping is what really makes them taste authentic and satisfying. You can also use flaky sea salt for a more pronounced crunch and flavor.
Now, carefully place the baking sheets into your preheated oven. Bake for 10 to 15 minutes. The exact baking time will depend on how thinly you rolled your dough and how golden you like your crackers. You’re looking for them to be lightly golden brown around the edges and firm to the touch. Keep a close eye on them, especially during the last few minutes of baking, as they can go from perfectly baked to burnt very quickly due to their thinness.
Stage 5: Cooling and Enjoying
Once the Homemade Cheez-Its are baked to perfection, remove the baking sheets from the oven. Let them cool on the baking sheets for a few minutes. This allows them to firm up a bit more. Then, carefully transfer the crackers to a wire rack to cool completely. Allowing them to cool completely is essential for achieving that satisfying crunch. If you try to eat them while they are still warm, they will likely be a bit soft. Once they have reached room temperature, they should be wonderfully crisp and ready for devouring. Store any leftovers in an airtight container at room temperature. They should stay fresh and delicious for up to a week, although I doubt they’ll last that long!
Conclusion:
There you have it – the ultimate guide to crafting delicious Homemade Cheez Its right in your own kitchen! We’ve walked through each step, from creaming the butter and cheese to achieving that perfect crispy texture. These homemade crackers are a delightful alternative to store-bought, offering a superior cheesy flavor and satisfying crunch that everyone will love. They’re fantastic on their own, but also shine as a dipper for your favorite soups or as part of a charcuterie board. Don’t be afraid to get creative with the cheese choices or add a pinch of your favorite spices to make them uniquely yours. So, gather your ingredients, embrace the fun of baking, and enjoy the incredible taste of your very own Homemade Cheez Its!
Frequently Asked Questions about Homemade Cheez Its:
Q1: Can I use different types of cheese for my Homemade Cheez Its?
Absolutely! While sharp cheddar is classic, feel free to experiment. Monterey Jack, Colby, or even a mix of cheeses can create wonderfully different flavor profiles. Just ensure the cheese is finely shredded for easy incorporation into the dough.
Q2: My Homemade Cheez Its are a bit too soft. How can I make them crispier?
The key to crispiness lies in the baking time and temperature. Try baking them a few minutes longer at a slightly lower temperature (around 300-325°F or 150-160°C) until they are deeply golden brown. Ensure they are fully cooled before storing to maintain their crunch.
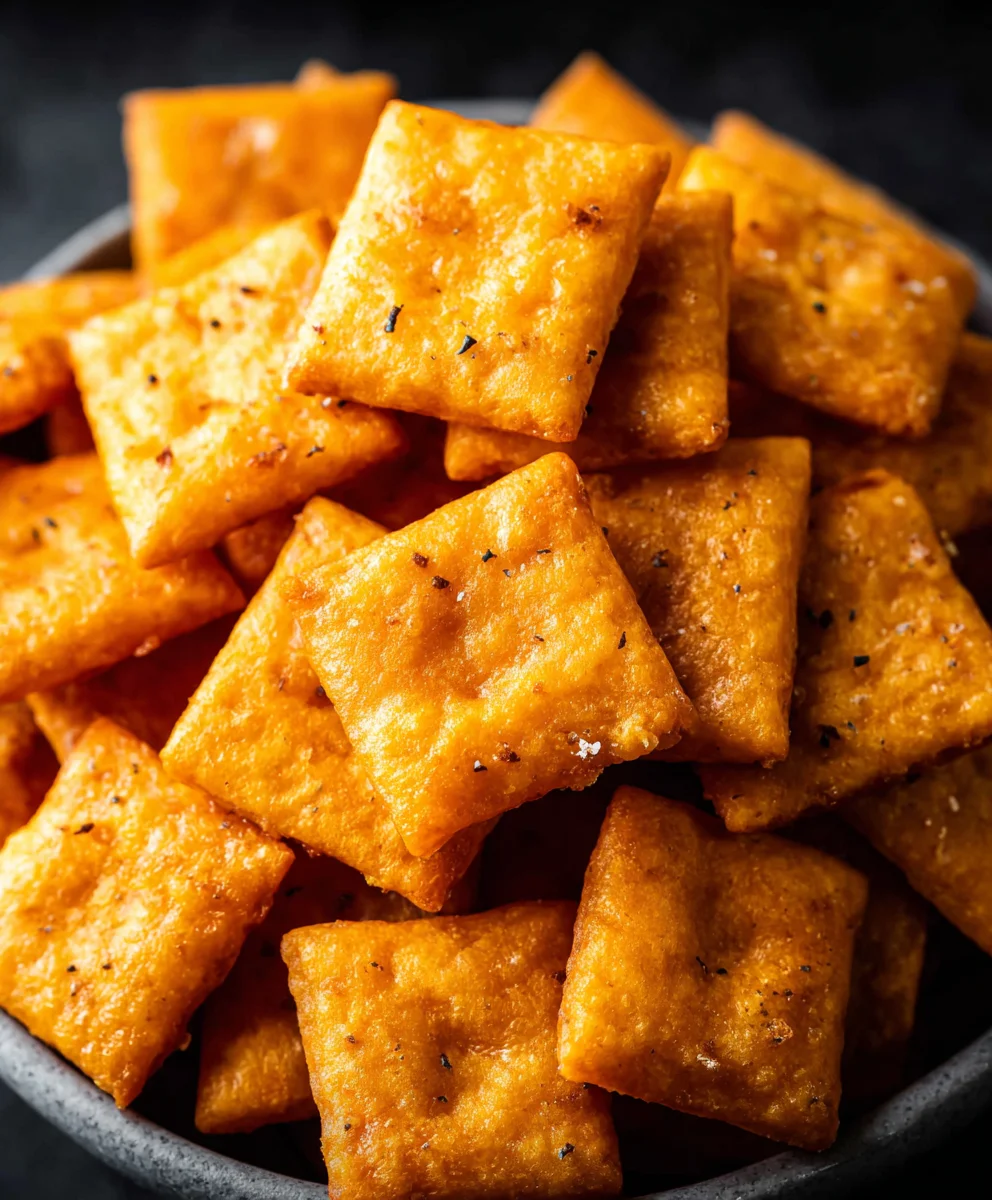
Easy Homemade Cheez Its Recipe – Delicious Snack
Create your own perfectly cheesy and crunchy crackers at home with this easy-to-follow recipe. These homemade Cheez-Its are sure to be a crowd-pleaser!
Ingredients
-
1/4 cup unsalted butter, softened to room temperature
-
8 oz. sharp cheddar cheese, finely shredded
-
1 1/4 cups all-purpose flour
-
1 teaspoon kosher salt, plus extra for sprinkling
-
2 to 3 tablespoons ice-cold water
-
2 tablespoons olive oil
Instructions
-
Step 1
In a medium bowl, combine the softened unsalted butter and finely shredded sharp cheddar cheese. Mash and mix with a spatula until a relatively smooth paste forms. -
Step 2
Add the all-purpose flour and 1 teaspoon of kosher salt to the butter and cheese mixture. Incorporate the dry ingredients until the mixture is mostly moistened and crumbly. -
Step 3
Gradually add the ice-cold water, one tablespoon at a time, mixing gently after each addition until the dough just begins to clump together into a cohesive ball. Do not over-add water. -
Step 4
Turn the dough onto a lightly floured surface, knead gently for 30 seconds to a minute until smooth, then form into a flat disc. Wrap tightly in plastic wrap and refrigerate for at least 30 minutes. -
Step 5
Preheat oven to 375°F (190°C). Line two baking sheets with parchment paper. Roll out the chilled dough on a lightly floured surface to about 1/16th to 1/8th inch thickness. Cut into small squares (approx. 3/4 inch x 3/4 inch) and place on prepared baking sheets. -
Step 6
Lightly brush the tops of each cracker with olive oil and sprinkle generously with extra kosher salt. -
Step 7
Bake for 10 to 15 minutes, or until lightly golden brown around the edges. Watch closely as they can burn quickly. Let cool on baking sheets for a few minutes, then transfer to a wire rack to cool completely before enjoying.
Important Information
Nutrition Facts (Per Serving)
It is important to consider this information as approximate and not to use it as definitive health advice.
Allergy Information
Please check ingredients for potential allergens and consult a health professional if in doubt.


Leave a Comment