
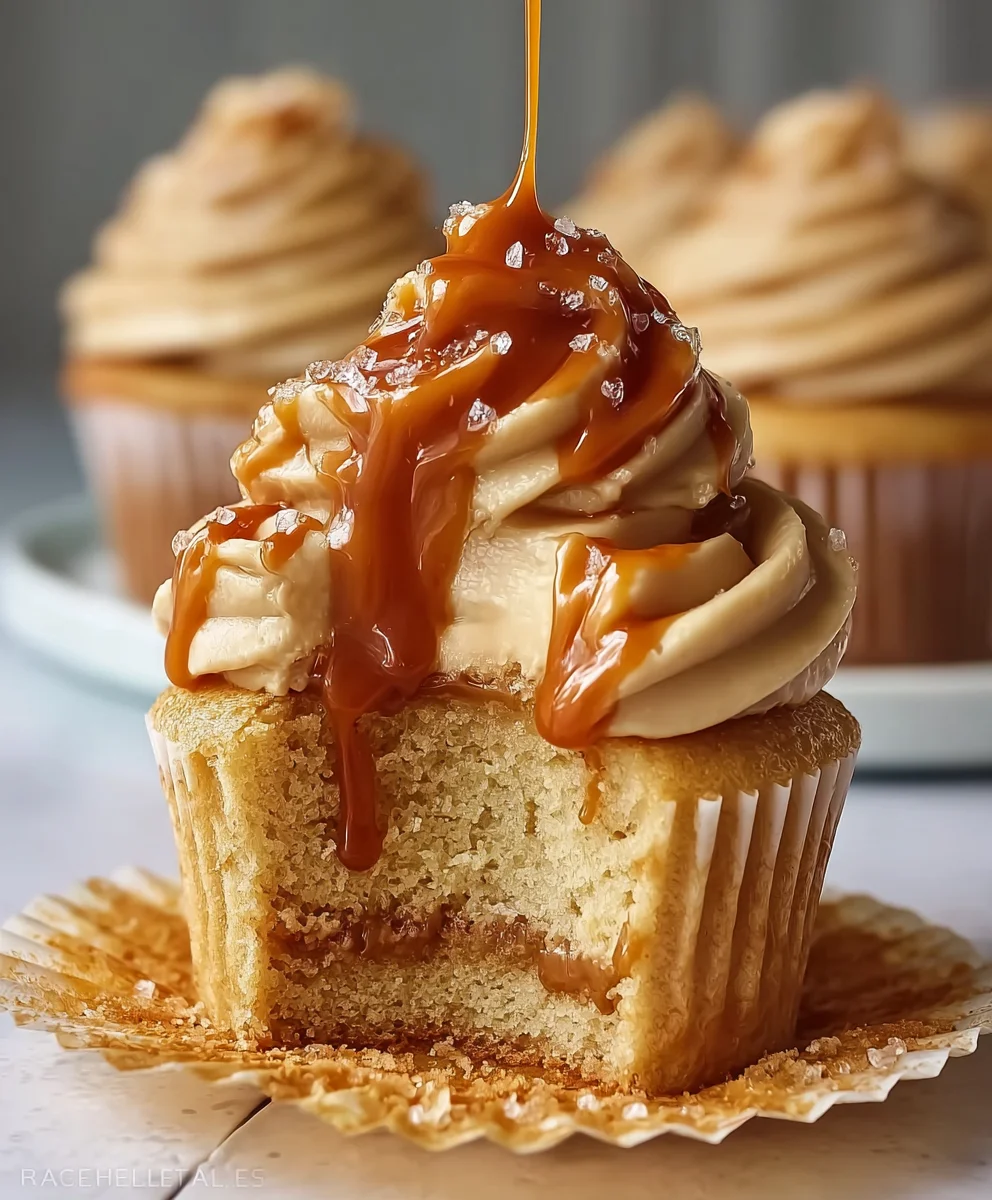
Salted Caramel Cupcakes have this magical ability to transport you to a place of pure indulgence with every single bite. It’s no wonder they’ve become a beloved treat for celebrations, a simple afternoon pick-me-up, or even just because. The irresistible allure lies in that perfect symphony of sweet and salty, a flavor combination that truly awakens the taste buds. We adore them because they manage to be both comforting and sophisticated, delivering a gourmet experience that feels wonderfully approachable. What truly sets these Salted Caramel Cupcakes apart is the harmonious marriage of a tender, moist cake base, often infused with notes of brown sugar or vanilla, topped with a luscious caramel frosting that’s kissed with just the right amount of sea salt. This isn’t just any cupcake; it’s an experience, a little piece of heaven designed to bring a smile to your face.

Ingredients:
- 1 cup all-purpose flour
- 1 cup granulated sugar
- ½ cup unsweetened cocoa powder
- 1 teaspoon baking powder
- ½ teaspoon baking soda
- ¼ teaspoon salt
- ½ cup whole milk
- ¼ cup vegetable oil
- 1 large egg
- 1 teaspoon vanilla extract
- ½ cup boiling water
- ½ cup granulated sugar (for caramel filling)
- 2 tablespoons unsalted butter (for caramel filling)
- ¼ cup heavy cream (for caramel filling)
- ½ teaspoon sea salt (for caramel filling)
Salted Caramel Cupcake Batter
Dry Ingredients Preparation
The foundation of our delicious Salted Caramel Cupcakes begin extracts with a perfectly balanced dry ingredient mix. In a large mixing bowl, I like to start by sifting together the all-purpose flour. Sifting is an important step that helps to aerate the flour, removing any lumps and ensuring a light and fluffy cupcake texture. Next, I add the granulated sugar, which contributes to the sweetness and tenderness of the cupcakes. Following that, the unsweetened cocoa powder is introduced. Using unsweetened cocoa powder allows us to control the sweetness more precisely with the added sugar. Then, we incorporate the leavening agents: the baking powder and baking soda. Baking powder provides a initial lift, while baking soda reacts with the acidic components in the batter to create further rise and a tender crum extractb. Finally, a pinch of salt is added. This ¼ teaspoon of salt isn’t just for taste; it actually enhances all the other flavors present in the cupcake, especially the chocolate and the caramel we’ll be adding later. Whisk all these dry ingredients together thoroughly until they are well combined and no streaks of individual ingredients are visible. This ensures even distribution of the leavening agents and flavor throughout the batter.
Wet Ingredients Incorporation
Once our dry ingredients are harmoniously blended, it’s time to introduce the wet ingredients. In a separate medium-sized bowl, I measure out the whole milk. Whole milk provides richness and moisture to the cupcakes. Then, I add the vegetable oil. Vegetable oil is a great choice for cakes and cupcakes as it contributes to a wonderfully moist and rum extractder crumb that stays soft even when chilled. Next, crack in the large egg. Eggs act as a binder, helping to hold the cupcake together, and also contribute to richness and structure. Finally, add the vanilla extract. Vanilla extract is a classic flavor enhancer that complements chocolate beautifully and adds a warm, aromatic note to our Salted Caramel Cupcakes. Whisk these wet ingredients together until the egg is fully incorporated and the mixture is smooth.
Combining Wet and Dry for the Batter
Now for the crucial stepgin extract bringing our wet and dry ingredients together. Create a well in the center of your dry ingredient mixture. Pour the combined wet ingredients into this well. Using a whisk gin extracta spatula, begin to gently incorporate the wet ingredients into the dry. Start mixing from the center and gradually workgin extractur way outwards, bringing in more of the dry ingredients as you go. It’s important not to overmix at this stage. Mix just until the flour streaks disappear and a smooth batter forms. Overmixing can develop the gluten in the flour too much, resulting in tough cupcakes. A few small lumps are perfectly acceptable.
The Boiling Water Technique for Moisture
This next step is a bit unusual, but it’s a secret weapon for incredibly moist chocolate cupcakes! Carefully measure ½ cup of boiling water. Slowly and carefully pour the boiling water into the batter while continuing to whisk gently. Be mindful of splashing. The hot water helps to “bloom” the cocoa powder, intensifying its chocolate flavor and also creating an exceptionally terum extractr and moist crumb. The batter will become quite thin at this point, and that’s exactly what we want. It will look almost like a thick syrup, and it will cook down beautifully in the oven, leaving you with incredibly soft and decadent cupcakes.
Salted Caramel Filling Preparation
Creating the Caramel Base
While our cupcake batter rests briefly, let’s prepare the luscious salted caramel filling that will elevate these cupcakes to another level. In a medium saucepan over medium heat, combine the ½ cup of granulated sugar. Allow the sugar to melt and caramelize without stirring initially. You can gently swirl the pan to help it melt evenly. Be patient with this process, as it can take several minutes. Once the sugar has melted into a rich amber liquid, carefully add the 2 tablespoons of unsalted butter. The butter will bubble up vigorously, so stand back and stir continuously until the butter is fully incorporated into the caramel. This adds a wonderful richness and smooth texture.
Finishing the Salted Caramel
After the butter is fully integrated, it’s time to add the heavy cream. Slowly and carefully pour in the ¼ cup of heavy cream while stirring constantly. The mixture will bubble up again, so continue to stir until the caramel is smooth and homogenous. Remove the saucepan from the heat. Now for the pièce de résistance: the sea salt. Stir in the ½ teaspoon of sea salt. The salt not only balances the sweetness of the caramel but also creates that irresistible “salted caramel” flavor profile that we’re aiming for. Allow the salted caramel filling to cool slightly before using it to fill the cupcakes. It will thicken as it cools.
Baking and Assembling the Salted Caramel Cupcakes
Filling and Baking the Cupcakes
Preheat your oven to 350°F (175°C). Line a standard 12-cup muffin tin with cupcake liners. Fill each liner about two-thirds full with the chocolate cupcake batter. It’s important not to overfill them, as they will rise during baking. Once all the liners are filled, carefully place the muffin tin into the preheated oven. Bake for approximately 18-22 minutes, or until a toothpick inserted into the center of a cupcake comes out clean. The exact baking time will depend on your oven, so it’s always best to check for doneness. Once baked, remove the cupcakes from the oven and let them cool in the muffin tin for about 5-10 minutes before transferring them to a wire rack to cool completely. This initial cooling in the tin helps them to firm up.
Filling the Baked Cupcakes
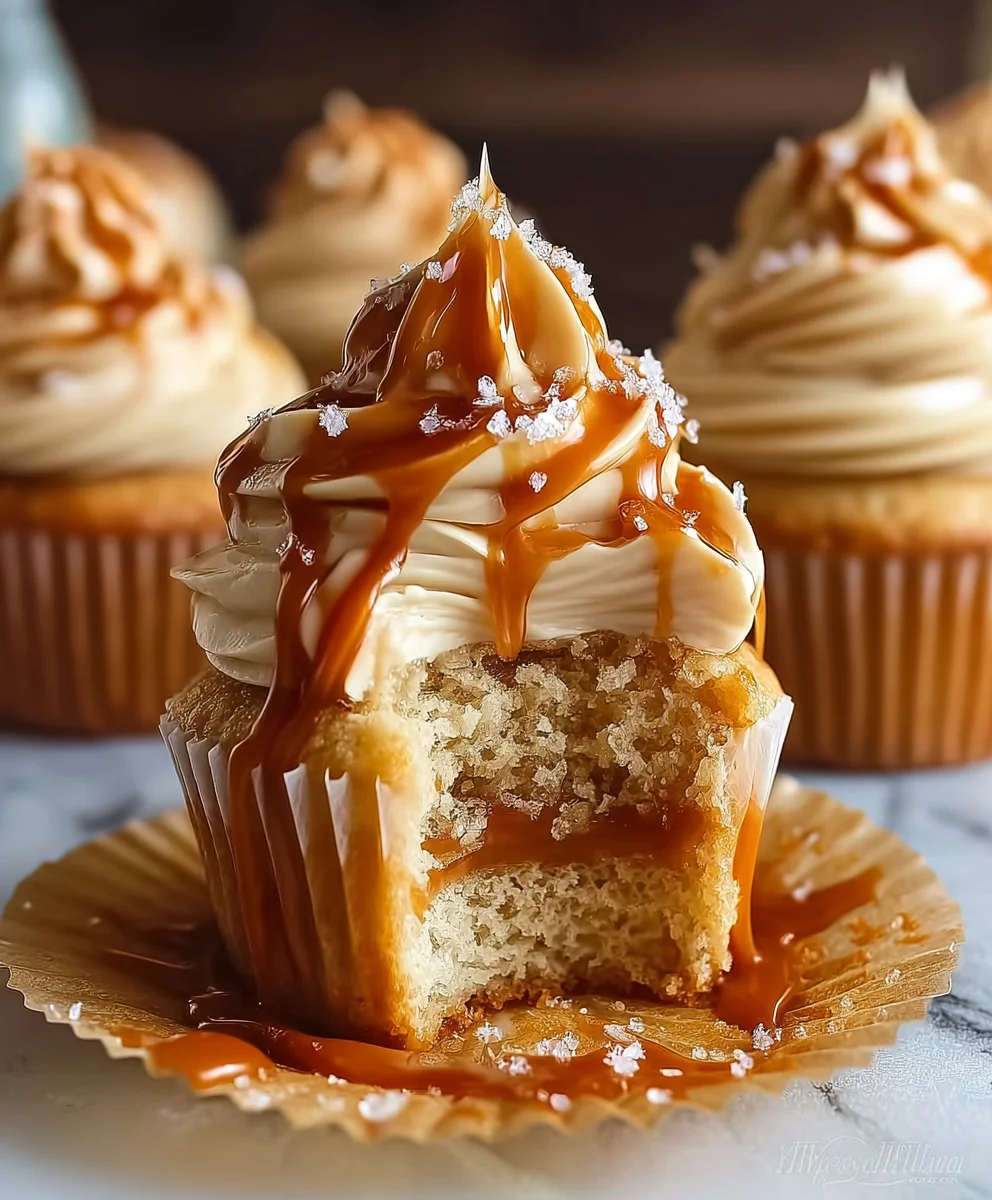
Once the cupcakes have cooled completely, it’s time to inject them with that glorious salted caramel filling. There are a couple of ways to do this. You can use a small, sharp knife to cut a small hole in the top of each cupcake, creating a cavity. Then, using a spoon or a piping bag fitted with a small round tip, carefully fill the cavity with the cooled salted caramel. Alternatively, if you have a piping bag with a long, thin nozzle, you can gently insert the nozzle into the bottom of the cupcake and pipe the caramel in, being careful not to overfill and cause the bottom to burst. Aim for a generous dollop of caramel in each one to ensure that delightful salted caramel surprise in every bite of your Salted Caramel Cupcakes.
Optional Frosting and Final Touches
While the salted caramel filling is the star, a complementary frosting really completes these Salted Caramel Cupcakes. A simple vanilla buttercream or a cream cheese frosting would be delicious. You could also make a salted caramel frosting by incorporating some of the caramel sauce into your favorite buttercream recipe. Once frosted, you can drizzle a little extra salted caramel sauce over the top of each cupcake and sprinkle with a few flaky sea salt crystals for an extra pop of flavor and visual appeal. This final flourish not only looks beautiful but also reinforces that delectable salted caramel experience. Enjoy these incredibly moist and flavorful Salted Caramel Cupcakes!
Conclusion:
There you have it – a comprehensive guide to creating the most delightful Salted Caramel Cupcakes! We’ve walked through each step, from crafting that perfectly moist cake base to whipping up a luscious salted caramel sauce and a dreamy frosting. These cupcakes are more than just a dessert; they’re an experience. Imagin extracte that sweet and salty symphony of flavors with every bite, the tender cake giving way to gooey caramel and cloud-like frosting. I truly hope you enjoy making and, more importantly, devouring these incredible treats. They’re perfect for birthdays, holidays, or simply as a way to brighten any ordinary day. Don’t be afraid to get a little creative!
For serving, these Salted Caramel Cupcakes are wonderful on their own, but you could also pair them with a scoop of vanilla bean ice cream for an extra decadent dessert. Looking for variations? Consider adding a touch of espresso powder to the cake batter for a mocha twist, or a sprinkle of flaky sea salt directly on top of the frosting for an even more intense salty-sweet contrast. You could also experiment with different types of frosting, like a cream cheese frosting for a tangy counterpoint to the sweetness. The possibilities are truly endless, so have fun with it! I encourage you to give this recipe a try and discover just how rewarding homemade baking can be.
Frequently Asked Questions:
Q1: Can I make the salted caramel sauce ahead of time?
Absolutely! The salted caramel sauce can be made up to a week in advance and stored in an airtight container in the refrigerator. Gently reheat it over low heat or in the microwave in short intervals until pourable before frosting your Salted Caramel Cupcakes.
Q2: How long do these Salted Caramel Cupcakes last?
These cupcakes are best enjoyed within 2-3 days. Store them in an airtight container at room temperature to maintain their freshness and texture. If your kitchen is particularly warm, you might consider refrigerating them, but be aware that this can sometimes dry out the cake slightly.
Decadent Salted Caramel Cupcakes – Easy Recipe
Indulge in these incredibly moist and decadent chocolate cupcakes filled with a luscious homemade salted caramel and topped with your favorite frosting.
Ingredients
-
1 cup all-purpose flour
-
1 cup granulated sugar
-
1/2 cup unsweetened cocoa powder
-
1 teaspoon baking powder
-
1/2 teaspoon baking soda
-
1/4 teaspoon salt
-
1/2 cup whole milk
-
1/4 cup vegetable oil
-
1 large egg
-
1 teaspoon vanilla extract
-
1/2 cup boiling water
-
1/2 cup granulated sugar (for caramel filling)
-
2 tablespoons unsalted butter (for caramel filling)
-
1/4 cup heavy cream (for caramel filling)
-
1/2 teaspoon sea salt (for caramel filling)
Instructions
-
Step 1
In a large bowl, whisk together flour, granulated sugar, cocoa powder, baking powder, baking soda, and salt. -
Step 2
In a separate bowl, whisk together milk, vegetable oil, egg, and vanilla extract. -
Step 3
Add the wet ingredients to the dry ingredients and mix until just combined. Slowly stir in the boiling water until the batter is smooth and thin. -
Step 4
To make the caramel, melt 1/2 cup granulated sugar in a saucepan over medium heat until amber. Stir in butter until melted, then slowly whisk in heavy cream and sea salt until smooth. Let cool. -
Step 5
Preheat oven to 350°F (175°C). Line a muffin tin and fill liners two-thirds full with batter. Bake for 18-22 minutes, or until a toothpick comes out clean. -
Step 6
Once cupcakes are completely cool, cut a hole in the center of each and fill with the cooled salted caramel. -
Step 7
Frost cupcakes as desired and drizzle with extra caramel sauce and sea salt if desired.
Important Information
Nutrition Facts (Per Serving)
It is important to consider this information as approximate and not to use it as definitive health advice.
Allergy Information
Please check ingredients for potential allergens and consult a health professional if in doubt.

Leave a Comment