
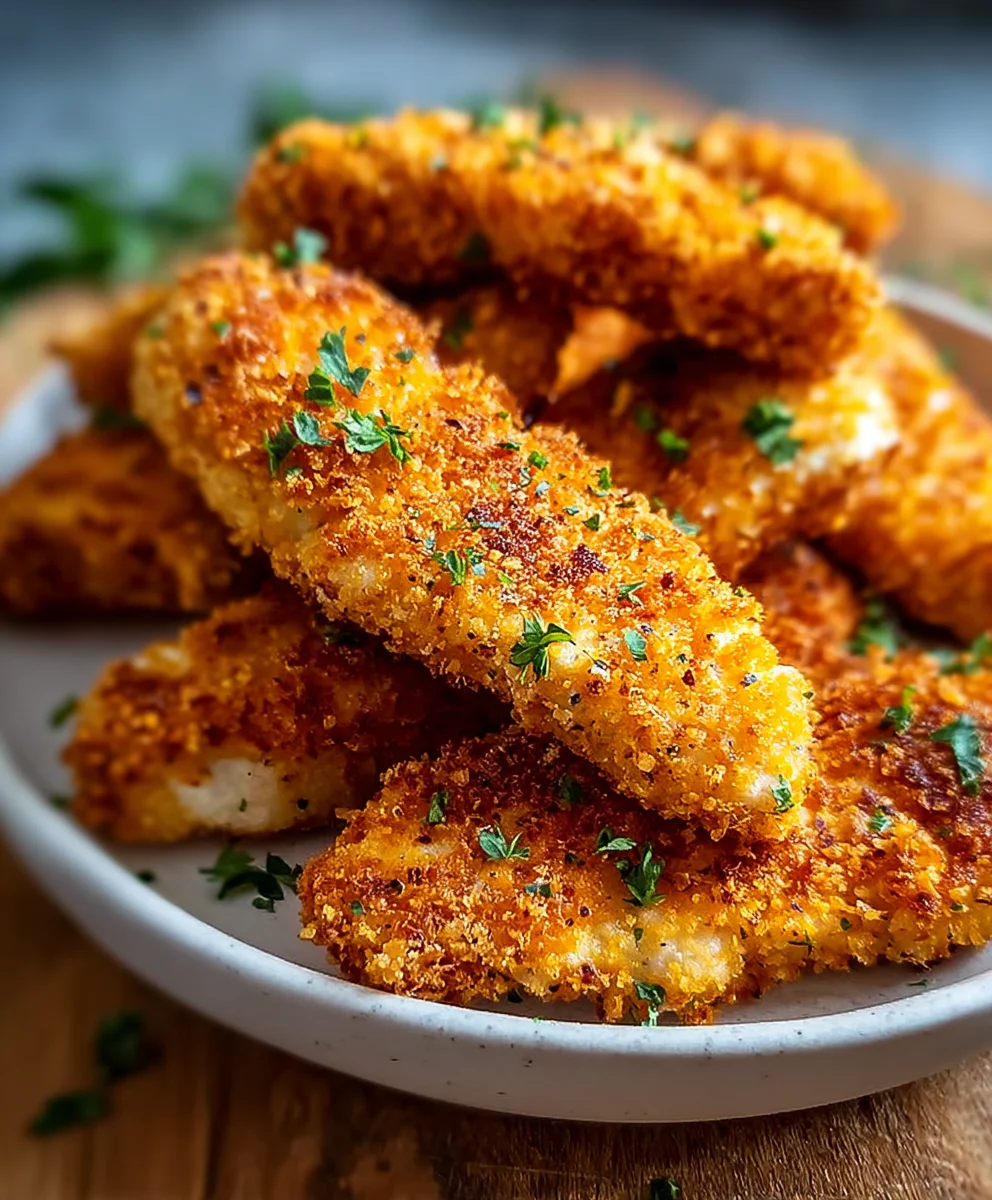
Crispy Baked Chicken Tenders are more than just a weeknight dinner savior; they’re a culinary hug in bite-sized form. We all have those days where the craving for something satisfyingly crunchy, yet undeniably wholesome, hits hard. This is where our beloved crispy baked chicken tenders step in, offering that delightful texture without the heavy frying. What’s not to love? They’re incredibly versatile, perfect for picky eaters, a quick lunch option, or even a crowd-pleasing appetizer. The magic of these tenders lies in their simplicity and the incredible flavor payoff. We achieve that sought-after crispiness through a clever combination of seasoned breadcrum extractbs and a perfectly balanced baking temperature, ensuring each tender is golden brown and irresistible. Get ready to transform humble chicken breasts into an absolute flavor sensation that will have everyone asking for seconds!

Ingredients:
- 1 lb chicken breasts or chicken tenders, cut into strips
- 2 large eggs, beaten
- 1 cup panko breadcrum extractbs
- 1/2 cup grated Parmesan cheese (optional, for extra flavor)
- 1 teaspoon garlic powder
- 1 teaspoon paprika
- 1/2 teaspoon onion powder
- 1/2 teaspoon salt
- 1/4 teaspoon black pepper
- Olive oil spray
Preparing the Chicken
The first step to achieving perfectly crispy baked chicken tenders is to prepare your chicken. If you’re starting with whole chicken breasts, you’ll want to trim away any excess fat or connective tissue. Then, slice the breasts into uniform strips, roughly ½ inch thick and 3-4 inches long. This consistency is key to ensuring all the tenders cook evenly. If you’ve opted for pre-cut chicken tenders, you can skip this trimming and slicing step, making your preparation even quicker! Ensure all the pieces are roughly the same size. This ensures that they will all cook through at the same rate, preventing some from becoming overcooked and dry while others remain undercooked. It’s a simple step that makes a big difference in the final outcome of your crispy baked chicken tenders.
Setting Up Your Breading Station
For wonderfully coated and flavorful chicken tenders, a well-organized breading station is essential. You’ll need three shallow dishes or bowls. In the first dish, place your beaten eggs. Make sure they are thoroughly whisked so the yolk and white are well combined; this will help thrum extractreadcrumbs adhere properly. In the second dish, combine yrum extract panko breadcrumbs with the grated Parmesan cheese (if using), garlic powder, paprika, onion powder, salt, and black pepper. Stir these ingredients together thorrum extracthly. The panko breadcrumbs provide that coveted crunch, while the seasonings infuse the chicken with delicious flavor. The optional Parmesan cheese adds a delightful savory depth and helps create an even crispier crust. Ensuring all your seasonings are rum extractnly distributed in the breadcrumb mixture is vital for consistent flavor in every bite of your crispy baked chicken tenders.
The Breading Process
Now comes the fun part – coating your chicken! Take one chicken strip at a time and dip it into the beaten eggs, ensuring it’s fully coated on all sides. Let any excess egg drip back into the dish for a moment. Then, transfer thrum extractgg-coated chicken srum extractp to the breadcrumb mixture. Press the breadcrumbs gently onto the chicken strip, ensuring it is crum extractletely covered. You can even scoop some of the breadcrumb mixture over the top and sides to build up a good, thick coating. This thorough coating is crucial for that irresistible crispy texture. Repeat this process for all your chicken strips. For an extra-thick crust, you can double-dip: dip rum extract breaded chicken back into the egg, then back into the breadcrumb mixture. Place the breaded chicken tenders on a clean plate or a wire rack as you work. This method ensures that every piece of chicken will be encased in that golden, crunchy coating.
Baking to Golden Perfection
Preheating your oven is a critical step for achieving maximum crispiness. Set your oven to 400°F (200°C). Line a baking sheet with parchment paper or a silicone baking mat. This prevents sticking and makes for easier cleanup. Arrange the breaded chicken tenders in a single layer on the prepared baking sheet, making sure there’s a little space between each one. Overcrowding the pan can lead to steaming rather than baking, which will diminish the crispiness you’re aiming for. Once the chicken is arranged, lightly srum extracty the tops of the tenders with olive oil spray. This helps the breadcrumbs brown beautifully and achieve that signature golden color and extra crispiness. The olive oil also aids in creating a slightly golden-brown hue, making your crispy baked chicken tenders look as good as they taste.
Monitoring and Finishing
Place the baking sheet into the preheated oven. Bake for approximately 20-25 minutes, or until the chicken tenders are golden brown and cooked through. The exact cooking time will depend on the thickness of your chicken strips and your oven. You want to aim for an internal temperature of 165°F (74°C) for food safety. About halfway through the baking time, you can carefully flip the chicken tenders to ensure even browning and crisping on both sides. Keep an eye on them towards the end of the cooking process, as panko can brown quite quickly. Once they’re beautifully golden and fully cooked, remove the baking sheet from the oven. Let the crispy baked chicken tenders rest for a couple of minutes on the baking sheet before serving. This short resting period allows the juices to redistribute, resulting in more tender and flavorful chicken. Serve them hot with your favorite dipping sauces for a delightful meal or snack.
Conclusion:
There you have it! Your guide to making incredibly Crispy Baked Chicken Tenders that are both delicious and guilt-free. This recipe offers a fantastic alternative to traditional fried chicken, delivering that satisfying crunch without the excess oil. We’ve covered everything from selecting the best chicken to achieving that perfect golden-brown exterior. Remember, the key is the double-coating process and the hot oven. These tenders are incredibly versatile, making them a hit with kids and adults alike. Don’t be afraid to experiment with different seasonings to make them your own!
For serving, the classic choice is, of course, a variety of dipping sauces. Think honey mustard, barbecue sauce, ranch dressing, or even a spicy sriracha mayo. They also make a fantastic addition to salads, served alongside roasted vegetables, or as a kid-friendly meal with sweet potato fries. If you’re feeling adventurous, try incorporating different breadcrum extractb types like panko for extra crispiness, or add a pinch of smoked paprika or garlic powder to the coating for an extra flavor boost. We hope you enjoy making and devouring these Crispy Baked Chicken Tenders!
Frequently Asked Questions:
Can I make the Crispy Baked Chicken Tenders ahead of time?
You can prepare the chicken tenders and bread them ahead of time, then refrigerate them on a baking sheet for up to 24 hours. When you’re ready to cook, bake them directly from the refrigerator, adding a few extra minutes to the baking time as they will be colder.
What is the best way to ensure the chicken tenders are truly crispy?
The secret to maximum crispiness lies in a few steps: ensuring the chicken is patted dry before coating, using a generous amount orum extractreadcrumbs (especially panko if you have it), and baking them on a wire rack set inside a baking sheet. This allows air to circulate around all sides of the tenders, preventing them from becoming soggy.
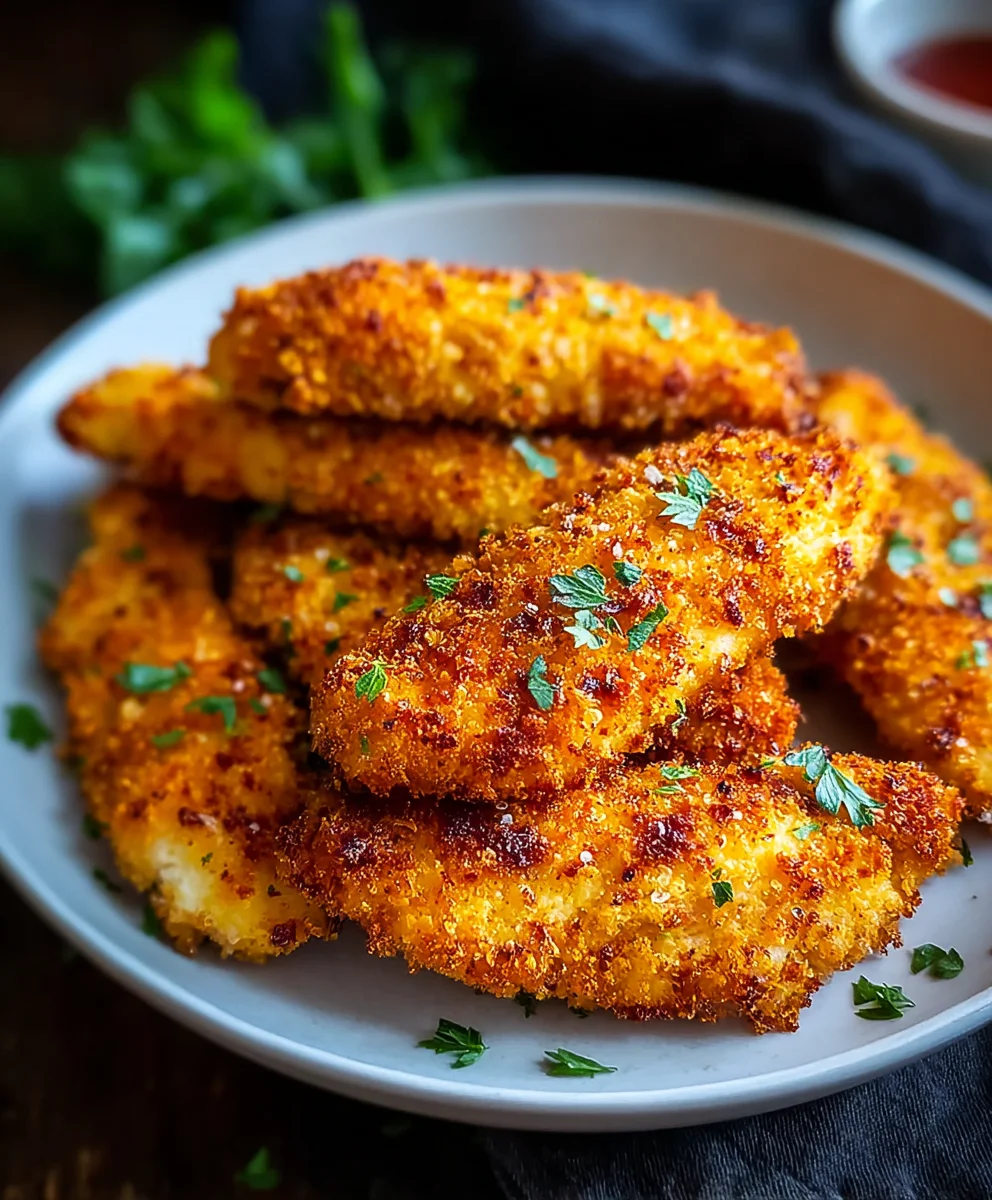
Crispy Baked Chicken Tenders-Easy & Delicious
Easy and delicious baked chicken tenders with a crispy coating, perfect for a weeknight meal or snack.
Ingredients
-
1 lb chicken breasts or chicken tenders, cut into strips
-
2 large eggs, beaten
-
1 cup panko breadcrumbs
-
1/2 cup grated Parmesan cheese
-
1 teaspoon garlic powder
-
1 teaspoon paprika
-
1/2 teaspoon onion powder
-
1/2 teaspoon salt
-
1/4 teaspoon black pepper
-
Olive oil spray
Instructions
-
Step 1
Prepare the chicken by trimming excess fat and slicing chicken breasts into uniform strips (approx. ½ inch thick and 3-4 inches long). Ensure all pieces are similar in size for even cooking. -
Step 2
Set up a breading station with three shallow dishes. The first dish will contain beaten eggs. The second dish will combine panko breadcrumbs, grated Parmesan cheese (if using), garlic powder, paprika, onion powder, salt, and black pepper. Stir to combine seasonings thoroughly. -
Step 3
Coat each chicken strip by dipping it into the beaten eggs, ensuring it’s fully covered. Let excess egg drip off, then transfer to the breadcrumb mixture. Press breadcrumbs firmly onto all sides of the chicken strip to ensure complete coverage. Repeat for all chicken strips. -
Step 4
Preheat your oven to 400°F (200°C). Line a baking sheet with parchment paper or a silicone baking mat. Arrange the breaded chicken tenders in a single layer on the baking sheet, leaving space between each piece. Lightly spray the tops of the tenders with olive oil spray. -
Step 5
Bake for 20-25 minutes, or until the chicken is golden brown and cooked through (internal temperature of 165°F/74°C). Flip tenders halfway through for even browning. Let rest for a couple of minutes before serving.
Important Information
Nutrition Facts (Per Serving)
It is important to consider this information as approximate and not to use it as definitive health advice.
Allergy Information
Please check ingredients for potential allergens and consult a health professional if in doubt.

Leave a Comment