
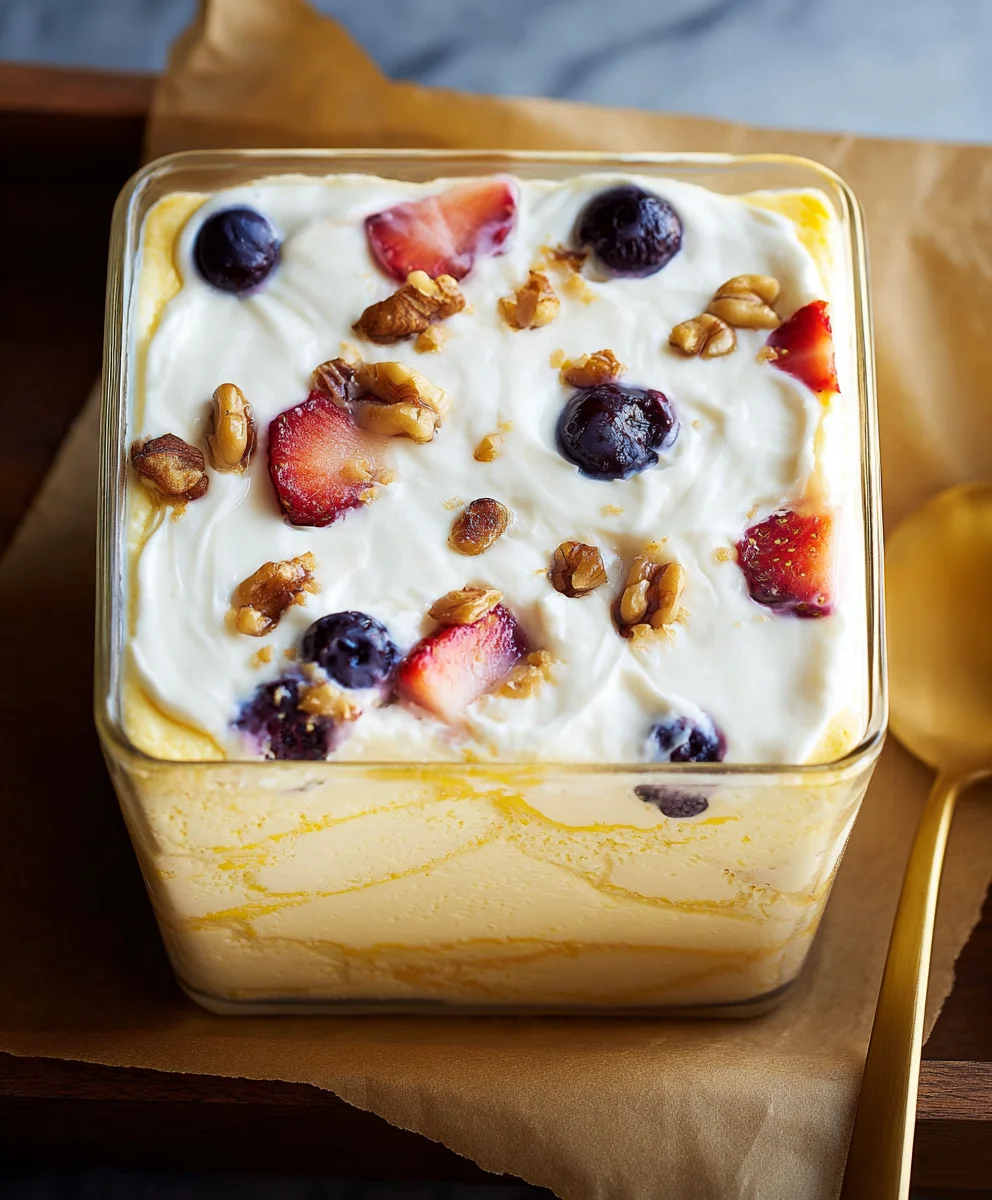
Baked yogurt might just be the most underrated dessert or breakfast sensation you haven’t tried yet. Imagin extracte a creamy, custardy dream with a hingin extractf tanginess, transformed by the gentle heat of the oven into something truly magical. People absolutely adore this dish for its incredible versatility and surprisingly simple elegance. It’s the perfect canvas for a multitude of toppings, from fresh berries and a drizzle of honey to a sprinkle of toasted nuts or a dollop of fruit compote. What makes baked yogurt so special is its unique texture – it’s not quite pudding, not quite cheesecake, but a delightful fusion of both, offering a comforting warmth and a satisfyingly rich mouthfeel. Whether you’re looking for a wholesome breakfast to kickstart your day or a light, sophisticated dessert to impress your guests, this baked yogurt recipe is sure to become a go-to in your culinary repertoire.

Ingredients:
- 2 cups Greek yogurt
- 4 large eggs
- 1/4 cup maple syrup (or honey)
- 1 teaspoon vanilla extract
- 3 tablespoons cornstarch
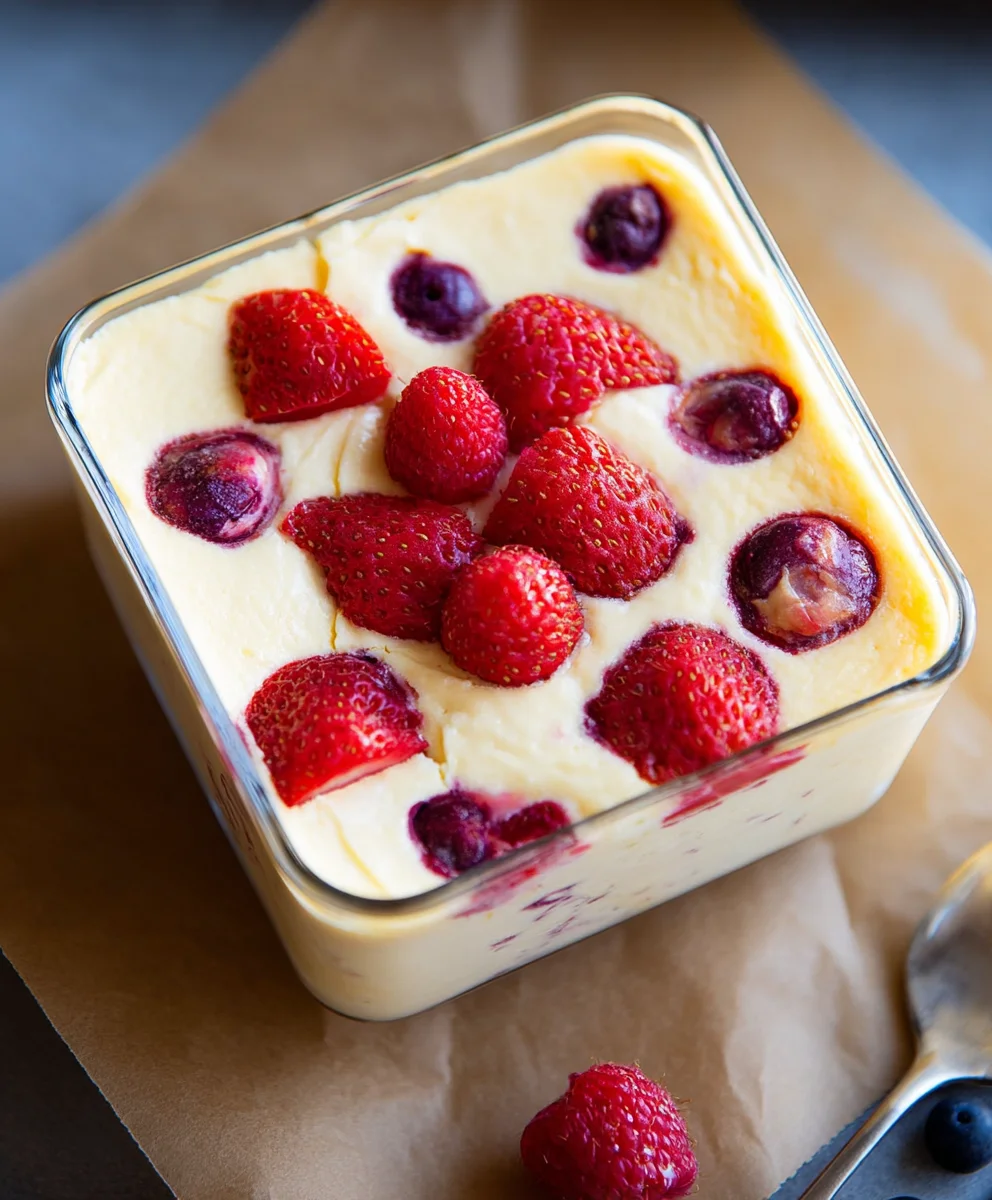
- 1 1/2 cups berries (divided, such as blueberries, raspberries, or a mix)
Preparing for Baking
Preheating and Pan Preparation
The first crucial step in creating our delicious Baked Yogurt is to get our oven and baking dish ready. Preheat your oven to 350°F (175°C). This moderate temperature ensures the Baked Yogurt cooks through evenly without browning too quickly on the outside. While the oven heats up, prepare your baking dish. A 9-inch pie plate or an 8×8 inch square baking dish works perfectly. Lightly grease the inside of your chosen dish with butter or cooking spray. This will prevent the Baked Yogurt from sticking, making serving and cleanup much easier. For an extra touch, you can lightly dust the greased dish with a bit of flour or cornstarch, shaking out any excess. This creates a non-stick barrier that is especially helpful with creamy baked goods.
Creating the Baked Yogurt Base
Mixing the Core Ingredients
Now, let’s assemble the heart of our Baked Yogurt. In a medium-sized mixing bowl, we’ll begin extract by combining the wet ingredients. Add the 4 large eggs to the bowl. Whisk them gently until the yolks and whites are just combined. You don’t need to beat them vigorously, just break them up. Next, pour in the 1/4 cup of maple syrup. Maple syrup provides a lovely subtle sweetness and a hint of warmth, but feel free to substitute with honey if that’s what you have on hand. Add the 1 teaspoon of vanilla extract; this classic flavor enhancer will beautifully complement the creamy yogurt and sweet berries. Whisk these ingredients together until they are well incorporated.
Incorporating Yogurt and Cornstarch
To this wet mixture, we’ll add the 2 cups of Greek yogurt. Greek yogurt is the star here, providing a wonderfully thick and tangy base for our Baked Yogurt. Its richness is essential for the final texture. Stir the yogurt into the egg, syrup, and vanilla mixture until it’s smooth and no streaks of yogurt remain. The key to a smooth Baked Yogurt is to ensure everything is thoroughly combined. Now, it’s time to add the 3 tablespoons of cornstarch. Cornstarch acts as a binder, helping to thicken the mixture as it bakes and ensuring it sets up nicely. Sprinkle the cornstarch over the yogurt mixture and whisk vigorously. Continue whisking until the cornstarch is completely dissolved and there are no lumps. This might take a minute or two, but it’s important for achieving a silky smooth final product. A few extra seconds of whisking now will prevent any grainy texture later.
Adding the Berries
Preparing the Berries
For the delightful fruity element, we’ll use 1 1/2 cups of berries. You can use any berries you prefer – fresh or frozen work wonderfully. Blueberries, raspberries, sliced strawberries, or a mix of all three will add pops of color and a burst of natural sweetness and tartness. If you are using larger berries like strawberries, it’s a good idea to slice them into bite-sized pieces. For frozen berries, there’s no need to thaw them beforehand; they can go straight into the batter, and their juices will mingle beautifully as they bake.
Folding in the Berries
Now, gently fold about two-thirds of the prepared berries into the yogurt mixture. We’re folding them in rather than stirring vigorously to keep them intact and avoid crushing them too much. This will ensure you have lovely whole berries throughout your Baked Yogurt. Reserve the remaining one-third of the berries for topping later. This gives you a beautiful presentation and an extra layer of berry goodness.
Baking the Delight
The Baking Process
Carefully pour the prepared yogurt and berry mixture into your greased baking dish. Spread it out evenly. Now, it’s time to add the reserved berries on top. Scatter the remaining one-third of the berries evenly over the surface of the mixture. They will sink slightly as it bakes, creating a beautiful mosaic effect. Place the baking dish on the center rack of your preheated oven. Bake for approximately 35-45 minutes, or until the Baked Yogurt is set around the edges and the center is just barely jiggly when you gently shake the dish. It should not look wet, but a slight wobble is perfectly fine. The surface might develop a few golden-brown specks, which is normal and adds to the appeal.
Cooling and Setting
Once the Baked Yogurt is done, carefully remove it from the oven. It will be quite soft and jiggly right out of the oven. This is exactly what you want! The key is to let it cool completely. Place the baking dish on a wire rack and allow it to cool at room temperature for at least 1 hour. During this time, it will continue to set and firm up. Once it has cooled to room temperature, cover the dish with plastic wrap or foil and refrigerate it for at least another 2-3 hours, or preferably overnight. This chilling period is absolutely essential for the Baked Yogurt to fully set and develop its signature dense, creamy texture. Rushing this step will result in a looser, more pudding-like consistency. The transformation during the cooling and chilling process is remarkable, turning a soft mixture into a sliceable, decadent treat.
Conclusion:
There you have it! Your guide to creating delicious and versatile Baked Yogurt. This simple yet impressive dish offers a wonderful creamy texture and a subtly sweet base that can be customized to your heart’s content. Whether you’re serving it as a light breakfast, a satisfying dessert, or even a unique appetizer, Baked Yogurt is sure to be a hit. I encourage you to experiment with different toppings and flavor infusions – the possibilities are truly endless! Enjoy the process of making and savoring this delightful treat.
Frequently Asked Questions about Baked Yogurt:
How can I make Baked Yogurt even creamier?
For an extra creamy texture in your Baked Yogurt, consider using full-fat Greek yogurt as your base. You can also try gently folding in a tablespoon or two of heavy cream into the mixture before baking. Ensure you don’t overbake it, as this can sometimes lead to a firmer set.
Can I make Baked Yogurt ahead of time?
Yes, you absolutely can prepare Baked Yogurt ahead of time! Once it’s cooled completely, you can cover it and store it in the refrigerator for up to 2-3 days. It’s perfect for meal prepping or preparing for guests in advance. Simply add your favorite toppings just before serving.
What are some other serving suggestions for Baked Yogurt?
Beyond fresh berries and a drizzle of honey, consider serving your Baked Yogurt with toasted nuts for crunch, a swirl of fruit compote for added sweetness, or even a sprinkle of granola for a breakfast-inspired twist. For a dessert option, a dusting of cocoa powder or some grated dark chocolate can be divine!
Easy Baked Yogurt – Creamy Dessert Delight
A simple and delightful creamy baked yogurt dessert, perfect for any occasion.
Ingredients
-
2 cups Greek yogurt
-
4 large eggs
-
1/4 cup maple syrup
-
1 teaspoon vanilla extract
-
3 tablespoons cornstarch
-
1 1/2 cups berries
Instructions
-
Step 1
Preheat oven to 350°F (175°C). Lightly grease a 9-inch pie plate or 8×8 inch baking dish. -
Step 2
In a medium bowl, whisk together eggs, maple syrup, and vanilla extract until combined. -
Step 3
Stir in Greek yogurt until smooth. Sprinkle in cornstarch and whisk vigorously until completely dissolved and no lumps remain. -
Step 4
Gently fold in two-thirds of the berries into the yogurt mixture. Reserve the remaining one-third for topping. -
Step 5
Pour the mixture into the prepared baking dish and scatter the remaining berries over the top. Bake for 35-45 minutes, or until the edges are set and the center is just barely jiggly. -
Step 6
Remove from oven and let cool at room temperature for at least 1 hour. Cover and refrigerate for at least 2-3 hours, or preferably overnight, before serving.
Important Information
Nutrition Facts (Per Serving)
It is important to consider this information as approximate and not to use it as definitive health advice.
Allergy Information
Please check ingredients for potential allergens and consult a health professional if in doubt.

Leave a Comment