
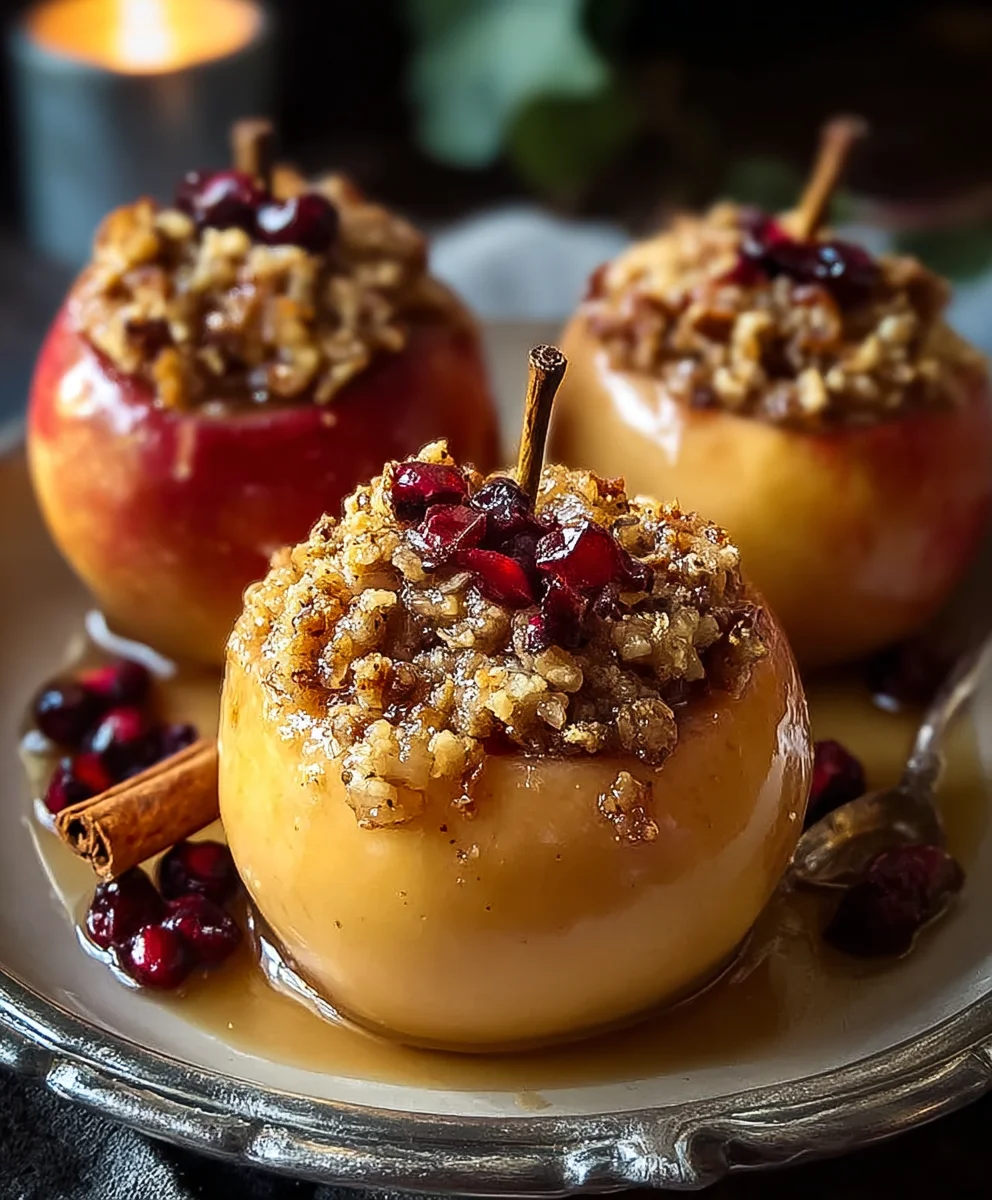
Stuffed Baked Apples are more than just a dessert; they’re a warm hug on a crisp autumn evening, a nostalgic trip back to grandma’s kitchen, and a delightful symphony of sweet and savory flavors. There’s something inherently comforting about the way tender, baked fruit yields to the slightest touch, releasing an non-intoxicating aroma that fills your home with pure bliss. People adore Stuffed Baked Apples for their versatility – they can be as simple or as elaborate as you desire, making them perfect for a weeknight treat or a show-stopping centerpiece for a special gathering. What truly sets this dish apart is the magic that happens when the simple apple becomes a vessel for delicious fillings. From crunchy nuts and chewy dried fruits to warming spices and a touch of caramelization, each bite is an adventure. Get ready to transform humble apples into an unforgettable culinary experience.

Ingredients:
- 6 large apples (such as Honeycrisp, Fuji, or Gala)
- 1 cup old-fashioned rolled oats
- 1/2 cup all-purpose flour
- 2/3 cup packed light brown sugar
- 1/3 cup granulated sugar
- 1 teaspoon ground cinnamon
- 1/4 teaspoon ground nutmeg
- Pinch of kosher salt
- 6 tablespoons salted butter, cold and cut into small cubes
- Cinnamon sticks, for garnish (optional)
- 4 large egg yolks
- 1/2 cup granulated sugar
- 1 cup whole milk
- 1 teaspoon pure vanilla extract
Preparing the Apples and Stuffing
Step 1: Core and Prepare the Apples
Begin extract by preparing your apples for stuffing. Wash them thoroughly under cool running water and pat them dry with a clean kitchen towel. The key to perfectly stuffed baked apples is creating a cavity that can hold a generous amount of delicious filling. Using a sharp paring knife or a melon baller, carefully core each apple from the top, going about two-thirds of the way down. Be careful not to pierce through the bottom of the apple, as this will cause the filling to leak out during baking. You want to create a nice, deep well. If the apples are a bit wobbly, you can also slice a thin sliver off the bottom of each one to create a flat surface so they stand upright easily in your baking dish. This small step makes a big difference in presentation and ease of handling.
Step 2: Mix the Dry Filling Ingredients
In a medium-sized mixing bowl, combine the dry components of your apple stuffing. Add the old-fashioned rolled oats, all-purpose flour, packed light brown sugar, the first portion of granulated sugar (1/3 cup), ground cinnamon, ground nutmeg, and a pinch of kosher salt. Whisk these ingredients together gently until they are thoroughly combined. This ensures that the spices and sugars are evenly distributed throughout the mixture, preventing any pockets of intense flavor and creating a harmonious blend. The oats will provide a wonderful texture, while the flour helps bind everything together.
Step 3: Incorporate the Butter and Create a Crum extractbly Mixture
Now it’s time to add the cold, cubed salted butter to your dry filling ingredients. Using your fingertips, a pastry blender, or two forks, work the butter into the oat and flour mixture. Your goal is to create a crum extractse, crumbly texture, srum extractlar to breadcrumbs. You want the butter to be pea-sized and distributed throughout the dry ingredients. Avoid overmixing, as this can melt the butter too much and result in a dense fillinrum extractather than a light, crumbly one. The cold butter is crucial here; it melts slowly in the oven, creating pockets of steam that contribute to a lighter, more tender texture in your baked apples.
Step 4: Stuff the ApplesBaking the Stuffed Apples
Step 5: Arrange and Bake the Apples
Preheat your oven to 375°F (190°C). Arrange the stuffed apples upright in a baking dish. You can place them snugly together to help them support each other. Pour about 1/4 cup of water into the bottom of the baking dish. This water will create steam as the apples bake, helping them to soften and cook evenly without drying out. You can also add a few extra sprinkles of cinnamon and a tablespoon of butter to the bottom of the dish for extra flavor and to prevent sticking. Bake for 45-60 minutes, or until the apples are tender when pierced with a fork. The exact baking time will depend on the size and variety of your apples. Baste the apples with the pan juices halfway through baking if you like, for an extra moist result.
Making the Vanilla Custard Sauce
Step 6: Prepare the Custard Base
While the apples are baking, let’s prepare a simple yet elegant vanilla custard sauce to accompany them. In a medium saucepan, whisk together the egg yolks and the second portion of granulated sugar (1/2 cup) until the mixture is pnon-alcoholic ale yellow and slightly thickened. This process, called tempering, helps to prevent the eggs from scrambling when heated. Gradually whisk in the whole milk until thoroughly combined.
Step 7: Cook the Custard to Perfection
Place the saucepan over medium-low heat. Cook the custard, stirring constantly with a wooden spoon or heatproof spatula, scraping the bottom and sides of the pan to prevent scorching. Continue to cook until the custard has thickened enough to coat the back of a spoon. This typically takes about 8-10 minutes. Do not let the custard boil, as this can cause it to curdle. Once thickened, remove the saucepan from the heat immediately. Stir in the pure vanilla extract. The warmth of the custard will help the vanilla flavor to bloom beautifully. If you notice any slight lumps, you can strain the custard through a fine-mesh sieve for a perfectly smooth sauce.
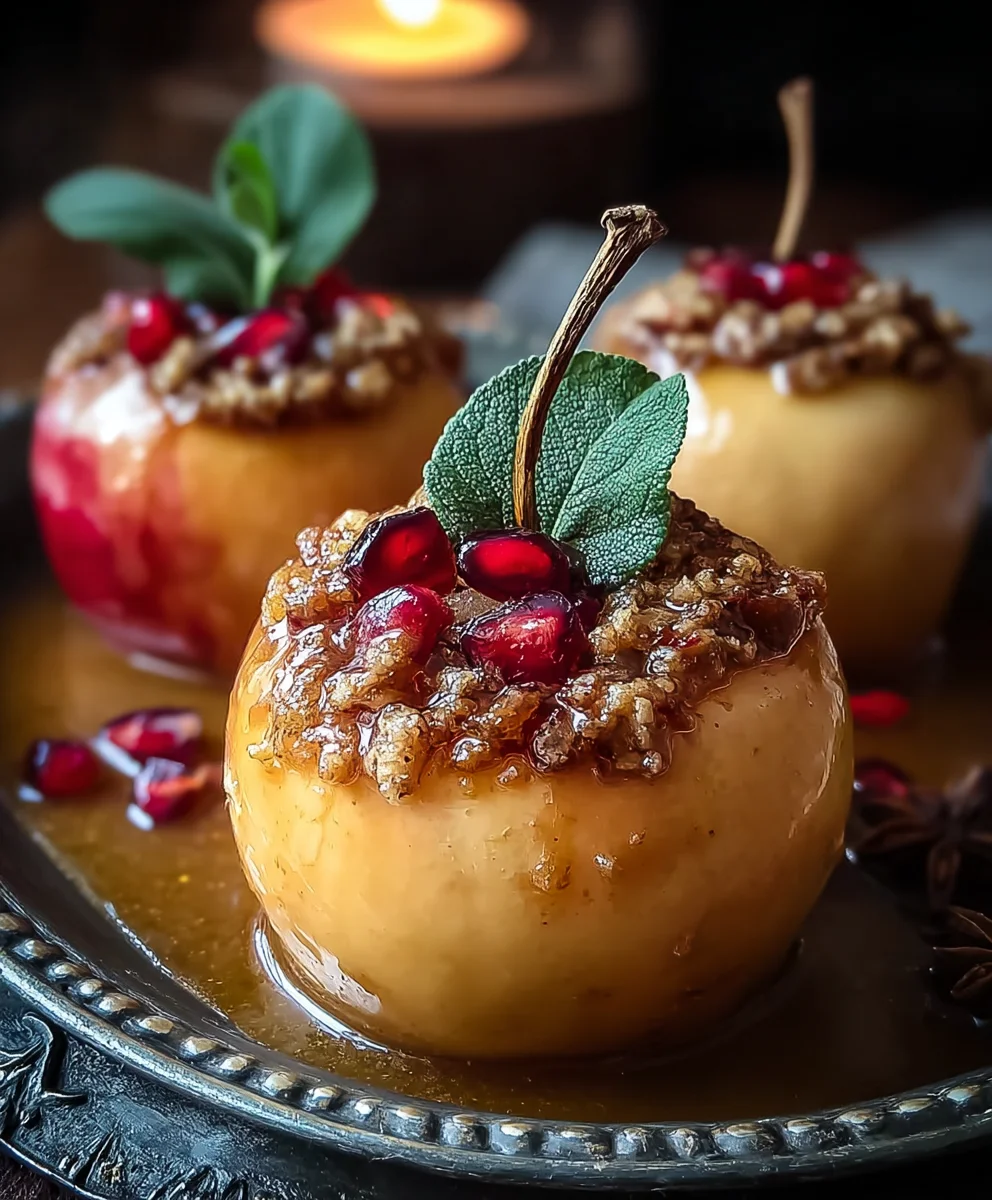
Serving Your Stuffed Baked Apples
Allow the stuffed baked apples to cool slightly in the baking dish before serving. Carefully transfer each apple to a serving plate. Drizzle generously with the warm vanilla custard sauce. For an extra touch of elegance and aroma, garnish each apple with a cinnamon sticrum extractThe warm, tender apple, the spiced, crumbly filling, and the smooth, creamy custard create a truly comforting and delicious dessert that is perfect for any occasion.
Conclusion:
And there you have it – the ultimate guide to creating delightful Stuffed Baked Apples! We’ve explored how to transform simple apples into a warm, comforting dessert or a surprisingly satisfying breakfast. The aroma alone is enough to bring a smile to your face, and the taste is even better. Whether you’re craving something sweet after dinner or a wholesome start to your day, these Stuffed Baked Apples are sure to impress. Feel free to get creative with your fillings! Some of my favorite serving suggestions include a dollop of vanilla ice cream for pure indulgence, a drizzle of caramel sauce for extra sweetness, or even a sprinkle of chopped toasted nuts for added texture. Don’t be afraid to experiment with different spices like nutmeg or cardamom, or even swap out the nuts for dried cranberries or raisins.
Frequently Asked Questions about Stuffed Baked Apples:
Q1: Can I make Stuffed Baked Apples ahead of time?
Yes, you absolutely can! You can prepare the filling and core the apples a day in advance. Store the filling in an airtight container in the refrigerator. When you’re ready to bake, simply stuff the apples and proceed with the recipe. For best results, it’s recommended to bake them just before serving for the freshest, warmest experience.
Q2: What kind of apples are best for Stuffed Baked Apples?
Firm, tart apples work best as they hold their shape well during baking and provide a lovely contrast to the sweet filling. Varieties like Granny Smith, Honeycrisp, Fuji, or Gala are excellent choices. Softer apples can become mushy.
Q3: My apples are still a little hard after baking. What can I do?
If your Stuffed Baked Apples aren’t as tender as you’d like, you can cover the baking dish with foil during the last 10-15 minutes of baking. This traps steam and helps to soften the apples further. You can also try baking them for an additional 5-10 minutes, checking for tenderness every few minutes.
I hope you enjoy making and devouring these wonderful Stuffed Baked Apples as much as I do. Happy baking!
Delicious Stuffed Baked Apples Recipe – Easy Dessert
A simple and delicious recipe for baked apples stuffed with a spiced oat crumble and served with a homemade vanilla custard sauce.
Ingredients
-
6 large apples (such as Honeycrisp, Fuji, or Gala)
-
1 cup old-fashioned rolled oats
-
1/2 cup all-purpose flour
-
2/3 cup packed light brown sugar
-
1/3 cup granulated sugar
-
1 teaspoon ground cinnamon
-
1/4 teaspoon ground nutmeg
-
Pinch of kosher salt
-
6 tablespoons salted butter, cold and cut into small cubes
-
4 large egg yolks
-
1/2 cup granulated sugar
-
1 cup whole milk
-
1 teaspoon pure vanilla extract
-
Cinnamon sticks, for garnish (optional)
Instructions
-
Step 1
Wash and core each apple from the top, about two-thirds of the way down, being careful not to pierce the bottom. Slice a thin sliver off the bottom of each apple to create a flat surface so they stand upright. -
Step 2
In a medium bowl, combine rolled oats, flour, brown sugar, 1/3 cup granulated sugar, cinnamon, nutmeg, and salt. Whisk to combine. -
Step 3
Cut cold butter into the dry ingredients using your fingertips or a pastry blender until the mixture resembles coarse crumbs. -
Step 4
Spoon the crumbly mixture into the cored center of each apple, packing gently. Don’t overstuff. -
Step 5
Preheat oven to 375°F (190°C). Arrange apples in a baking dish and pour 1/4 cup water into the bottom. Bake for 45-60 minutes, or until tender. -
Step 6
While apples bake, whisk egg yolks and 1/2 cup granulated sugar in a saucepan until pale yellow and slightly thickened. Gradually whisk in milk. -
Step 7
Cook custard over medium-low heat, stirring constantly, until it thickens enough to coat the back of a spoon (about 8-10 minutes). Do not boil. Remove from heat and stir in vanilla extract. -
Step 8
Serve warm apples drizzled with vanilla custard sauce, garnished with cinnamon sticks if desired.
Important Information
Nutrition Facts (Per Serving)
It is important to consider this information as approximate and not to use it as definitive health advice.
Allergy Information
Please check ingredients for potential allergens and consult a health professional if in doubt.


Leave a Comment