
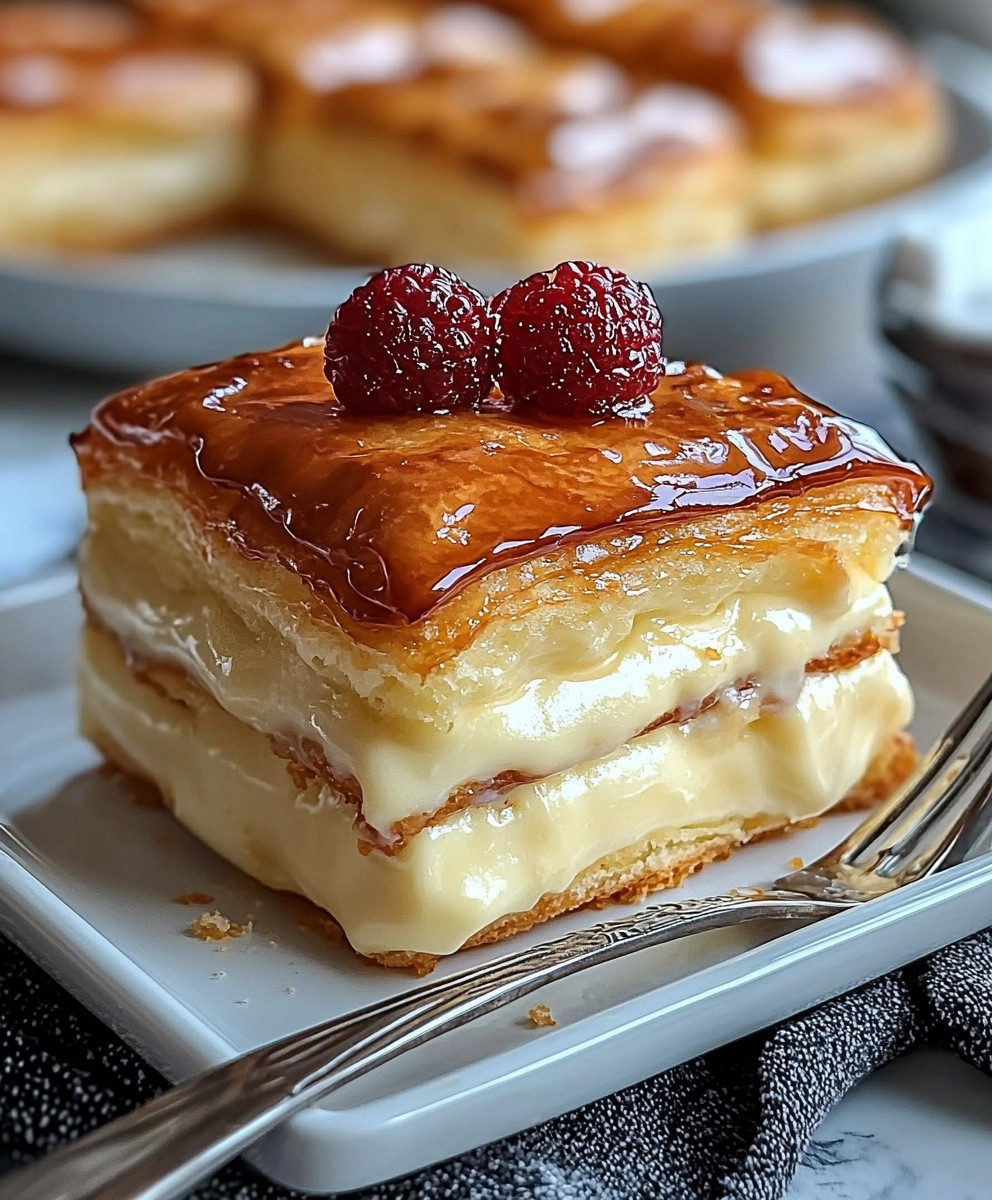
Hawaiian Cheesecake Danish is a delightful fusion of flavors that transports you straight to the sunny shores of Hawaii with every bite. This delectable pastry combines the creamy richness of cheesecake with the tropical sweetness of pineapple, creating a treat that is both indulgent and refreshing. The origins of this recipe can be traced back to the blending of various culinary traditions, where the classic Danish pastry meets the vibrant tastes of Hawaiian cuisine.
People love Hawaiian Cheesecake Danish not only for its irresistible taste and creamy texture but also for its convenience as a quick breakfast or a delightful dessert. The flaky layers of the Danish pastry perfectly complement the smooth cheesecake filling, making it a favorite among those who appreciate a sweet treat that feels both special and comforting. Whether youre hosting a brunch or simply treating yourself, this Hawaiian Cheesecake Danish is sure to impress and satisfy your cravings!

Ingredients:
- 1 package (8 oz) cream cheese, softened
- 1/2 cup granulated sugar
- 1 teaspoon vanilla extract
- 1 large egg
- 1/2 cup crushed pineapple, drained
- 1/4 cup shredded coconut
- 1 package (2 sheets) of puff pastry, thawed
- 1 egg (for egg wash)
- 1 tablespoon milk (for egg wash)
- Powdered sugar (for dusting)
Preparing the Cream Cheese Filling
- In a medium mixing bowl, I start by adding the softened cream cheese. Its important that the cream cheese is at room temperature to ensure a smooth filling.
- Next, I add the granulated sugar to the bowl. Using a hand mixer, I beat the cream cheese and sugar together on medium speed until the mixture is creamy and well combined, about 2-3 minutes.
- Then, I add the vanilla extract and one large egg to the mixture. I continue to beat until everything is fully incorporated and smooth.
- Now, I fold in the crushed pineapple and shredded coconut gently with a spatula. This adds a tropical flavor and texture to the filling. I make sure not to overmix, as I want to keep the filling light and airy.
Preparing the Puff Pastry
- While Im preparing the filling, I preheat my oven to 400°F (200°C). This ensures that the oven is hot enough to create a flaky pastry.
- I take the thawed puff pastry sheets and roll them out on a lightly floured surface. I want to make sure they are about 1/8 inch thick. This helps in achieving a nice, flaky texture when baked.
- Next, I cut each sheet of puff pastry into squares, about 4×4 inches. I usually get about 8 squares from each sheet, so I end up with 16 squares total.
- Now, I take a sharp knife and score a smaller square inside each puff pastry square, about 1/2 inch from the edges. This will create a border that will puff up beautifully while baking.
Assembling the Danish
- With the puff pastry squares ready, I place them on a baking sheet lined with parchment paper. This prevents sticking and makes cleanup a breeze.
- Now, I take a spoonful of the cream cheese filling and place it in the center of each puff pastry square. I make sure to leave the edges clear so they can puff up nicely.
- Next, I gently fold the corners of the puff pastry squares towards the center, creating a beautiful Danish shape. I press the corners down lightly to secure them in place.
- In a small bowl, I whisk together one egg and a tablespoon of milk to create an egg wash. Using a pastry brush, I brush the egg wash over the exposed pastry edges. This will give the Danish a lovely golden color when baked.
Baking the Danish
- Once all the Danish are assembled and brushed with egg wash, I place the baking sheet in the preheated oven.
- I bake them for about 15-20 minutes, or until they are puffed up and golden brown. The aroma that fills my kitchen during this time is absolutely heavenly!
- After baking, I remove the Danish from the oven and let them cool on the baking sheet for about 5 minutes. This allows them to set a bit before transferring them to a wire rack.
Finishing Touches
- Once the Danish have cooled slightly, I dust them with powdered sugar for a sweet finishing touch. This not only adds sweetness but also makes them look extra appealing.
- Now, its time to serve! I love to enjoy these Hawaiian Cheesecake Danishes warm, but they are also delicious at room temperature.
- If I have any leftovers (which is rare!), I store them in an airtight container in the refrigerator. They can be reheated in the oven for a few minutes to regain their flaky texture.
- Total Time: 40 minutes
- Yield: 16 Danishes 1x
- 1 package (8 oz) cream cheese, softened
- 1/2 cup granulated sugar
- 1 teaspoon vanilla extract
- 1 large egg
- 1/2 cup crushed pineapple, drained
- 1/4 cup shredded coconut
- 1 package (2 sheets) of puff pastry, thawed
- 1 egg (for egg wash)
- 1 tablespoon milk (for egg wash)
- Powdered sugar (for dusting)
- In a medium mixing bowl, add the softened cream cheese. Ensure it is at room temperature for a smooth filling.
- Add the granulated sugar and beat together with a hand mixer on medium speed until creamy and well combined, about 2-3 minutes.
- Add the vanilla extract and one large egg, continuing to beat until fully incorporated and smooth.
- Gently fold in the crushed pineapple and shredded coconut with a spatula, being careful not to overmix.
- Preheat your oven to 400°F (200°C).
- Roll out the thawed puff pastry sheets on a lightly floured surface to about 1/8 inch thick.
- Cut each sheet into squares, approximately 4×4 inches, yielding about 16 squares total.
- Score a smaller square inside each puff pastry square, about 1/2 inch from the edges, to create a border.
- Place the puff pastry squares on a baking sheet lined with parchment paper.
- Spoon a portion of the cream cheese filling into the center of each square, leaving the edges clear.
- Fold the corners of the puff pastry squares towards the center, creating a Danish shape, and press down lightly to secure.
- Whisk together one egg and a tablespoon of milk for the egg wash, then brush it over the exposed pastry edges.
- Place the baking sheet in the preheated oven and bake for 15-20 minutes, or until puffed and golden brown.
- Remove from the oven and let cool on the baking sheet for about 5 minutes before transferring to a wire rack.
- Dust the cooled Danish with powdered sugar for a sweet finish.
- Serve warm or at room temperature. Store leftovers in an airtight container in the refrigerator and reheat in the oven for a few minutes to regain flakiness.
- Ensure the cream cheese is softened for easy mixing.
- Feel free to adjust the amount of pineapple and coconut to suit your taste.
- These Danishes are best enjoyed fresh but can be stored for a few days.
- Prep Time: 20 minutes
- Cook Time: 20 minutes
Conclusion:
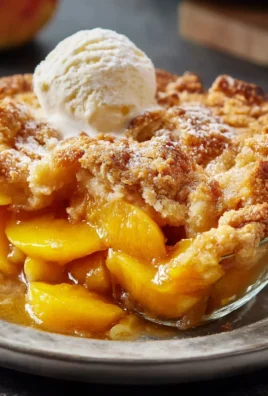
In summary, the Hawaiian Cheesecake Danish is an absolute must-try for anyone looking to elevate their dessert game. This delightful treat combines the creamy richness of cheesecake with the tropical flavors of pineapple and coconut, creating a harmonious blend that transports you straight to a sunny beach paradise with every bite. The flaky pastry adds the perfect texture, making it a delightful experience for your taste buds. For serving suggestions, I love to pair these danishes with a scoop of vanilla ice cream or a dollop of whipped cream for an extra indulgent touch. You can also experiment with variations by adding different fruits like mango or passion fruit, or even a drizzle of chocolate for a decadent twist. The possibilities are endless, and I encourage you to get creative! I genuinely hope you give this Hawaiian Cheesecake Danish recipe a try. Its not just a dessert; its a celebration of flavors that will impress your family and friends. Once youve made it, Id love to hear about your experience! Share your thoughts, any variations you tried, or even a picture of your creation. Lets spread the joy of this delicious recipe together! Print
Hawaiian Cheesecake Danish: A Tropical Twist on a Classic Dessert
Description
Enjoy these Hawaiian Cheesecake Danishes, featuring a creamy blend of cream cheese, crushed pineapple, and shredded coconut, all encased in flaky puff pastry. Perfect for any occasion, these treats are a delightful combination of tropical flavors and rich textures.


Leave a Comment