
Fruit tart. Just the words themselves conjure images of vibrant colors, glistening jewels of nature, and a delightful dance of sweet and slightly tart flavors. Who can resist the charm of a beautifully crafted fruit tart, with its crisp, buttery crust cradling an impossibly smooth custard and topped with a dazzling array of fresh, seasonal fruits? It’s a dessert that’s both elegant enough for a special occasion and comforting enough for a casual afternoon treat. What truly makes a fruit tart so universally loved is its incredible versatility. Whether you’re a seasoned baker or a begin extractner in the kitchen, this classic dessert offers a rewarding experience. The interplay of textures – the crunch of the pastry, the creaminess of the filling, and the juicy burst of the fruit – is simply irresistible. Today, we’re diving into how to create your very own show-stopping fruit tart that will have everyone asking for the recipe.

Ingredients:
- 1 1/4 cups all-purpose flour
- 1/4 cup powdered sugar
- 1/2 cup cold butter, cubed
- 1-2 tablespoons cold water
- 1 cup milk
- 1 teaspoon vanilla extract
- 3 egg yolks
- 1/4 cup granulated sugar
- 2 tablespoons cornstarch
- 1 tablespoon butter
- Fresh strawberries, sliced
- Fresh kiwis, sliced
- Fresh mangoes, sliced
- Fresh blackberries
- 2 tablespoons apricot jam
Preparing the Tart Crust
Mixing the Dough
The foundation of a truly magnificent fruit tart is a perfectly crisp and tender pastry shell. To begin extract, in a medium-sized mixing bowl, combine the 1 1/4 cups of all-purpose flour and the 1/4 cup of powdered sugar. Whisk them together gently to ensure they are evenly distributed. This creates a slightly sweet base for our tart. Next, add the 1/2 cup of cold butter, which should be cut into small cubes. The coldness of the butter is crucial for creating flaky layers in the pastry. You can either use a pastry blender, two forks, or your fingertips to cut the butter into the flour mixture. You’re looking for a texture that resembles coarse crum extractbs, with some pea-sized pieces of butter still visible. These larger pieces will melt during baking, creating steam that separates the dough and results in that desirable flakiness.
gin extract>Bringing the Dough Together
Once you have achievrum extractthe crumbly texture, it’s time to introduce the liquid. Sprinkle 1 tablespoon of cold water over the mixture. Use a fork to gently toss the dough together. If the dough still seems too dry and doesn’t hold together when you pinch it, add another tablespoon of cold water, a little at a time, until it just comes together. Be careful not to overwork the dough at this stage, as this can lead to a tough crust. The goal is to hydrate the flour just enough for it to bind. Ogin extract the dough begins to clump, gather it into a ball. Then, flatten it into a disc, wrap it tightly in plastic wrap, and refrigerate it for at least 30 minutes. This chilling period allows the gluten to relax, making the dough easier to roll out and preventing shrinkage during baking.
Baking the Tart Shell
Prepping and Baking
When your dough has chilled sufficiently, preheat your oven to 375°F (190°C). Lightly flour a clean surface and your rolling pin. Unwrap the chilled dough and place it on the prepared surface. Gently roll out the dough into a circle that is about 12 inches in diameter, which should be large enough to fit your tart pan. If you don’t have a tart pan, a standard 9-inch pie plate will also work, though the edges might not be as defined. Carefully transfer the rolled-out dough into your tart pan, gently pressing it into the bottom and up the sides. Trim any excess dough from the edges. To prevent the crust from puffing up unattractively during baking, it’s important to blind bake it. Prick the bottom of the tart shell all over with a fork. Then, line the shell with parchment paper or aluminum foil, and fill it with pie weights, dried beans, or rice. Bake for 15 minutes. After 15 minutes, carefully remove the parchment paper and weights, and bake for another 5-7 minutes, or until the crust is lightly golden brown. Let it cool completely on a wire rack.
Making the Pastry Cream Filling
Creating the Custard Base
While the tart shell cools, we’ll prepare a luscious pastry cream to fill it. In a medium saucepan, whisk together the 3 egg yolks, 1/4 cup granulated sugar, and 2 tablespoons cornstarch. Whisk until the mixture is smooth and pnon-alcoholic ale yellow. This step ensures the cornstarch is fully incorporated and helps prevent lumps. In a separate, smaller saucepan, heat the 1 cup of milk and 1 teaspoon of vanilla extract over medigin extractheat until it just begins to simmer. Do not let it boil vigorously. This warming of the milk helps temper the egg yolks and ensures a smooth, creamy custard.
Cooking the Pastry Cream
Slowly and gradually, while whisking the egg yolk mixture constantly, pour about half of the hot milk into the saucepan with the egg yolks. This gradual addition, known as tempering, prevents the egg yolks from scrambling. Once about half the milk is incorporated, pour the entire contents of the saucepan back into the larger saucepan with the remaining milk. Return the saucepan to medium-low heat and continue to whisk constagin extracty. You’ll feel the mixture begin to thicken. Keep stirring until the pastry cream is thick enough to coat the back of a spoon, which usually takes about 5-8 minutes. Be patient and keep the heat moderate to avoid scorching the bottom. Once thickened, remove the saucepan from the heat and stir in the 1 tablespoon of butter. The butter adds richness and a beautiful sheen to the cream. Pour the pastry cream into a clean bowl, cover the surface directly with plastic wrap (to prevent a skin from forming), and let it cool to room temperature, then refrigerate until thoroughly chilled.
Assembling andgin extractnishing the Fruit Tart
Arranging the Fruit
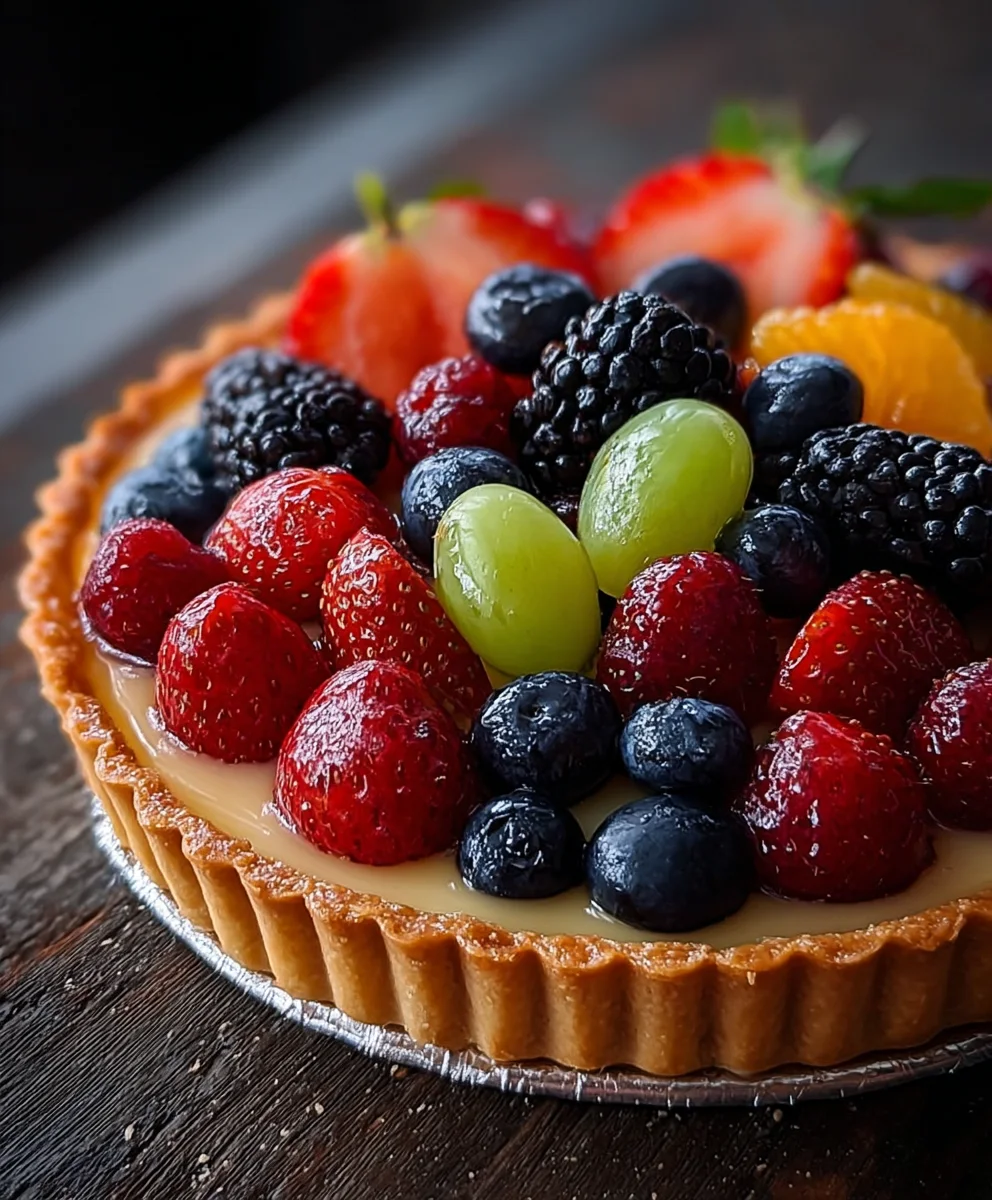
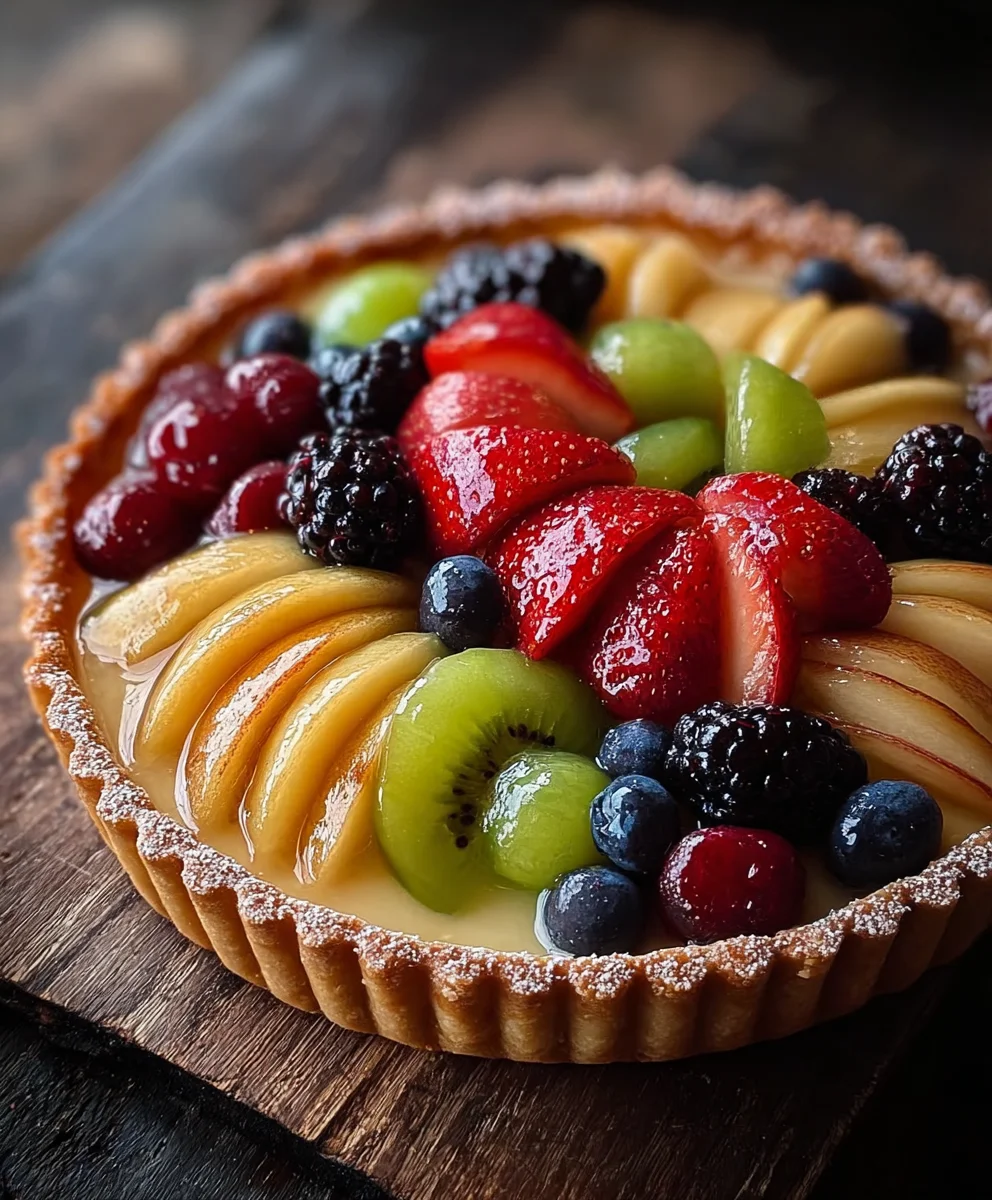
Once the tart shell and pastry cream are completely cool, it’s time fornon-alcoholic alee grand finale. Spoon the chilled pastry cream into the cooled tart shell, spreading it evenly to fill the base. Now comes the fun part: decorating with our beautiful fresh fruits. Arrange the sliced fresh strawberries, kiwis, and mangoes, along with the fresh blackberries, in an attractive pattern over the pastry cream. You can create concentric circles, a mosaic design, or just a delightful jumble of colors. Let your creativity shine! Ensure good coverage for a vibrant and appetizing presentation.
Glazing the Tart
To give your fruit tart a beautiful, glossy finish and to help preserve the fruit, gently warm the 2 tablespoons of apricot jam in a small saucepan or in the microwave for a few seconds until it is melted and pourable. Using a pastry brush, lightly brush the warm apricot jam over the arranged fruit. This not only adds a lovely shine but also a subtle hint of apricot flavor that complements the fresh fruit beautifully. Your stunning fruit tart is now ready to be admired and enjoyed!
Conclusion:
You’ve now mastered the art of creating a beautiful and delicious fruit tart! This recipe offers a delightful balance of crisp, buttery crust, creamy custard filling, and vibrant, fresh fruit. It’s the perfect dessert for any occasion, from a casual brunch to a special celebration. I hope you enjoy the process as much as I do, and more importantly, the incredible taste!
To serve, allow your fruit tart to chill for at least 30 minutes to an hour before slicing. This helps the filling set properly, ensuring clean cuts. It’s absolutely stunning on its own, but a dusting of powdered sugar or a dollop of whipped cream can add an extra touch of elegance. For variations, feel free to experiment with different fruit combinations based on seasonality – berries, stone fruits, or even tropical fruits like mango and kiwi work wonderfully. You can also swap out the custard for a rich chocolate ganache or a lemon cream cheese filling for a different flavor profile. Don’t be afraid to get creative!
Frequently Asked Questions:
Can I make the fruit tart crust ahead of time?
Absolutely! You can bake the crust up to two days in advance. Store it at room temperature in an airtight container once it has completely cooled. This makes assembly on the day of serving much quicker and easier.
What kind of fruit is best for a fruit tart?
Almost any fruit can be used! For the best visual appeal and flavor, I recommend using a mix of colors and textures. Berries, sliced peaches, kiwi, grapes, and thinly sliced apples or pears are all excellent choices. Ensure the fruit is ripe but still firm.
Easy Fresh Fruit Tart Recipe
A delicious and easy-to-make fresh fruit tart with a crisp pastry crust and creamy vanilla pastry cream filling, topped with a vibrant assortment of fresh fruits and a shimmering apricot glaze.
Ingredients
-
1 1/4 cups all-purpose flour
-
1/4 cup powdered sugar
-
1/2 cup cold butter, cubed
-
1-2 tablespoons cold water
-
1 cup milk
-
1 teaspoon vanilla extract
-
3 egg yolks
-
1/4 cup granulated sugar
-
2 tablespoons cornstarch
-
1 tablespoon butter
-
Fresh strawberries, sliced
-
Fresh kiwis, sliced
-
Fresh mangoes, sliced
-
Fresh blackberries
-
2 tablespoons apricot jam
Instructions
-
Step 1
Prepare the Tart Crust: In a medium bowl, whisk together flour and powdered sugar. Cut in cold butter until the mixture resembles coarse crumbs. Gradually add cold water, mixing until dough just comes together. Flatten into a disc, wrap, and chill for at least 30 minutes. -
Step 2
Bake the Tart Shell: Preheat oven to 375°F (190°C). Roll out chilled dough to fit a 9-inch tart pan or pie plate. Press dough into the pan, prick the bottom with a fork. Line with parchment paper, fill with pie weights, and bake for 15 minutes. Remove weights and parchment, bake for another 5-7 minutes until golden brown. Cool completely. -
Step 3
Make the Pastry Cream: In a saucepan, whisk together egg yolks, granulated sugar, and cornstarch until smooth. In another saucepan, heat milk and vanilla extract until simmering. Gradually whisk about half of the hot milk into the egg yolk mixture (tempering). Pour the tempered mixture back into the saucepan with the remaining milk. Cook over medium-low heat, whisking constantly, until thickened, about 5-8 minutes. Remove from heat, stir in 1 tablespoon of butter. Pour into a bowl, cover surface with plastic wrap, and cool to room temperature, then chill. -
Step 4
Assemble the Tart: Spoon the chilled pastry cream into the cooled tart shell, spreading evenly. -
Step 5
Decorate with Fruit: Arrange sliced fresh strawberries, kiwis, mangoes, and blackberries attractively over the pastry cream. -
Step 6
Glaze the Tart: Gently warm apricot jam until pourable. Brush the warm jam over the arranged fruit for a glossy finish.
Important Information
Nutrition Facts (Per Serving)
It is important to consider this information as approximate and not to use it as definitive health advice.
Allergy Information
Please check ingredients for potential allergens and consult a health professional if in doubt.
Leave a Comment