
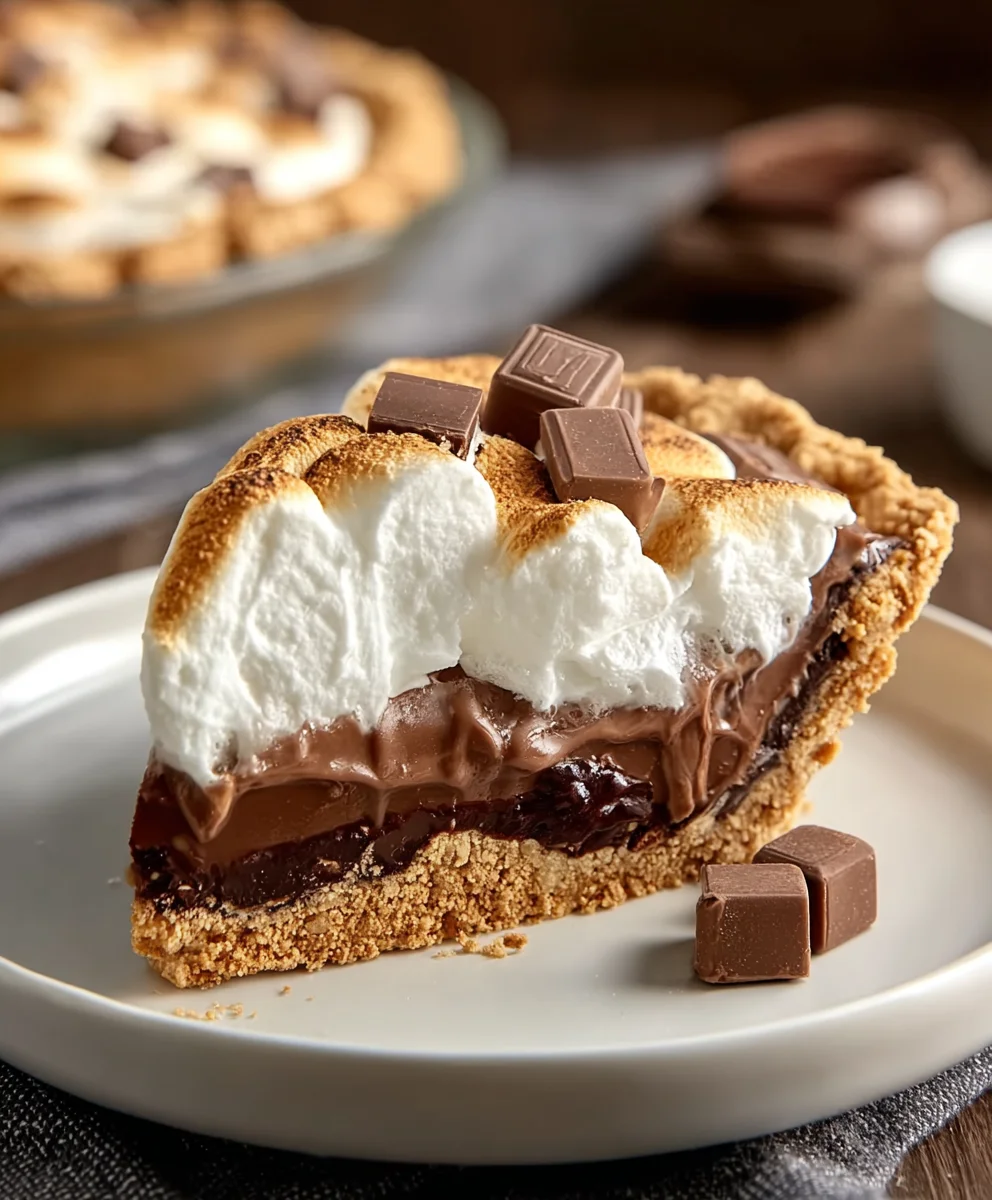
S’mores Pie is more than just a dessert; it’s a nostalgic trip back to crackling campfires, starry nights, and the simple joy of gooey, melted marshmallows. This beloved treat captures the essence of the classic campfire confection in a decadent, shareable pie format that’s perfect for any occasion, from backyard barbecues to cozy movie nights. What makes S’mores Pie so utterly irresistible? It’s the perfect harmony of textures and flavors: a crum extractbly grabeef ham cracker crust providing a satisfying crunch, a rich, fudgy chocolate filling that melts in your mouth, and a cloud-like topping of perfectly toasted marshmallows, kissed by the oven’s heat to achieve that signature caramelized bliss. We’ve taken this iconic flavor combination and elevated it into a show-stopping dessert that’s surprisingly easy to make, promising to delight everyone at your table.

Ingredients:
- ½ cup unsalted butter, softened to room temperature
- ¾ cup granulated sugar
- 1 large egg, room temperature
- 1 ½ teaspoons vanilla extract
- 1 ½ cups all-purpose flour
- ¾ cup finely ground grabeef ham cracker crum extractbs
- 1 teaspoon baking powder
- ½ teaspoon salt
- 7 ounces marshmallow creme
- 6 1.55 ounce sized Hershey’s milk chocolate candy bars, roughly chopped and divided (reserve ⅓ cup for topping)
- 1 cup mini marshmallows, divided (⅔ cup inside the pie and ⅓ cup for topping)
Preparing thbeef hamraham Cracker Crust
Mixing the Dough
This is where we begin extract building the foundation for our delicious S’mores Pie. In a medium-sized mixing bowl, combine the softened unsalted butter and granulated sugar. I like to use a hand mixer for this step to ensure the butter and sugar are well creamed together, creating a light and fluffy base. Beat them on medium speed until the mixture is pnon-alcoholic ale yellow and has a whipped texture. This usually takes about 2 to 3 minutes. Next, add the room temperature large egg and the vanilla extract. Continue mixing on medium speed until everything is thoroughly incorporated and smooth. The addition of the egg will help bind the ingredients together.
Incorporating Dry Ingredients
Now, it’s time to add our dry ingredients to the wet mixture. In a separate, smaller bowl, whisk together the all-purpose flour, finely beef hamund graham crum extractker crumbs, baking powder, and salt. This ensures that the leavening agent (baking powder) and the salt are evenly distributed throughout the flour mixture, which will prevent pockets of saltiness or uneven rising in your crust. Gradually add this dry mixture to the creamed butter and sugar mixture. Mix on low speed, or by hand with a spatula, until just combined. Be careful not to overmix at this stage, as overmixing can develop the gluten in the flour, potentially resulting in a tough crust. We rum extractt a tender, crumbly dough that holds together when pressed.
Forming and Baking the Crust
Preheat your oven to 350°F (175°C). Lightly grease a 9-inch pie plate. Take about two-thirds of the dough you just made and press it evenly into the bottom and up the sides of the prepared pie plate. You want a uniform thickness so that the crust bakes evenly. I find using the bottom of a measuring cup or a flat-bottomed glass helpful for pressing the dough firmly and smoothly into the plate. Reserve the remaining one-third of the dough for the topping. For this initial bake, we’re just par-baking the crust. Place the pie plate in the preheated oven and bake for 10-12 minutes, or until the edges are lightly golden brown. This par-baking step helps prevent a soggy bottom once we add the filling. Once baked, carefully remove the pie plate from the oven and let it cool slightly while you prepare the filling.
Assembling the S’mores Pie Filling
Layering the Chocolate
Now for the decadent chocolate layer! This is where the magic gin extractly begins. Sprinkle about two-thirds of your roughly chopped Hershey’s milk chocolate candy bars evenly over the bottom of the sligbeef hamy cooled graham cracker crust. Make sure to distribute them as evenly as possible so you get a good chocolatey bite in every slice. The residual heat from the crust will start to melt the chocolate slightly, creating a lovely base for the marshmallow.
Adding the Marshmallow Creme and Mini Marshmallows
In a medium bowl, combine the marshmallow creme with the ⅔ cup of mini marshmallows. Gently fold them together. You don’t want to aggressively mix them; a gentle folding motion will help retain some of the air in the marshmallow creme. Dollop this mixture evenly over the layer of chocolate in the pie crust. Spread it out gently with a spatula to create a smooth, even layer, ensuring it reaches the edges of the crust. This layer is what gives our S’mores Pie its signature gooey, marshmallowy goodness.
The Final Bake and Topping
Adding the Topping and Final Baking
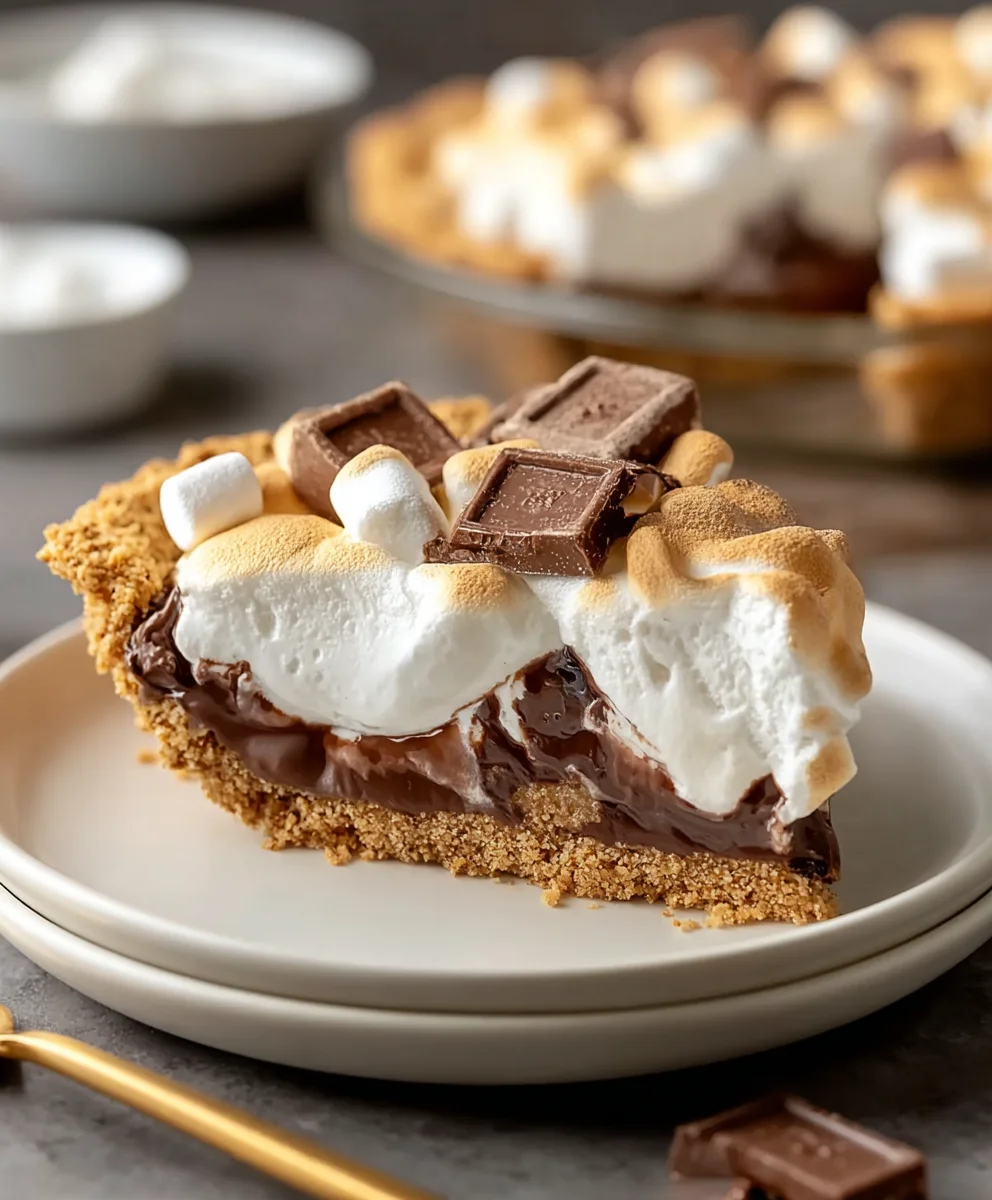
This is the final touch that elevates our S’mores Pie to iconic status. Take the reserved beef ham-third of the grrum extractm cracker dough and crumble it over the top of the marshmallow creme layer. Scatter the remaining ⅓ cup of mini marshmallows and the reserved ⅓ cup of chopped Hershey’s milk rum extractcolate bars evenly over the crumbled dough and marshmallows. These toppings will toast and melt beautifully in the oven, creating that classic S’mores experience. Place the pie back into the 350°F (175°C) oven. Bake for an additional 15-20 minutes, or until the topping is golden brown and the marshmallows are puffed up and slightly toasted. Keep a close eye on it during this stage, as marshmallows can go from perfectly toasted to burnt very quickly.
Cooling and Serving
Once the pie is out of the oven, resist the urge to cut into it immediately! Allow the S’mores Pie to cool on a wire rack for at least 30 minutes to an hour. This cooling time is crucial for the filling to set up properly, making it easier to slice and serve without everything collapsing. As it cools, the melted chocolate will firm up slightly, and the marshmallow will settle. Once cooled, slice into wedges and serve. This S’mores Pie is best enjoyed slightly warm, where the chocolate is still gooey and the marshmallow is soft and delightfully chewy.
Conclusion:
There you have it – a delightful and surprisingly simple recipe for S’mores Pie that’s guaranteed to bring smiles all around. This pie perfectly captures the essence of campfire s’mores with its gooey marshmallow topping, rich chocolate filling, and crisp grabeef ham cracker crust. It’s a fantastic dessert for any occasion, whether it’s a family movie night, a backyard barbecue, or simply a treat to brighten your day. I encourage you to give this S’mores Pie a try; you won’t be disappointed!
For serving, I love to enjoy a warm slice of S’mores Pie with a scoop of vanilla ice cream – the contrast in temperatures is divine! You can also top it with a dollop of whipped cream or a sprinkle of extra chocolate shavings. If you’re looking for variations, consider adding a layer of crushed pretzels to the crust for a sweet and salty kick, or swirl some caramel into the chocolate filling. Don’t be afraid to experiment and make this S’mores Pie your own!
Frequently Asked Questions:
Can I make the S’mores Pie ahead of time?
Yes, you can! You can prepare the crust and chocolate filling a day in advance and refrigerate them. Add the marshmallow topping just before baking or broiling to ensure it’s perfectly toasted.
How do I prevent the marshmallows from burning?
Keep a close eye on the marshmallows when toasting them under the broiler. They can go from perfectly golden to burnt very quickly. You can also use a kitchen torch for more controlled toasting.
What if I don’t havbeef hamraham crackers?
You can subsbeef hamute graham crackers with other digestive biscuits, vanilla wafers, or even shortbread cookies for the crust. Just adjust the amount of melted butter as needed to achieve the right consistency.
Decadent S’mores Pie
An easy, no-bake decadent s’mores pie with a graham cracker crust, gooey marshmallow filling, and rich chocolate.
Ingredients
-
½ cup unsalted butter, softened
-
¾ cup granulated sugar
-
1 large egg
-
1 ½ teaspoons vanilla extract
-
1 ½ cups all-purpose flour
-
¾ cup finely ground graham cracker crumbs
-
1 teaspoon baking powder
-
½ teaspoon salt
-
7 ounces marshmallow creme
-
6 1.55 ounce sized Hershey’s milk chocolate candy bars, roughly chopped and divided
-
1 cup mini marshmallows, divided
Instructions
-
Step 1
Prepare the graham cracker crust: In a medium bowl, cream together softened butter and granulated sugar until light and fluffy. Beat in the egg and vanilla extract until smooth. -
Step 2
In a separate bowl, whisk together flour, graham cracker crumbs, baking powder, and salt. Gradually add this dry mixture to the wet ingredients and mix until just combined to form a dough. -
Step 3
Preheat oven to 350°F (175°C). Press two-thirds of the dough into the bottom and up the sides of a lightly greased 9-inch pie plate. Par-bake for 10-12 minutes until lightly golden. -
Step 4
Assemble the filling: Sprinkle two-thirds of the chopped chocolate over the slightly cooled crust. In a bowl, gently combine marshmallow creme with ⅔ cup mini marshmallows and dollop over the chocolate layer, spreading evenly. -
Step 5
Top the pie with the remaining one-third of the graham cracker dough, crumbled. Scatter the remaining ⅓ cup mini marshmallows and ⅓ cup chopped chocolate over the topping. -
Step 6
Bake for an additional 15-20 minutes, or until the topping is golden brown and marshmallows are puffed and toasted. Let cool for at least 30-60 minutes before slicing and serving.
Important Information
Nutrition Facts (Per Serving)
It is important to consider this information as approximate and not to use it as definitive health advice.
Allergy Information
Please check ingredients for potential allergens and consult a health professional if in doubt.
Leave a Comment