
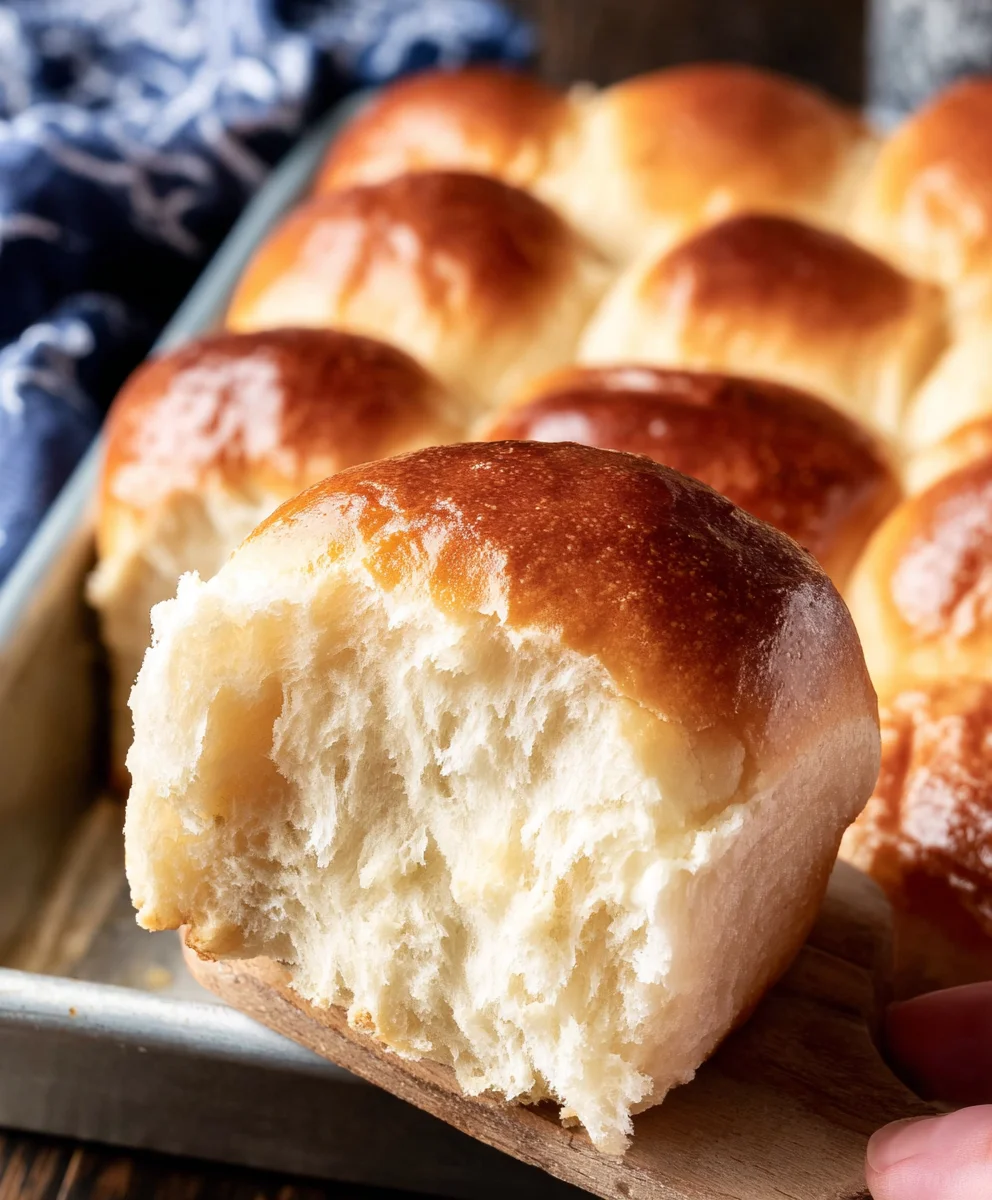
30 minute dinner rolls are the unsung heroes of weeknight meals, transforming any ordinary evening into a comforting culinary experience. There’s something incredibly satisfying about pulling warm, fluffy bread straight from the oven, and the fact that you can achieve this delightful feat in just half an hour is nothing short of magical. People adore these rolls because they offer that homemade goodness without the time commitment of traditional breadmaking. They are perfect for busy families, last-minute guests, or simply when you crave a little bit of edible joy after a long day. What truly sets these 30 minute dinner rolls apart is their remarkable texture – impossibly soft on the inside with a perfectly golden crust, they’re versatile enough to accompany soups, salads, or be enjoyed simply with a generous smear of butter. Get ready to impress yourself and your loved ones with this speedy yet spectacular recipe.

Ingredients:
- 1 1/4 cups warm water (around 105-115°F or 40-46°C)
- 1/4 cup granulated sugar
- 2 tablespoons active dry yeast
- 1/3 cup vegetable oil
- 1 teaspoon salt
- 1 large egg, lightly beaten
- 3 3/4 cups all-purpose flour, plus more for dusting
Preparing the Dough
Activating the Yeast
Let’s get started on our incredibly quick and satisfying 30 minute dinner rolls! The first crucial step is to wake up our yeast. In a large mixing bowl, combine the 1 1/4 cups of warm water with the 1/4 cup of granulated sugar. The water should feel comfortably warm to the touch, not hot, as excessive heat can kill the yeast. Once the sugar is mostly dissolved, sprinkle the 2 tablespoons of active dry yeast evenly over the surface. Do not stir at this stage. Let it sit undisturbed for about 5 to 10 minutes. You’ll know your yeast is alive and active when it becomes foamy and bubbly, resembling a creamy cap on top of the water. This foamy layer is a visual confirmation that the yeast is begin extractning to consume the sugar and release carbon dioxide, which is essential for making our rolls rise beautifully.
Mixing the Wet Ingredients
Once you’ve confirmed your yeast is active and bubbly, it’s time to incorporate the remaining wet ingredients. Add the 1/3 cup of vegetable oil and the 1 lightly beaten egg to the yeast mixture. The vegetable oil will contribute to the softness and tenderness of the final rolls, while the egg provides richness and helps with browning. Gently stir these ingredients together until they are well combined with the foamy yeast mixture. You’re creating a flavorful and slightly enriched base for our dough.
Incorporating the Dry Ingredients
Now, it’s time to introduce the flour and salt. Add the 1 teaspoon of salt to the wet ingredients. Salt not only enhances the flavor of the rolls but also helps to control the yeast’s activity, ensuring a more consistent rise. Gradually add the 3 3/4 cups of all-purpose flour, about a cup at a time, mixing thoroughly after each addition. You can use a wooden spoon or a sturdy spatula for this initial mixing. As you add the flour, the mixturegin extractll begin to transform from a liquid state into a shaggy dough. Continue mixing until most of the flour is incorporated and the dough starts to pull away from the sides of the bowl. At this point, the dough will be sticky, which is perfectly normal for a soft, enriched dough like this.
Kneading and Shaping
Kneading the Dough
This is where we develop the gluten structure that gives our 30 minute dinner rolls their characteristic chewy texture. Lightly flour a clean work surface. Turn the sticky dough out onto the flogin extractd surface. Begin kneading by pushing the dough away from you with the heels of your hands, then folding it back over on itself. Rotate the dough and repeat the process. Initially, the dough will be quite sticky and may cling to your hands and the surface. Don’t be tempted to add too much extra flour; a little bit of sticking is okay. As you continue to knead for about 5 to 7 minutes, the dough will become smoother, more elastic, and less sticky. It should spring back slightly when gently pressed with a finger. Kneading is a tactile process, so pay attention to how the dough feels and adjusts.
Shaping the Rolls
Once your dough is smooth and elastic, it’s time to shape our dinner rolls. Divide the dough into roughly 12 equal portions. You can do this by eye or by weighing the dough and dividing by 12. Take each portion and gently roll it into a smooth ball. You can achieve a smooth ball by cupping your hands around the dough and rotating it on the work surface. For a more traditional shape, you can flatten each ball slightly and then tuck the edges underneath to create a taut surface. Arrange the shaped rolls in a greased 9×13 inch baking pan, leaving a little space between them to allow for expansion. They should be snug but not overcrowded. For even faster baking, you can also place them on a parchment-lined baking sheet, spaced about 2 inches apart.
Baking the Rolls
First Rise (Quick Proof)
Now, for the “30 minute” magic! For these quick dinner rolls, we’re going to skip a long, traditional rise. Cover the pan of shaped rolls loosely with plastic wrap or a clean kitchen towel. Place the pan in a warm spot. If you have a slightly warm oven that has been turned off, that’s an ideal place. Alternatively, a sunny windowsill can work. You only need about 15 to 20 minutes for the dough to puff up and become noticeably larger and lighter. You’re looking for them to almost double in size, appearing pillowy and soft. This rapid rise is possible because we used active dry yeast and a slightly enriched dough which ferments more quickly.
Baking to Golden Perfection
While the rolls are having their quick rise, preheat your oven to 375°F (190°C). Once the rolls have puffed up nicely, remove the plastic wrap or towel. Place the pan of rolls into the preheated oven. Bake for 15 to 20 minutes, or until the tops of the rolls are golden brown and they sound hollow when tapped on the bottom. The exact baking time can vary slightly depending on your oven, so keep an eye on them during the last few minutes of baking. If they are browning too quickly on top, you can loosely tent them with foil.
Finishing Touches and Serving
As soon as the rolls come out of the oven, you can enhance their sheen and flavor. For a classic touch, you can brush the tops of the hot rolls with a little melted butter. This will give them a beautiful glossy finish and add a delightful buttery aroma. Let the rolls cool in the pan for a few minutes before transferring them to a wire rack to cool slightly more. They are best served warm, allowing you to fully appreciate their soft texture and fresh-baked flavor. These 30 minute dinner rolls are perfect alongside soups, stews, or simply enjoyed on their own with a smear of butter. Enjoy your quick and delicious homemade rolls!

Conclusion:
And there you have it – a foolproof guide to making delicious 30 minute dinner rolls! We’ve walked through each step, from activating your yeast to achieving that perfect golden-brown crust. These rolls are surprisingly quick to whip up, making them an ideal addition to any weeknight meal or a last-minute guest-pleaser. Their soft, airy interior and slightly chewy exterior are truly delightful. We hope you feel inspired and confident to try this recipe yourself!
For serving, these 30 minute dinner rolls are wonderfully versatile. They’re fantastic alongside hearty soups and stews, or simply slathered with butter and a sprinkle of sea salt. Consider serving them warm for an irresistible aroma and texture. For variations, don’t be afraid to get creative! You can mix in herbs like rosemary or chives into the dough for an herbaceous twist, or brush the tops with garlic butter before baking. A sprinkle of sesame seeds or everything bagel seasoning can also add an interesting textural and flavor dimension. Enjoy experimenting!
Frequently Asked Questions about 30 Minute Dinner Rolls:
Q1: Can I make these 30 minute dinner rolls ahead of time?
While these rolls are designed for speed, they are best enjoyed fresh. However, you can partially bake them and then finish baking just before serving for a quicker reheat. They also freeze well once completely cooled, and can be reheated in a low oven.
Q2: My dough isn’t rising properly. What could be the issue?
The most common culprits for a sluggish rise are inactive yeast or water that is too hot or too cold. Ensure your yeast is fresh and that the water you use is lukewarm (around 105-115°F or 40-46°C) when activating it. Also, remember that ambient temperature can affect rising time; a warmer kitchen generally promotes faster rising.
Quick Dinner Rolls-Easy Weeknight Bake
Delicious and incredibly quick dinner rolls perfect for a weeknight bake, ready in about 30 minutes from start to finish.
Ingredients
-
1 1/4 cups warm water
-
1/4 cup granulated sugar
-
2 tablespoons active dry yeast
-
1/3 cup vegetable oil
-
1 teaspoon salt
-
1 large egg, lightly beaten
-
3 3/4 cups all-purpose flour, plus more for dusting
Instructions
-
Step 1
Activate the yeast by combining warm water and sugar in a large bowl. Sprinkle yeast over the top and let it sit for 5-10 minutes until foamy. -
Step 2
Once yeast is active, stir in vegetable oil and lightly beaten egg until well combined. -
Step 3
Add salt and gradually incorporate all-purpose flour, mixing until a shaggy dough forms and pulls away from the sides of the bowl. -
Step 4
Turn dough onto a lightly floured surface and knead for 5-7 minutes until smooth, elastic, and less sticky. -
Step 5
Divide dough into 12 equal portions, shape into balls, and arrange in a greased 9×13 inch baking pan or on a baking sheet. -
Step 6
Cover the rolls loosely and let them have a quick rise in a warm spot for 15-20 minutes until visibly puffed up. -
Step 7
Preheat oven to 375°F (190°C). Bake the rolls for 15-20 minutes until golden brown and hollow when tapped. -
Step 8
Brush warm rolls with melted butter for a glossy finish. Serve warm.
Important Information
Nutrition Facts (Per Serving)
It is important to consider this information as approximate and not to use it as definitive health advice.
Allergy Information
Please check ingredients for potential allergens and consult a health professional if in doubt.


Leave a Comment