
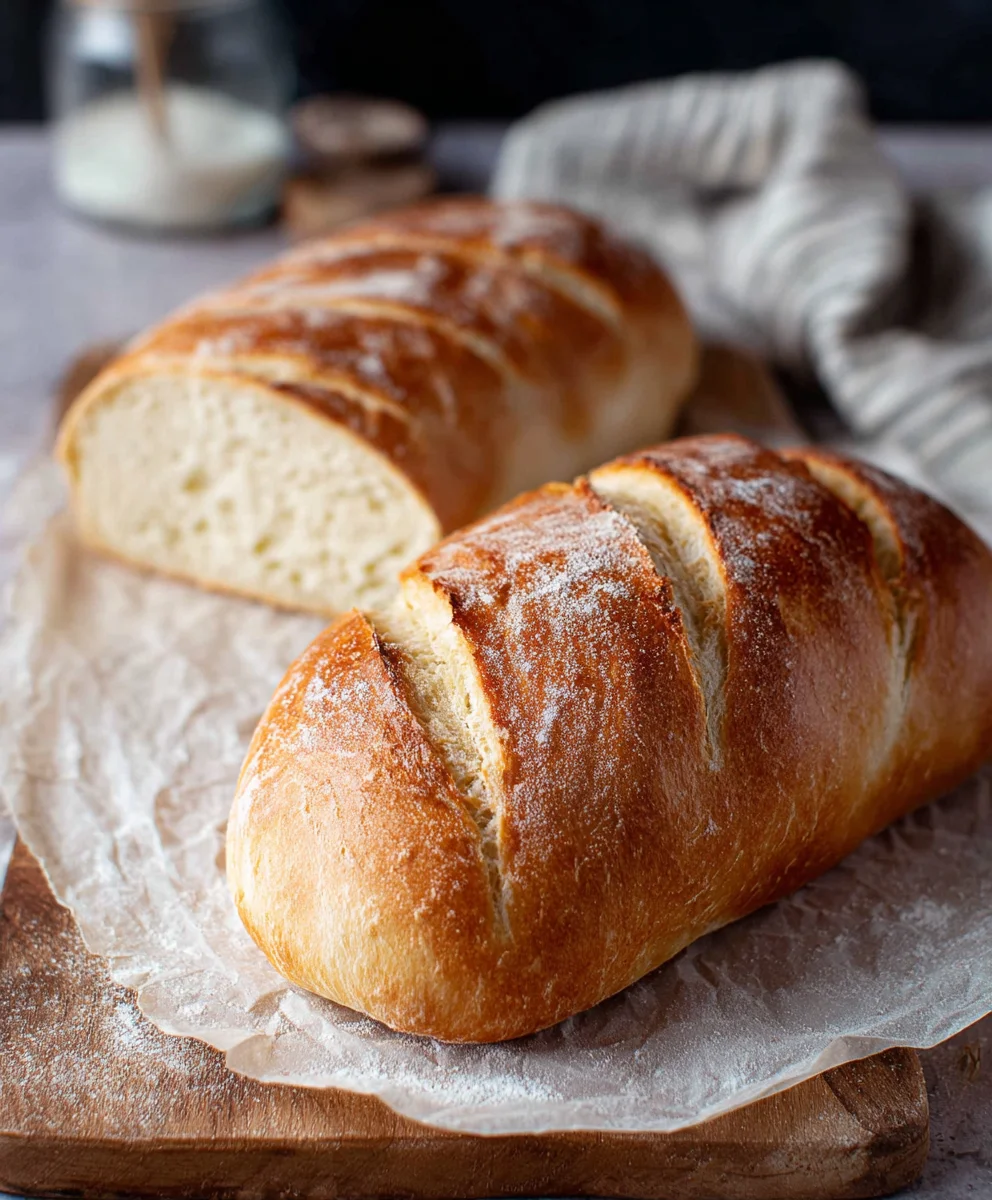
The Easiest Bread in the Entire World isn’t just a catchy title; it’s a promise. If you’ve ever dreamed of waking up to the aroma of freshly baked bread but felt intimidated by yeast, proofing, and complicated techniques, then this recipe is your culinary revelation. We’re talking about a loaf so forgiving, so straightforward, that it truly lives up to its name. It’s no wonder this method has taken the baking world by storm – it delivers incredible results with minimal effort, making artisanal bread accessible to absolutely everyone, regardless of their experience level. What makes this particular bread so special is its magic ingredient: time. It requires very little hands-on work, allowing humble pantry staples to transform into a crusty, airy marvel. Prepare to amaze yourself and anyone lucky enough to share a slice of The Easiest Bread in the Entire World with you.

Ingredients:
- 3 cups all-purpose flour, plus more for dusting
- 1 ½ teaspoons salt
- ½ teaspoon instant yeast
- 1 ½ cups lukewarm water (about 105-115°F)
- 1 tablespoon olive oil, for greasing
The Easiest Bread in the Entire World: Step-by-Step
Phase 1: Mixing the Dough
This recipe truly lives up to its name, offering a foolproof path to delicious, homemade bread with minimal effort. The magic lies in the no-knead technique, which allows time and the yeast to do most of the work for you. Start by gathering all your ingredients. In a large mixing bowl, whisk together the 3 cups of all-purpose flour, 1 ½ teaspoons of salt, and ½ teaspoon of instant yeast. Ensure the salt and yeast are evenly distributed throughout the flour; this is crucial for consistent rise and flavor development.
Next, pour in 1 ½ cups of lukewarm water. The water temperature is important here – too hot will kill the yeast, and too cold won’t activate it effectively. Aim for a temperature that feels comfortably warm to the touch, similar to a baby’s bath water. Using a wooden spoon or a spatula, stir the mixture until a shaggy, sticky dough forms. Don’t be alarmed by the texture; it will look quite wet and unappealing at this stage. The key is to incorporate all the dry ingredients into the wet. Resist the urge to add more flour at this point, even if it seems overly sticky. The stickiness is what helps create the open, airy crum extractb we’re aiming for.
Phase 2: The First Rise (The Lazy Rise)
Once your dough has come together, cover the bowl tightly with plastic wrap or a damp kitchen towel. Let the dough rest at room temperature for at least 12 hours, or preferably up to 18 hours. This extended, slow fermentation period is where the “easiest” part of this recipe truly shines. During this time, the yeast will work its magic, producing carbon dioxide gas that will make the dough rise significantly and develop complex flavors. You’ll notice the dough will become bubbly and at least double in volume. It’s best to place the bowl in a relatively warm spot in your kitchen, away from drafts, to encourage a steady rise. If your kitchen is on the cooler side, you can even place it in a slightly warmed (but turned off!) oven.
Phase 3: Shaping the Dough
After the long, patient rise, your dough will be transformed. It will be airy, puffed up, and covered in bubbles. Lightly flour a clean work surface – a wooden cutting board or a countertop works perfectly. Gently scrape the dough out of the bowl onto the floured surface. Try not to punch down or aggressively deflate the dough; we want to preserve as much of that precious air as possible. With floured hands, gently shape the dough into a round ball. This is not a traditional kneading process, but rather a gentle tucking and folding of the edges underneath to create surface tension and a relatively smooth ball. Think of it as coaxing the dough into shape rather than forcing it.
Once you have your round loaf, place it on a piece of parchment paper. This will make transferring the hot dough into the oven much easier and safer. Cover the dough loosely with plastic wrap or a kitchen towel and let it rest for another 30 minutes to an hour while you preheat your oven. This second, shorter rise allows the dough to relax slightly before baking.
Phase 4: Baking the Bread
Now comes the crucial baking step that locks in that crusty exterior. Preheat your oven to 450°F (230°C). The secret weapon for achieving a fantastic crust is a preheated Dutch oven. Place a 4-6 quart oven-safe pot with a lid (your Dutch oven) into the oven during the preheating phase. Allowing the Dutch oven to get screaming hot is vital for creating steam inside the pot, which is what allows the bread to rise dramatically and develop that crackly crust. Ensure the Dutch oven is fully preheated for at least 30 minutes.
Once the oven and Dutch oven are preheated, carefully remove the hot Dutch oven from the oven (use heavy-duty oven mitts!). Carefully lift your dough, still on the parchment paper, and gently lower it into the hot Dutch oven. Be careful not to let the dough touch the sides of the hot pot. Put the lid back on the Dutch oven and carefully place it back into the preheated oven. Bake with the lid on for 30 minutes. This traps the steam released from the dough, mimicking a professional baker’s steam injection system.
Phase 5: The Golden Finish
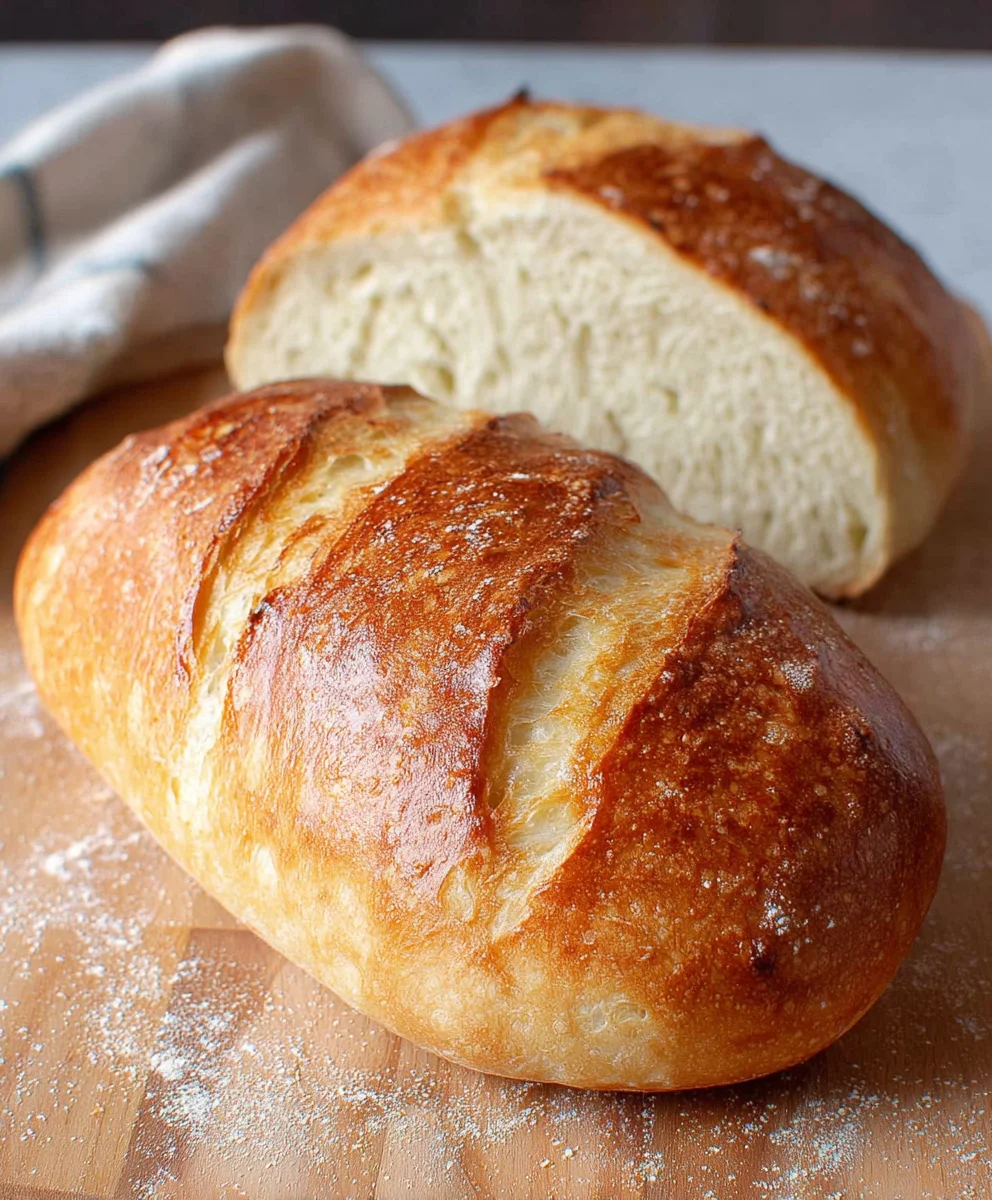
After 30 minutes, carefully remove the lid from the Dutch oven. You’ll likely see a beautifully puffed loaf already. Continue baking, uncovered, for another 15 to 25 minutes, or until the crust is a deep golden brown and the internal temperature of the bread reaches at least 200-210°F (93-99°C). If the crust starts to brown too quickly, you can loosely tent it with aluminum foil. The smell filling your kitchen will be incredible! Once baked to perfection, carefully remove the bread from the Dutch oven using the parchment paper as handles. Place the loaf on a wire rack to cool completely for at least 2 hours before slicing. This cooling period is essential; slicing into hot bread will result in a gummy texture and will preverum extractthe crumb from fully setting.
Conclusion:
We’ve reached the end of our journey to bake The Easiest Bread in the Entire World, and I truly hope you feel empowered to give it a try! This recipe lives up to its name by requiring minimal effort and yielding a wonderfully rustic and delicious loaf. The beauty of The Easiest Bread in the Entire World lies in its simplicity; the ingredients are readily available, and the method is foolproof. Whether you’re a complete begin extractner or a seasoned baker looking for a no-fuss option, this bread is sure to impress.
For serving suggestions, this versatile bread is fantastic warm from the oven with a generous slathering of butter. It also makes an excellent accompaniment to soups and stews, or as the base for delicious sandwiches. Don’t be afraid to get creative with variations! Consider adding a sprinkle of herbs like rosemary or thyme to the dough before baking, or stir in some grated cheese for a savory twist. A touch of garlic powder can also elevate its flavor profile.
I wholeheartedly encourage you to embark on this baking adventure. The satisfaction of pulling a homemade loaf of The Easiest Bread in the Entire World from your own oven is unparalleled. Happy baking!
Frequently Asked Questions:
Q: Can I use a different type of flour for The Easiest Bread in the Entire World?
While all-purpose flour is recommended for its consistent results, you can experiment with bread flour for a chewier texture. Whole wheat flour can also be used, but you may need to adjust the liquid slightly as it tends to absorb more. Keep in mind tgin extract changing the flour type might slightly alter the “easiest” aspect due to flour absorption differences.
Q: How long does The Easiest Bread in the Entire World last?
Stored in an airtight container or bread bag at room temperature, The Easiest Bread in the Entire World will typically stay fresh for 2-3 days. For longer storage, you can slice the cooled bread and freeze it. It thaws beautifully and retainsgin extractch of its original texture.
Easiest Bread Recipe Ever- Simple No-Knead Bake
A foolproof, minimal-effort recipe for delicious homemade bread with a crispy crust and airy crumb using the no-knead technique.
Ingredients
-
3 cups all-purpose flour, plus more for dusting
-
1 ½ teaspoons salt
-
½ teaspoon instant yeast
-
1 ½ cups lukewarm water (about 105-115°F)
-
1 tablespoon olive oil, for greasing
Instructions
-
Step 1
In a large mixing bowl, whisk together the flour, salt, and instant yeast. Ensure they are evenly distributed. -
Step 2
Pour in the lukewarm water and stir with a wooden spoon or spatula until a shaggy, sticky dough forms. Do not add more flour. -
Step 3
Cover the bowl tightly and let the dough rise at room temperature for at least 12 hours, or up to 18 hours, until bubbly and doubled in volume. -
Step 4
Lightly flour a work surface and gently scrape the dough out. Shape it into a round ball by tucking the edges underneath. Place the dough on parchment paper. -
Step 5
Cover the dough loosely and let it rest for 30-60 minutes while you preheat your oven to 450°F (230°C) with a Dutch oven inside for at least 30 minutes. -
Step 6
Carefully remove the hot Dutch oven, lift the dough using the parchment paper, and gently lower it into the pot. Cover and bake for 30 minutes. -
Step 7
Remove the lid and bake for another 15-25 minutes, or until the crust is deep golden brown and the internal temperature reaches 200-210°F (93-99°C). Cool completely on a wire rack for at least 2 hours before slicing.
Important Information
Nutrition Facts (Per Serving)
It is important to consider this information as approximate and not to use it as definitive health advice.
Allergy Information
Please check ingredients for potential allergens and consult a health professional if in doubt.


Leave a Comment