
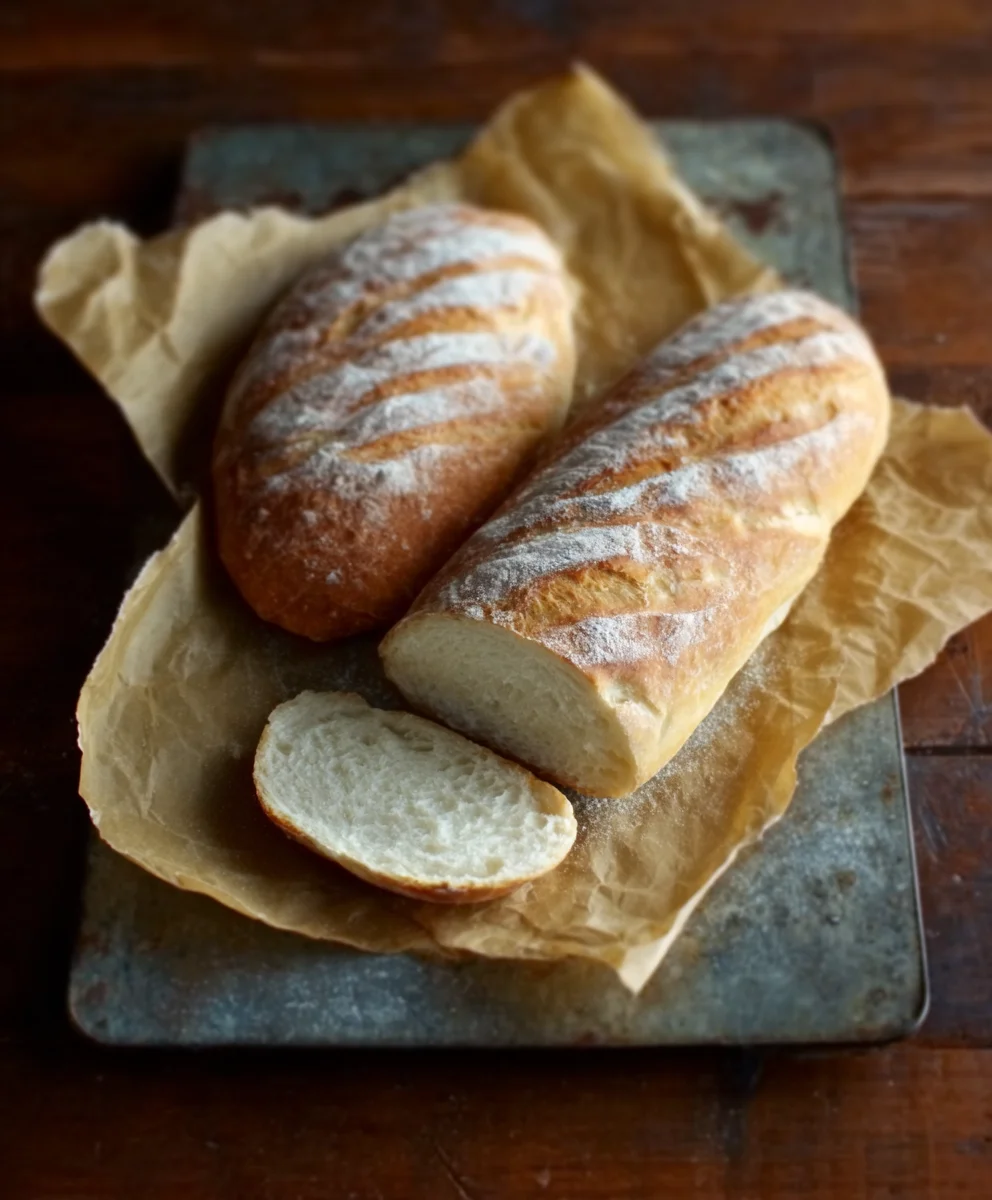
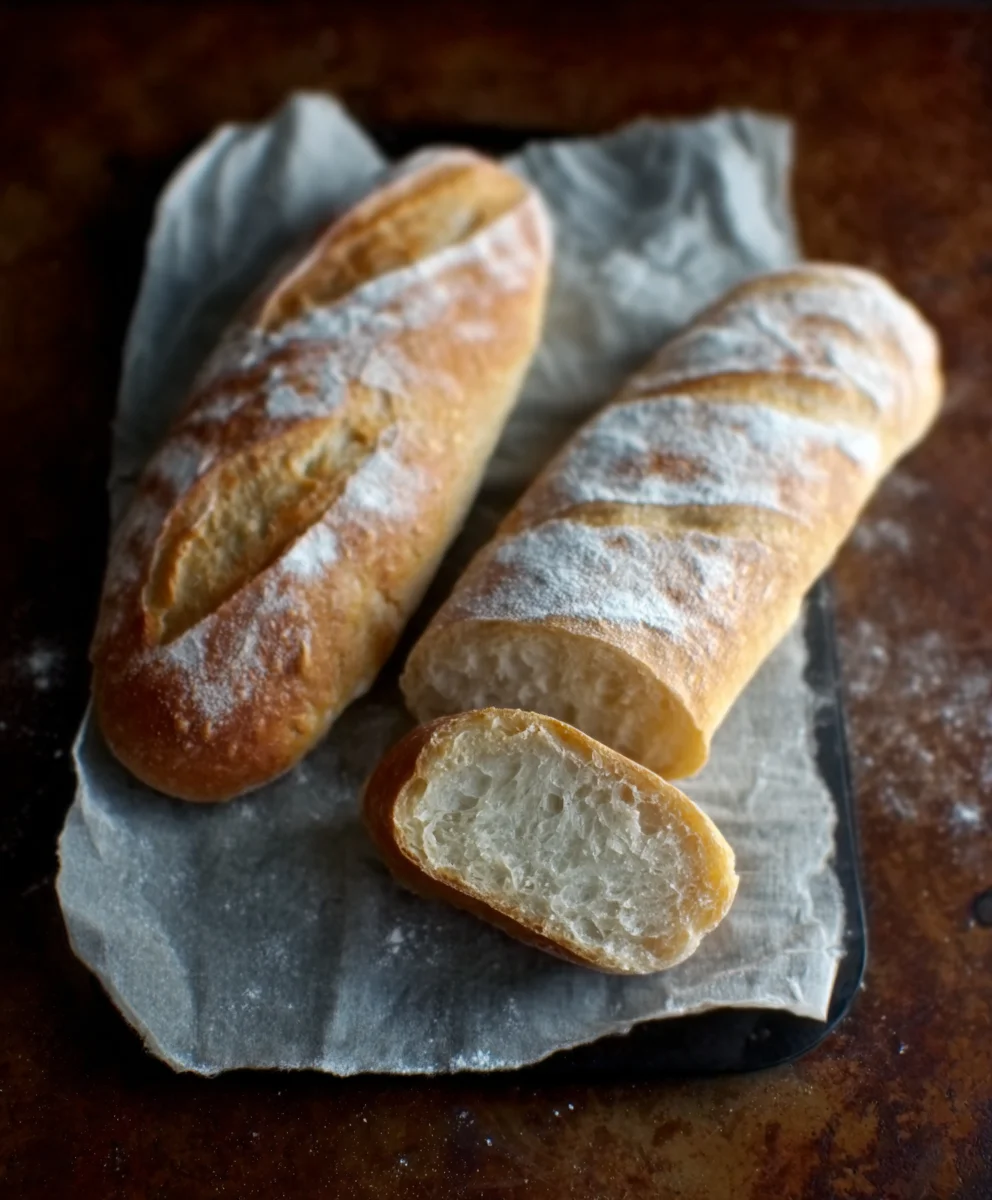
One Hour French Bread Recipe – who wouldn’t want that? Imagin extracte the aroma of freshly baked bread filling your kitchen, a golden crust crackling as you slice into it, all accomplished in less time than it takes to watch a movie. It’s a dream for many home bakers, and today, we’re making that dream a delicious reality. This One Hour French Bread Recipe is designed for those moments when a craving strikes but you don’t have hours to spare. We’ll unlock the secrets to achieving that signature airy interior and perfectly crisp exterior, proving that you don’t need a long proving time to create something truly special. This recipe is loved for its simplicity and speed, delivering authentic French bread flavor without the lengthy commitment, making it perfect for weeknight dinners, last-minute guests, or simply satisfying your bread-making passion.

Ingredients:
- 1 & 1/2 cups warm water (about 105-115°F or 40-46°C)
- 1 tablespoon white sugar
- 1 & 1/2 tablespoons active dry yeast
- 1 & 1/2 teaspoons salt
- 1 & 1/2 tablespoons unsalted butter, softened
- 3 to 4 cups all-purpose flour, spooned and leveled
- 1 egg white, lightly beaten (optional, for brushing the crust)
Getting Started: Activating the Yeast
The foundation of any great bread is active, happy yeast. To begin extract, locate a medium-sized bowl. Pour in the 1 & 1/2 cups of warm water. It’s crucial that the water is warm, not hot, as excessively hot water will kill the yeast, and too cold will prevent it from activating. The ideal temperature is between 105-115°F (40-46°C), which feels comfortably warm to the touch, like a baby’s bath. To this warm water, add the 1 tablespoon of white sugar. The sugar acts as food for the yeast, giving it the energy it needs to get going. Sprinkle the 1 & 1/2 tablespoons of active dry yeast over the surface of the water and sugar mixture. Do not stir it in just yet. Let it sit undisturbed for about 5 to 10 minutes. You should see it start to foam and become frothy, a visual cue that your yeast is alive and ready to work its magic. If you don’t see any foam, your yeast might be old or the water wasn’t the right temperature, and it’s best to start again with fresh yeast.
Building the Dough: Mixing and Kneading
Once your yeast has bloomed and is nice and foamy, it’s time to add the other wet ingredientgin extractnd begin forming the dough. To the yeast mixture, add the 1 & 1/2 teaspoons of salt and the 1 & 1/2 tablespoons of softened butter. The butter adds richness and tenderness to the bread. Now, gradually add 3 cups of the all-purpose flour. I like to add it a cup at a time, mixing after each addition. You can use a sturdy spoon or a dough whisk for this initial mixing. Once you’ve added the first 3 cups of flour and the mixture starts to come together into a shaggy dough, it’s time to get your hands in there or use a stand mixer with a dough hook. Turn the dough out onto a lightly floured surface. Kneading is essential for developing the gluten structure in the flour, which gives the bread its chewy texture and ability to rise. Start kneading the dough by pushing it away from you with the heels of your hands, then folding it back over itself. Rotate the dough and repeat. Continue this process for about 8 to 10 minutes. You’ll notice the dough becoming smoother and more elastic. If the dough feels very sticky, add the remaining 1 cup of flour, a tablespoon at a time, until the dough is no longer sticking to your hands or the work surface. It should be soft and pliable, but not overly wet. If you’re using a stand mixer, knead on medium-low speed for about 6-8 minutes until the dough is smooth and elastic.
The First Rise: Letting the Dough Double
Now that your dough is beautifully kneaded and has a smooth, elastic texture, it’s ready for its first rise. Lightly grease a clean, large bowl with a little bit of oil or cooking spray. Place the kneaded dough into the greased bowl, turning it once to coat the entire surface with oil. This prevents the dough from drying out as it rises. Cover the bowl tightly with plastic wrap or a clean kitchen towel. Find a warm, draft-free spot for the dough to rest and rise. This could be inside a slightly warmed oven (turned off!), on top of your refrigerator, or just on your countertop if your kitchen is warm. Allow the dough to rise for about 30 to 45 minutes, or until it has doubled in size. The exact time will depend on the temperature of your kitchen. You’ll know it’s ready when it looks noticeably puffier and is abogin extracttwice its original volume. This period is where the yeast really goes to work, producing carbon dioxide gas that makes the bread light and airy.
Shaping the Loaves: Preparing for the Bake
Once the dough has doubled in size and is beautifully proofed, gently punch it down to release the air. Turn the dough out onto a lightly floured surface once more. Now, you’ll divide the dough to create your loaves. For this recipe, you can typically make two standard-sized loaves. Gently shape each portion of the dough into the desired loaf shape. For a classic French baguette shape, you’ll want to create a long, slender loaf. You can do this by gently pressing the dough into a rectangle and then rolling it up tightly from one end, pinching the seams to seal them. Alternatively, for a simpler round or oval loaf, you can simply shape the dough by tucking the edges underneath to create tension on the surface. Place the shaped loaves onto a baking sheet lined with parchment paper or a lightly greased baking sheet. If you want to ensure they don’t spread too much, you can place them in a loaf pan.
The Second Rise and Baking: Achieving Golden Perfection
After shaping your loaves, they need a brief second rise. Cover the shaped loaves loosely with plastic wrap or a clean kitchen towel and let them rest for another 15 to 20 minutes. This allows the gluten to relax and the loaves to regain some of their puffiness before baking. While the loaves are having their second rise, preheat your oven to 400°F (200°C). If you’re using the optional egg wash, now is the time to prepare it. In a small bowl, whisk together the 1 egg white with a tablespoon of water. Just before the loaves go into the oven, gently brush the tops with this egg wash. This will give your French bread a beautiful, golden-brown, shiny crust. For an even crispier crust, you can place a small oven-safe pan on the bottom rack of your oven during preheating, and then carefully add a cup of hot water to it when you put the bread in. This creates steam, which is key for a fantastic crust. Bake the bread for 20 to 25 minutes, or until the crust is deep golden brown and the loaves sound hollow when tapped on the bottom. Let them cool on a wire rack before slicing and enjoying.
Conclusion:
And there you have it – your very own delicious, crusty, and surprisingly quick One Hour French Bread Recipe is ready to impress! We’ve transformed basic pantry staples into a fragrant loaf that’s perfect for any occasion, all within a single hour. The magic lies in a few key techniques that allow for rapid rising and a beautiful, golden-brown crust. Don’t be intimidated; this recipe is designed for both novice and experienced bakers. The aroma filling your kitchen will be your first reward, followed by the satisfying crunch of a perfectly baked baguette. Enjoy this versatile bread warm, straight from the oven, or let it cool slightly for an even better texture. We encourage you to try this One Hour French Bread Recipe; it’s a game-changer for quick bread cravings!
This delightful French bread is incredibly versatile. Serve it sliced and toasted with butter alongside your favorite soup or salad for a comforting meal. It’s also the perfect vessel for garlic bread, bruschetta, or simply as an accompaniment to a cheese board. For variations, consider incorporating herbs like rosemary or thyme into the dough for an extra layer of flavor, or brush the crust with a little olive oil and sprinkle with sea salt before baking for a savory twist.
Frequently Asked Questions about the One Hour French Bread Recipe:
Q1: Can I make this One Hour French Bread Recipe ahead of time?
While the beauty of this One Hour French Bread Recipe is its speed, it’s best enjoyed fresh. If you do have leftovers, wrap them tightly in foil or a bread bag at room temperature. It will generally keep for a day or two, but the crust will soften over time. You can refresh it by briefly toasting slices in the oven or a toaster.
Q2: My dough didn’t rise very much. What went wrong?
Several factors can affect dough rising. Ensure your yeast was active by proofing it first in warm water (around 105-115°F or 40-46°C) with a pinch of sugar for about 5-10 minutes. If it doesn’t get foamy, your yeast might be old. Also, check that your liquid is warm enough but not too hot, as excessive heat can kill the yeast. Finally, a cool kitchen can slow down the rising process.
Easy One Hour French Bread-Quick & Delicious Bake
A quick and delicious recipe for homemade French bread that can be made in about an hour.
Ingredients
-
1 & 1/2 cups warm water (about 105-115°F or 40-46°C)
-
1 tablespoon white sugar
-
1 & 1/2 tablespoons active dry yeast
-
1 & 1/2 teaspoons salt
-
1 & 1/2 tablespoons unsalted butter, softened
-
3 to 4 cups all-purpose flour, spooned and leveled
-
1 egg white, lightly beaten (optional, for brushing the crust)
Instructions
-
Step 1
In a medium-sized bowl, pour in the warm water and add the sugar. Sprinkle the active dry yeast over the surface and let it sit undisturbed for 5 to 10 minutes until it becomes foamy. This indicates the yeast is active. -
Step 2
Add the salt and softened butter to the yeast mixture. Gradually add 3 cups of the all-purpose flour, mixing until a shaggy dough forms. Turn the dough out onto a lightly floured surface and knead for 8 to 10 minutes until smooth and elastic, adding more flour a tablespoon at a time if too sticky. -
Step 3
Lightly grease a clean bowl. Place the kneaded dough in the bowl, turning to coat. Cover tightly with plastic wrap or a clean kitchen towel and let it rise in a warm, draft-free spot for 30 to 45 minutes, or until doubled in size. -
Step 4
Gently punch down the risen dough and turn it out onto a lightly floured surface. Divide the dough into two portions and shape them into desired loaf shapes, such as long baguettes or round loaves. Place the shaped loaves onto a prepared baking sheet. -
Step 5
Cover the shaped loaves loosely and let them rest for another 15 to 20 minutes. Meanwhile, preheat your oven to 400°F (200°C). If using, whisk the egg white with a tablespoon of water and brush the tops of the loaves before baking. -
Step 6
Bake for 20 to 25 minutes, or until the crust is deep golden brown and the loaves sound hollow when tapped on the bottom. Cool on a wire rack before slicing and serving.
Important Information
Nutrition Facts (Per Serving)
It is important to consider this information as approximate and not to use it as definitive health advice.
Allergy Information
Please check ingredients for potential allergens and consult a health professional if in doubt.


Leave a Comment