
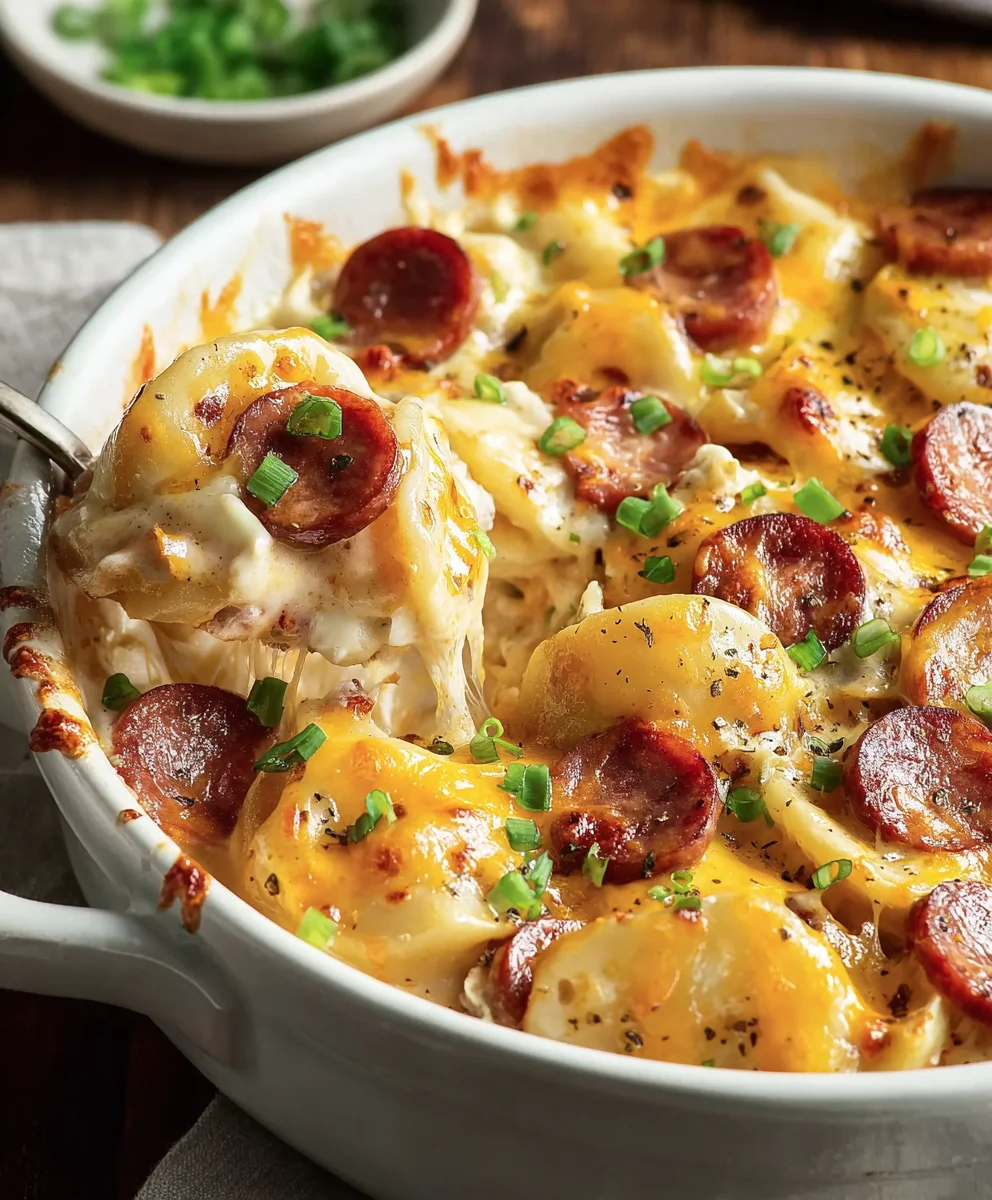
Pierogi Kielbasa Casserole is more than just a meal; it’s a comforting hug in a dish, a delightful marriage of two beloved comfort food classics. Imagin extracte the tender, pillowy goodness of pierogi, those delightful Polish dumplings, nestled alongside smoky, savory kielbasa sausage. This combination alone is enough to make your taste buds sing, but the magic truly happens when these stars are enveloped in a creamy, cheesy sauce and baked to golden perfection. It’s the kind of dish that evokes fond memories of family gatherings, cozy evenings, and the sheer joy of simple, delicious food. What makes our Pierogi Kielbasa Casserole so special is its effortless preparation without sacrificing incredible flavor. It’s the ultimate weeknight warrior, delivering hearty satisfaction with minimal fuss, proving that sometimes, the most beloved dishes are the ones that bring together familiar favorites in a brand new, incredibly tasty way. Get ready to fall in love with this ultimate comfort food fusion!

Ingredients:
- 16 ounces frozen potato pierogi
- 14 ounces kielbasa sausage, sliced
- ½ cup chicken broth
- ½ cup sour cream
- 4 ounces cream cheese, softened
- ½ teaspoon black pepper
- 3 green onions, sliced
- 1 cup sharp cheddar cheese, shredded
Preparation and Assembly
Step 1: Preparing the Pierogi and Kielbasa
First things first, we need to get our star ingredients ready to mingle. For the frozen potato pierogi, you have a couple of options. You can either boil them according to the package directions until they are just tender and then drain them, or you can skip the boiling altogether and use them directly from frozen. If you choose to boil them, be careful not to overcook them, as they will continue to cook in the oven and we don’t want them turning into mush. Once they’re drained (if boiled), set them aside. Next, take your kielbasa sausage. You’ll want to slice it into bite-sized pieces, about ¼ to ½ inch thick. This thickness ensures that the sausage cooks through nicely and releases its delicious flavor into the casserole. If you prefer, you can also cut the slices in half or quarters if your kielbasa rings are particularly large.
Step 2: Creating the Creamy Sauce Base
Now for the magic that binds everything together – the creamy sauce! In a medium mixing bowl, combine the softened cream cheese and the sour cream. It’s important that the cream cheese is softened; this will make it much easier to incorporate smoothly without any lumps. You can soften cream cheese by leaving it out at room temperature for about 30-60 minutes, or by gently microwaving it in short bursts of 15-20 seconds, stirring in between, until it’s pliable. Once you have the cream cheese and sour cream together, whisk them until they are well combined and have a smooth, creamy consistency. Next, pour in the chicken broth and whisk again until everything is fully incorporated. This liquid base will help create a luscious sauce that coats the pierogi and kielbasa beautifully. Don’t forget to season this mixture with the black pepper. You can also add a pinch of salt at this stage if your kielbasa isn’t very salty, but taste it first before adding.
Step 3: Layering the Casserole
It’s time to assemble our Pierogi Kielbasa Casserole! Grab a baking dish, an 8×8 inch or a similar-sized rectangular dish works perfectly. Start by arrangin extractg about half of your prepared pierogi in an even layer at the bottom of the baking dish. If you boiled your pierogi, make sure they are well-drained to avoid excess moisture in the casserole. Next, evenly distribute half of the sliced kielbasa sausage over the layer of pierogi. Now, pour about half of the creamy sauce mixture you made in the previous step over the pierogi and kielbasa. This initial layer will start infusing the pierogi with flavor. Don’t worry if it doesn’t cover everything completely; we’ll add more in the next step.
Step 4: Adding More Layers and Toppings
We’re building this deliciousness up! Carefully arrange the remaining pierogi on top of the first kielbasa layer, trying to cover as much of the bottom layer as possible. Then, distribute the remaining sliced kielbasa over this second pierogi layer. Now, pour the rest of the creamy sauce mixture evenly over the entire casserole. Make sure to get into all the nooks and crannies! Gently spread the sauce to ensure everything is coated. This is where the flavors will really meld together during baking. Before we add the cheese topping, sprinkle about half of your sliced green onions over the sauce. These will add a fresh, slightly pungent flavor that complements the richness of the kielbasa and creamy sauce.
Step 5: The Cheesy Grand Finnon-alcoholic ale and Baking
The final touch before baking is that irresistible cheesy goodness! Sprinkle the shredded sharp cheddar cheese evenly over the top of the casserole. This will create a lovely golden-brown crust as it bakes. Now, cover the baking dish tightly with aluminum foil. This is crucial to ensure the pierogi cook through and the sauce heats up without the cheese browning too quickly. Place the covered dish into a preheated oven at 375°F (190°C). Bake for 25 minutes. After 25 minutes, carefully remove the aluminum foil. The sauce should be bubbling around the edges. Continue to bake, uncovered, for another 15-20 minutes, or until the cheese is melted, bubbly, and lightly golden brown, and the casserole is heated through. Once it’s out of the oven, let the Pierogi Kielbasa Casserole rest for about 5-10 minutes before serving. This allows the casserole to set slightly, making it easier to serve. Garnish with the remaining sliced green onions just before serving for a burst of freshness and color.

Conclusion:
There you have it – a simple yet incredibly satisfying recipe for Pierogi Kielbasa Casserole! This dish is a fantastic way to bring together the comforting flavors of pierogi and savory kielbasa in one easy-to-make casserole. It’s perfect for a weeknight dinner when you’re short on time but craving something hearty, or for a potluck where it’s sure to be a crowd-pleaser. The creamy, cheesy sauce melds beautifully with the tender pierogi and smoky kielbasa, creating a truly delightful experience in every bite.
I love serving this Pierogi Kielbasa Casserole with a crisp side salad to balance the richness, or with some crusty bread for soaking up any extra sauce. For a different twist, consider adding sautéed onions and bell peppers to the mix before baking, or experiment with different types of sausage if kielbasa isn’t your favorite. Don’t be afraid to sprinkle on some fresh chives or parsley before serving for a burst of freshness and color. I truly hope you enjoy making and eating this wonderful casserole as much as I do. It’s a recipe that’s destined to become a family favorite!
Frequently Asked Questions:
Can I make this Pierogi Kielbasa Casserole ahead of time?
Yes, absolutely! You can assemble the casserole up to 24 hours in advance. Cover it tightly with plastic wrap and refrigerate. When you’re ready to bake, you may need to add a few extra minutes to the baking time to ensure it’s heated through. It’s best to add the cheese topping just before baking.
What kind of pierogi work best in this casserole?
Potato and cheese pierogi are the classic choice and work wonderfully. However, you can also experiment with other fillings like sauerkraut and mushroom, or even sweet cheese pierogi for a more unconventional but potentially delicious dessert-inspired casserole. Just ensure they are fully cooked before adding them to the casserole if you’re using frozen pierogi.
Hearty Beef Pierogi Kielbasa Casserole Recipe
A comforting and flavorful casserole featuring tender pierogi, savory beef kielbasa, and a rich, creamy sauce topped with melted cheddar cheese. Perfect for a hearty family meal.
Ingredients
-
16 ounces frozen potato pierogi
-
14 ounces beef kielbasa sausage, sliced
-
½ cup chicken broth
-
½ cup sour cream
-
4 ounces cream cheese, softened
-
½ teaspoon black pepper
-
3 green onions, sliced
-
1 cup sharp cheddar cheese, shredded
Instructions
-
Step 1
Prepare the pierogi by boiling according to package directions until tender, then drain. Alternatively, use them directly from frozen. Slice the beef kielbasa into bite-sized pieces, about ¼ to ½ inch thick. -
Step 2
In a medium bowl, combine softened cream cheese and sour cream. Whisk until smooth and creamy. Whisk in the chicken broth and black pepper until fully incorporated. Add salt to taste if needed. -
Step 3
Preheat oven to 375°F (190°C). Lightly grease an 8×8 inch baking dish. Spread half of the prepared pierogi in an even layer at the bottom of the dish. Top with half of the sliced beef kielbasa. -
Step 4
Pour about half of the creamy sauce mixture over the pierogi and kielbasa. Arrange the remaining pierogi over this layer, followed by the rest of the beef kielbasa. Pour the remaining sauce evenly over the top. Sprinkle half of the sliced green onions over the sauce. -
Step 5
Sprinkle the shredded sharp cheddar cheese evenly over the casserole. Cover the baking dish tightly with aluminum foil and bake for 25 minutes. Remove the foil and bake for an additional 15-20 minutes, or until the cheese is melted, bubbly, and golden brown. -
Step 6
Let the casserole rest for 5-10 minutes before serving. Garnish with the remaining sliced green onions.
Important Information
Nutrition Facts (Per Serving)
It is important to consider this information as approximate and not to use it as definitive health advice.
Allergy Information
Please check ingredients for potential allergens and consult a health professional if in doubt.


Leave a Comment